
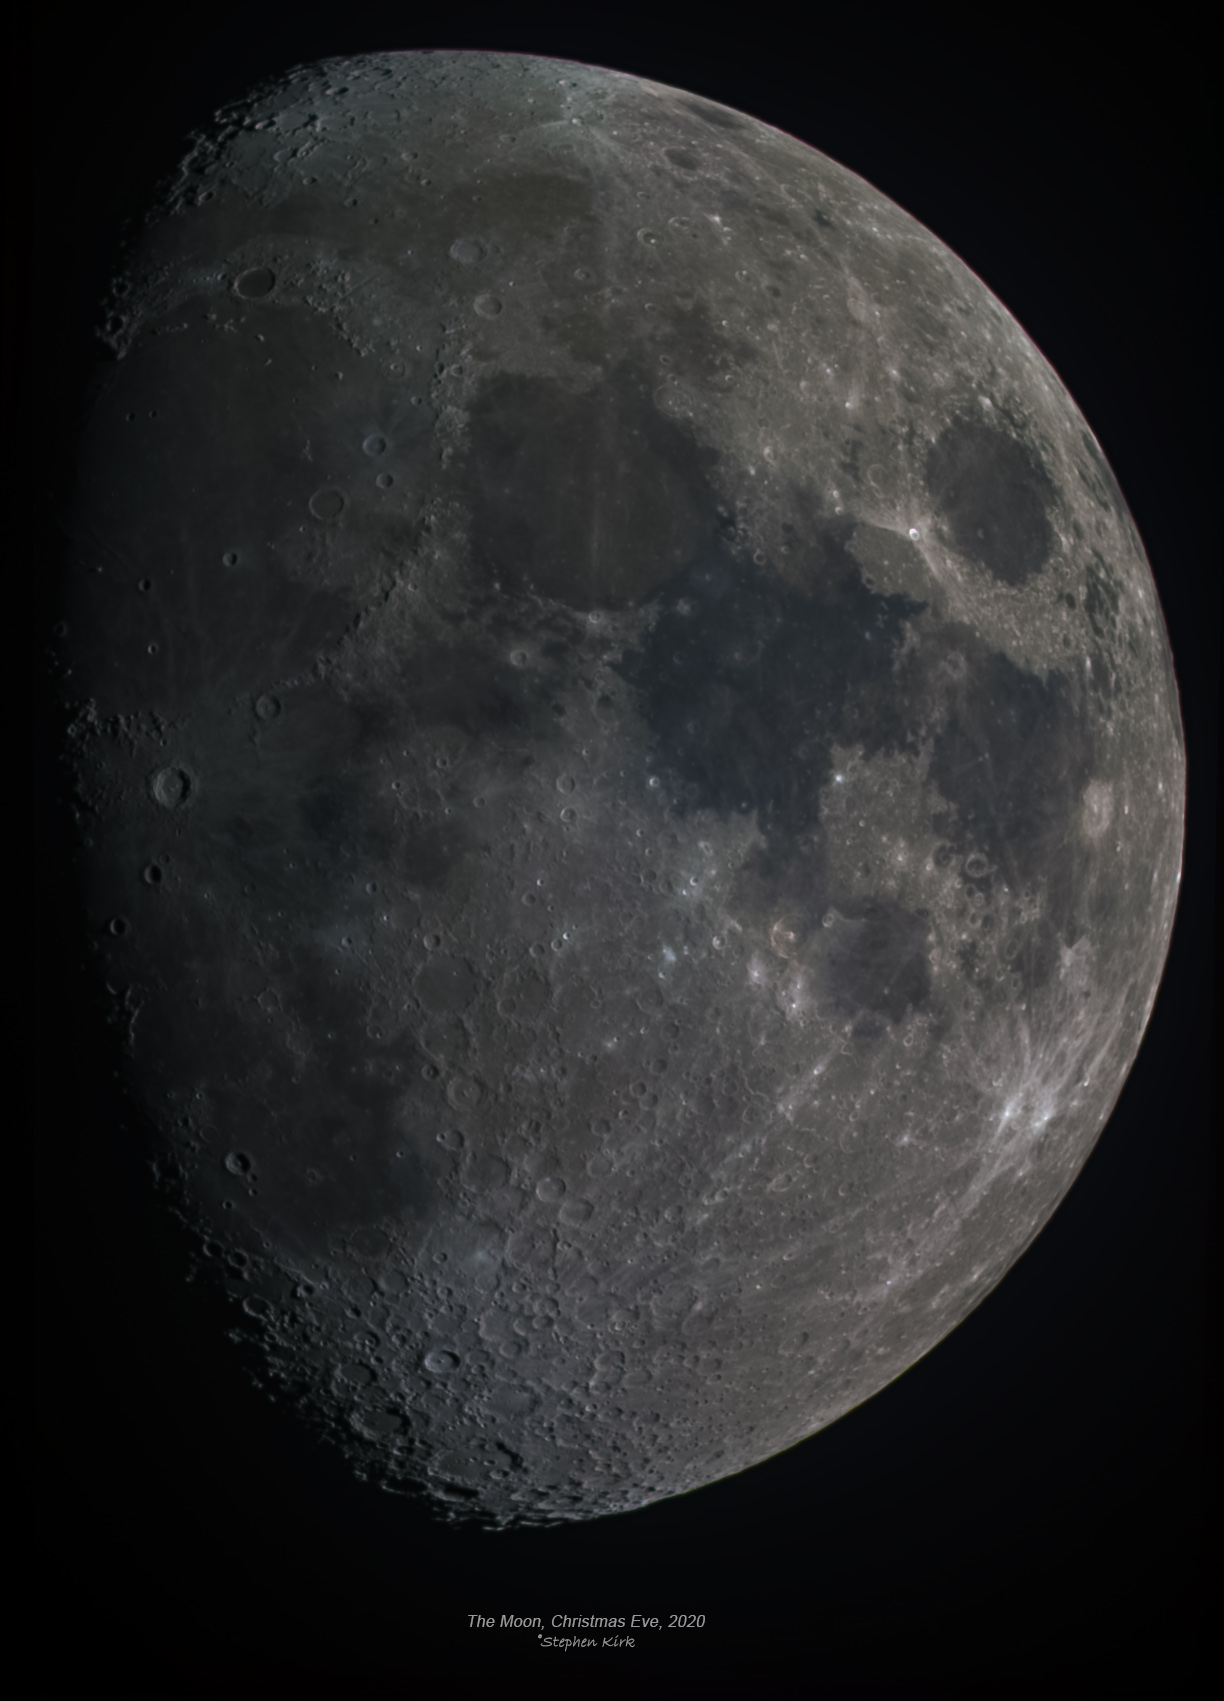
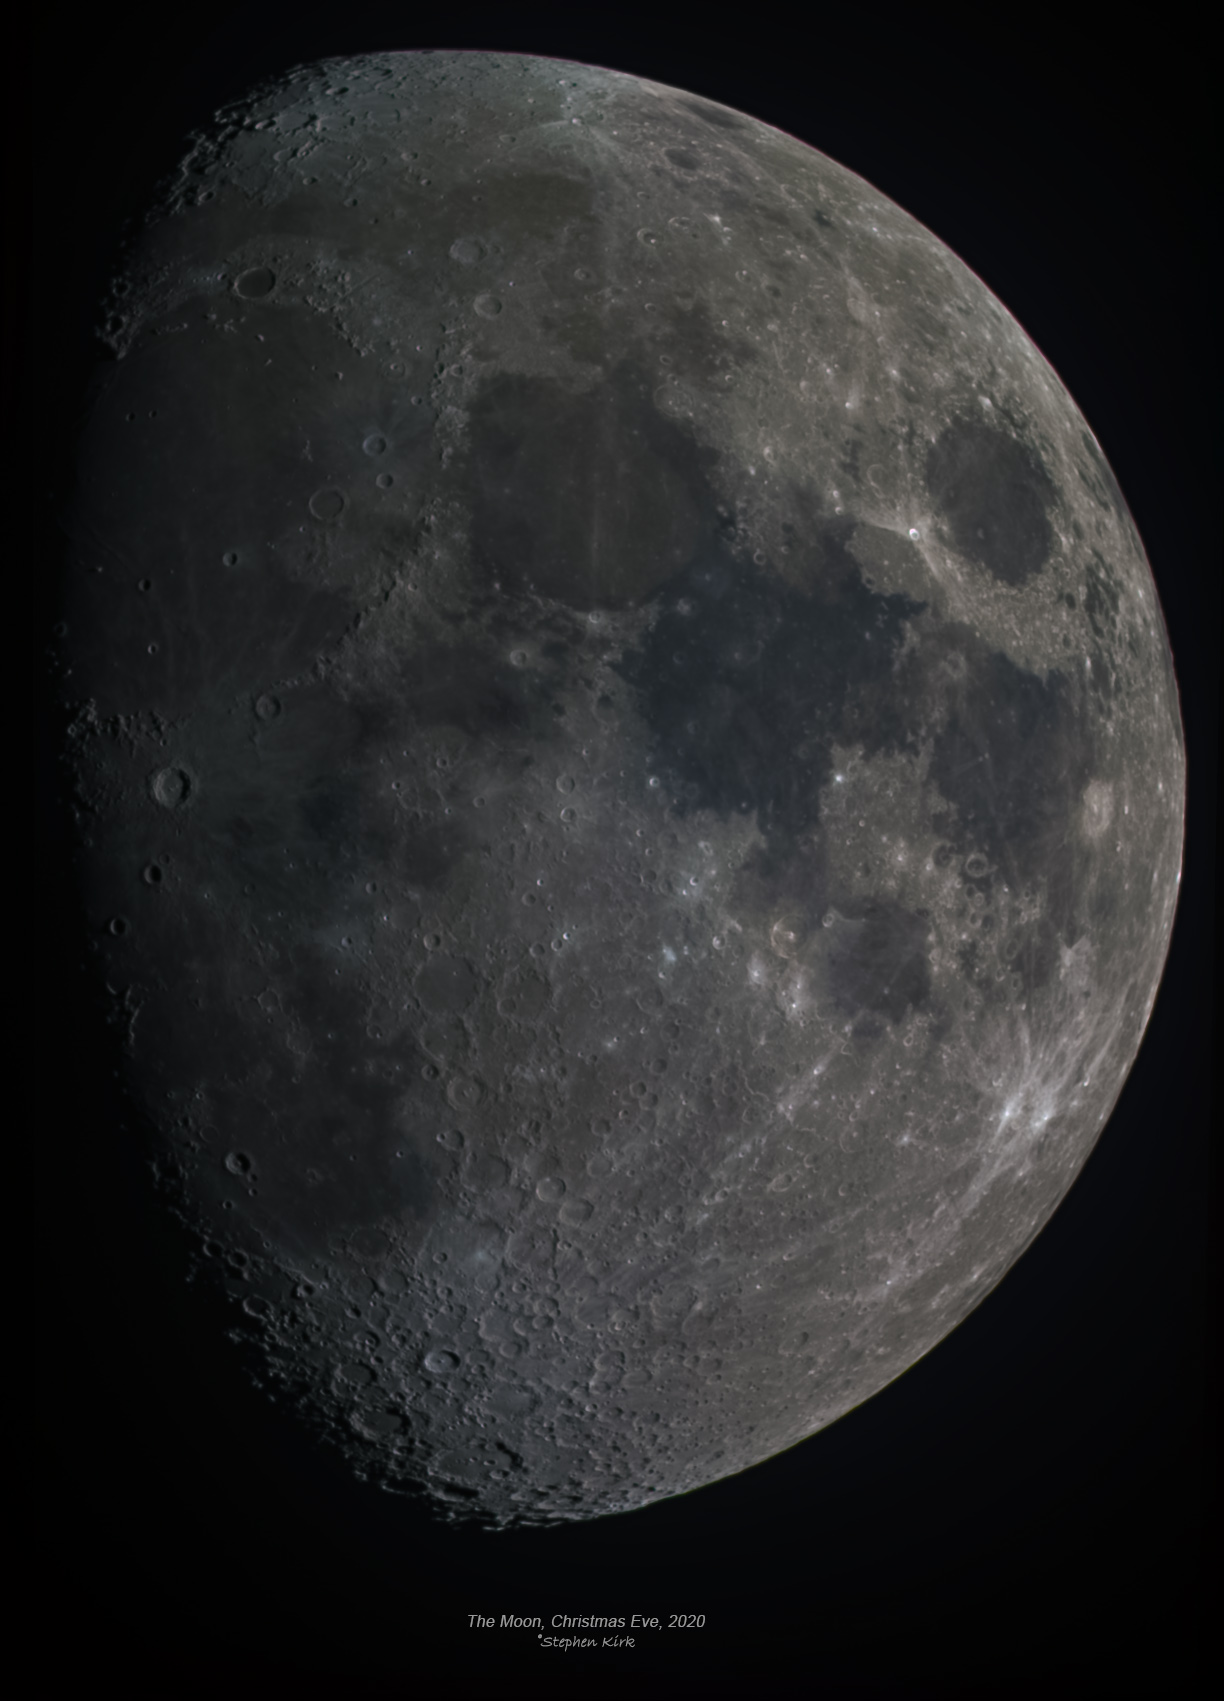
The Moon, 24 Dec 2020 LRGBHa with TEC140
Technical Details
This image of The Moon is a composite picture taken with my TEC140 refractor and an ASI174M high speed mono camera through Baader LRGB and Neodymium filters - the same filters that can be used for Deep Sky imaging (and I have used them for exactly that purpose too).
Moon is in a 73% waxing gibbous phase in the constellation of Taurus.
I captured 2000 frames through the Baader luminance filter and another 2000 through the neodymium filter. I then registered and combined the master image from each of these with Pixelmath with scaling. I used Multi-Scale linear transformation to sharpen the image and a very slight HDR transformation to bring out the fainter detail. This created the master luminance.
Each master R, G and B sub is the best 50% of 5000 frames. I registered the separate RGB channels with the master luminance and then used channel combination to make an RGB image after linear fitting them as individual master subs to attain the same intensity across the three channels. All these steps done with PixInsight.
I then combined the master Luminance with the master RGB to create the picture above in Photoshop with a slight tweak of the vibrance and saturation with Camera Raw filter.
I hope you like it! It is fun and enjoyable creating these lunar images.

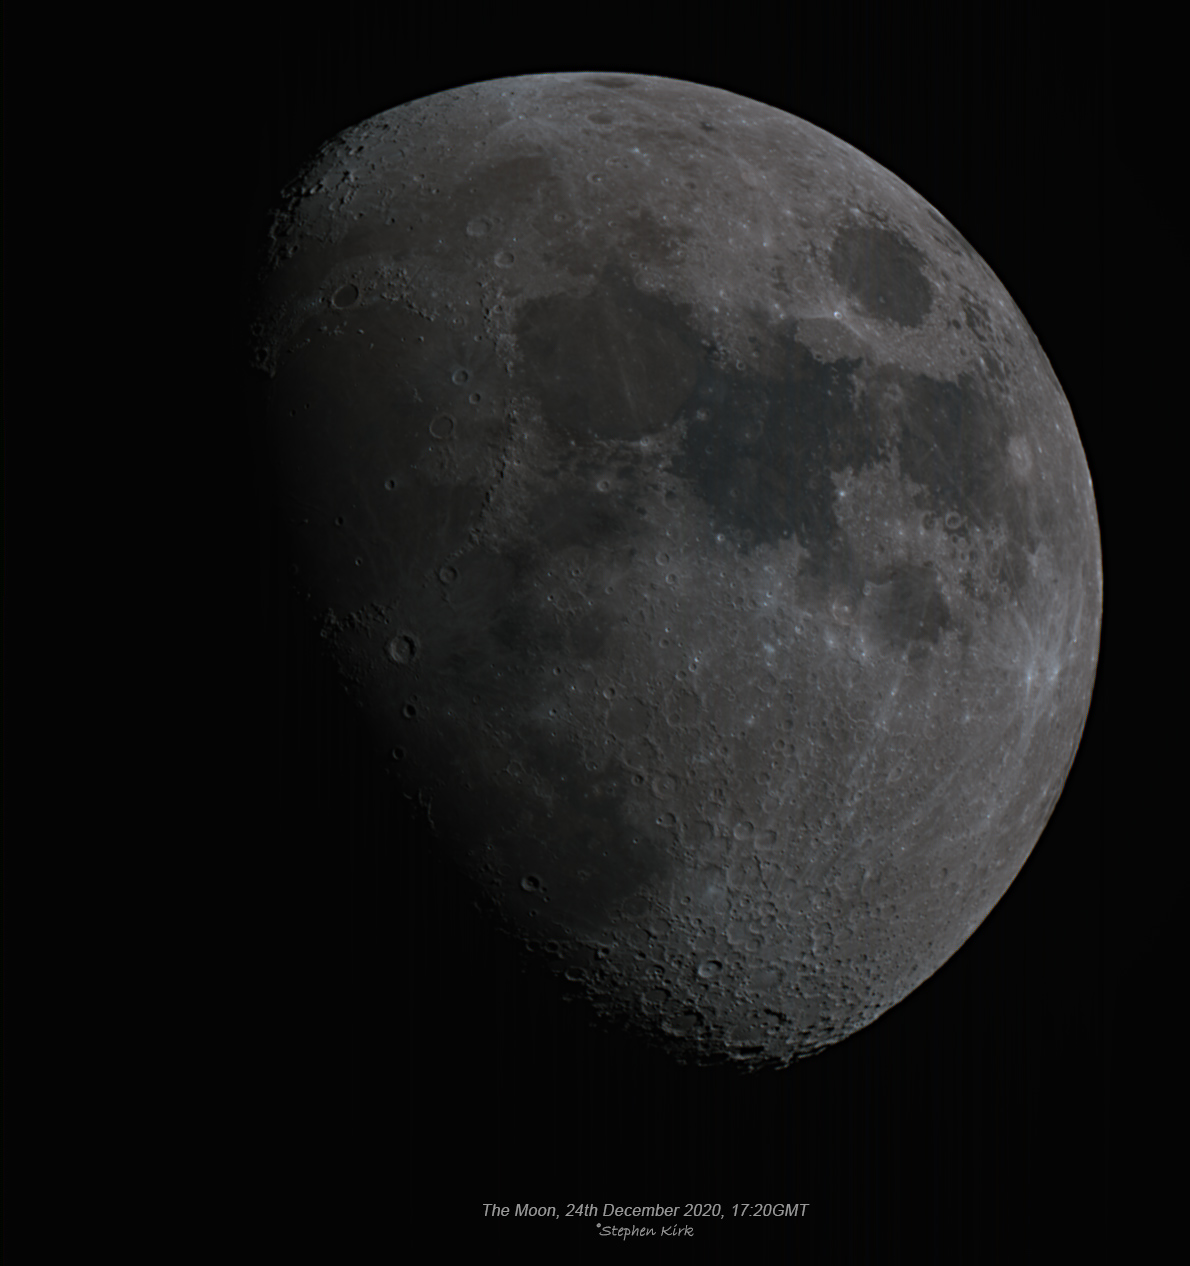
The Moon, 24 Dec 2020, FSQ85 and QHY268C
This is a one shot colour picture of The Moon through my Takahashi FSQ85 telescope and my QHY268C colour camera. Seeing between bouts of cloud dodging was quite good with very little in the way of shimmering. This is the best 40% of 5000 frames captured with Fire Capture. I did not use the full resolution of the QHY268's 6000x4000 sensor, I just captured the central 1600x1200. Unusual to see the FSQ85 used as a planetary or lunar scope but it does excel at this as well as deep sky astrophotography work. It is also a very good instrument for visual observations.
Processed with Autostakkert, PixInsight and Photoshop. I hope you like it. It could do with a bit more colour to bring out the colour in the Mare (sea) regions.
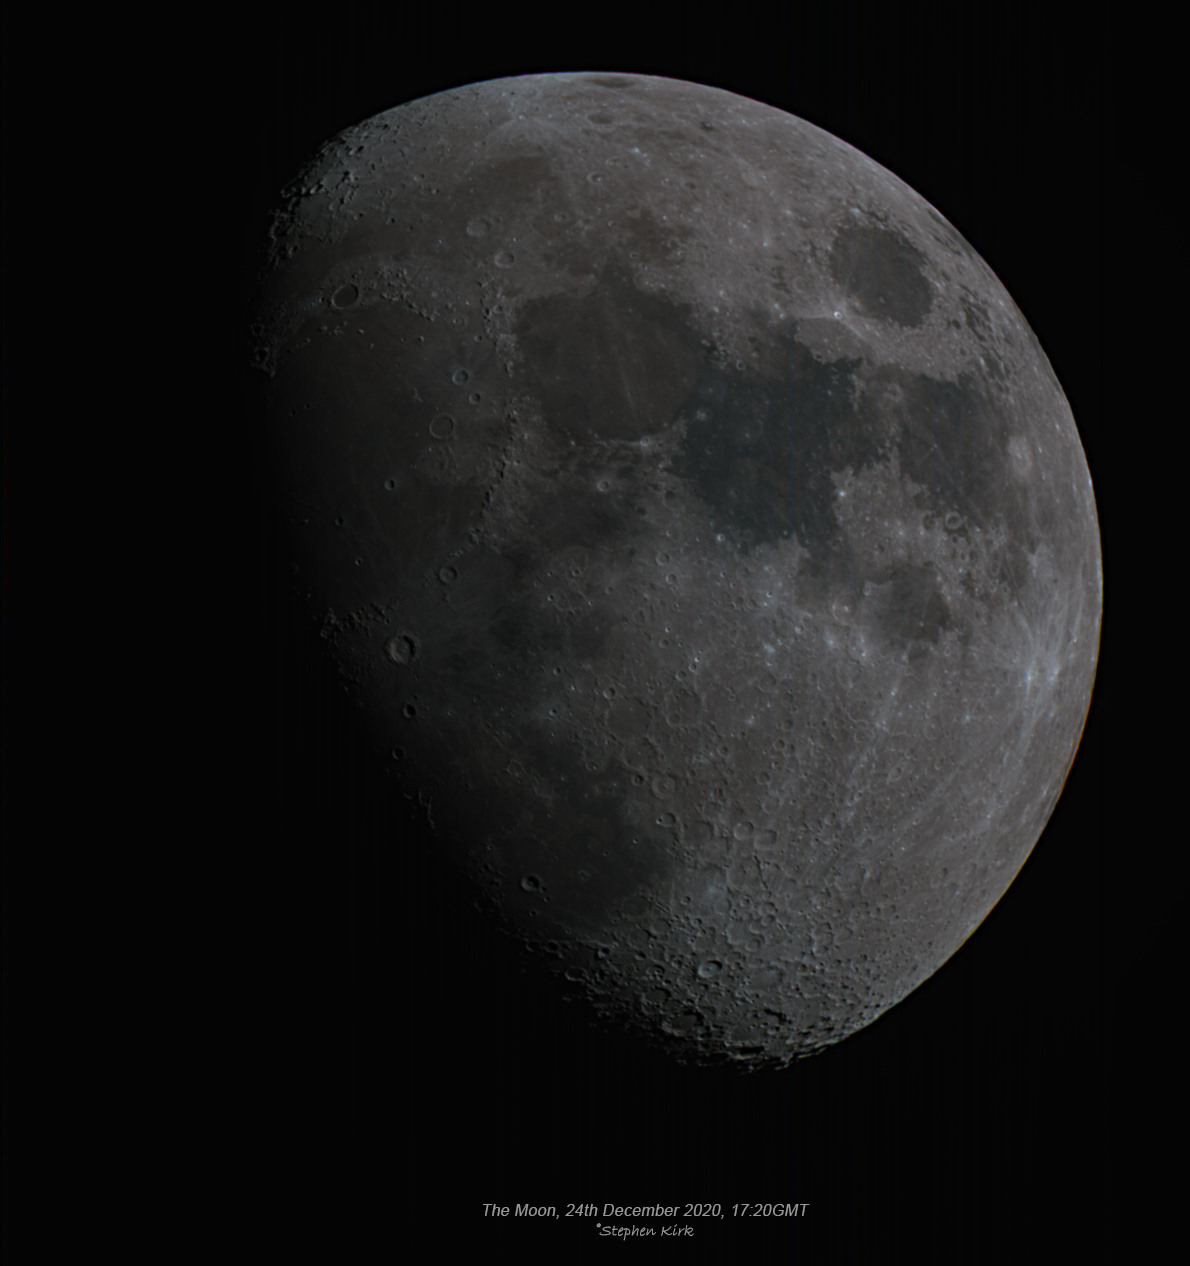
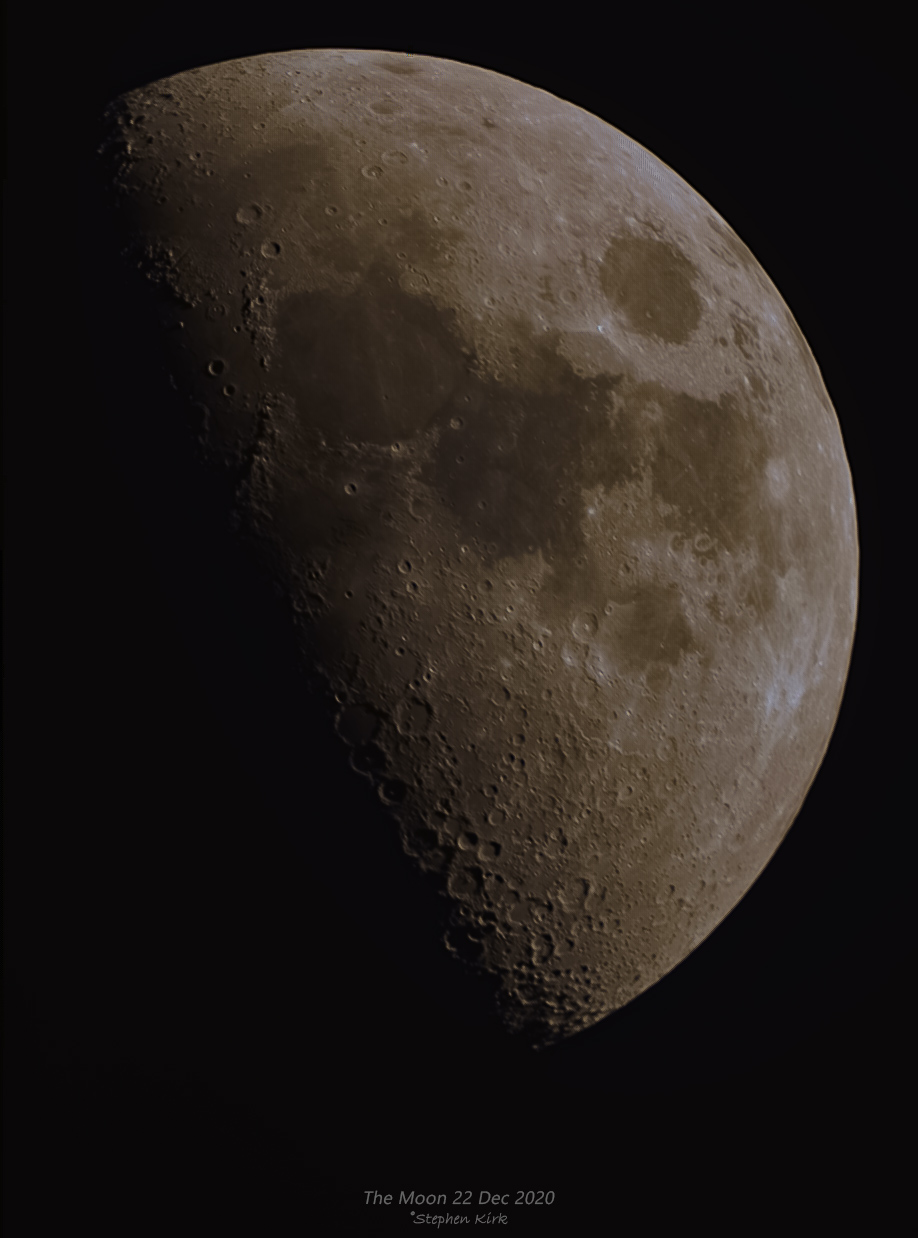
The Moon
The Moon was at about first quarter when I captured this image. There are a lot of firsts in this image when capturing as I discuss below.
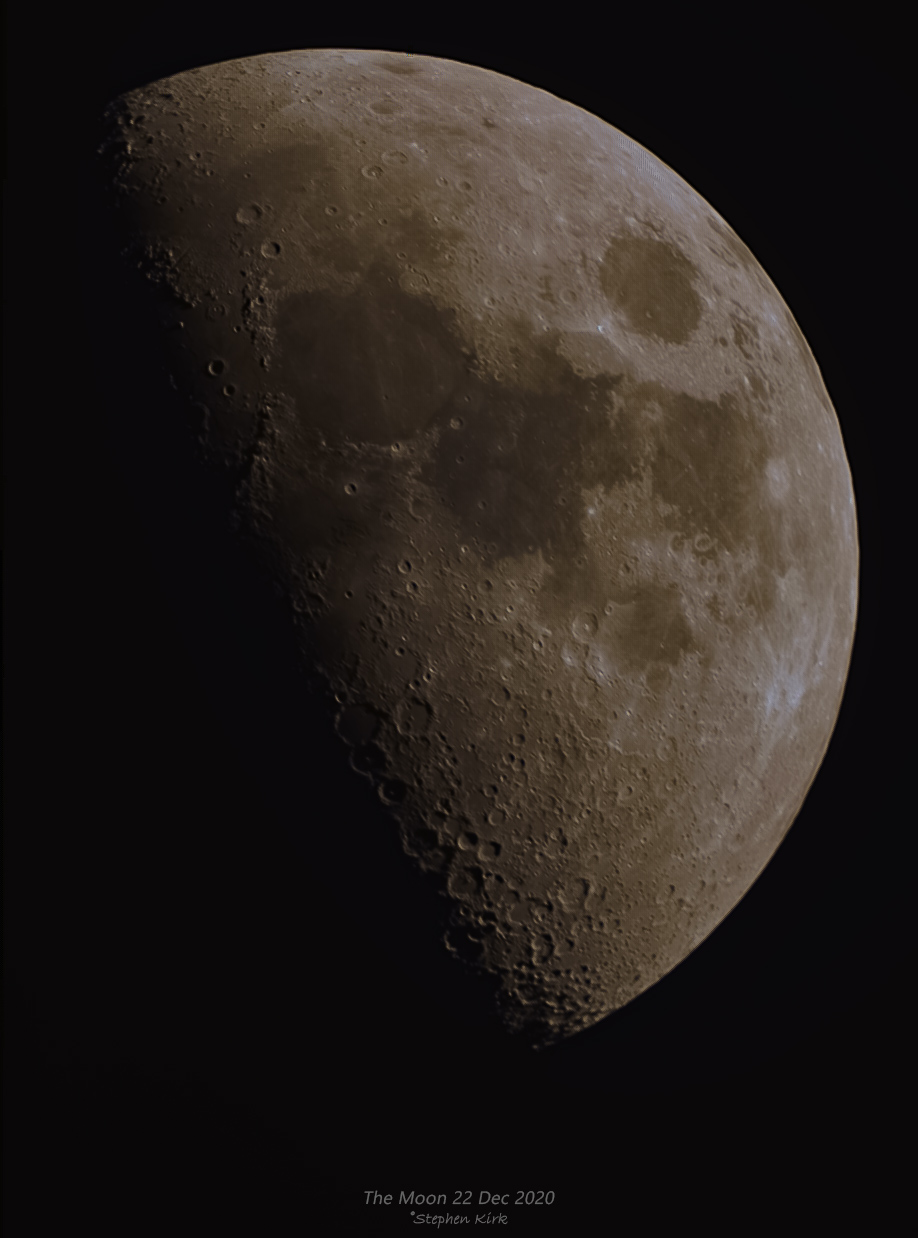
First up, this is the first time I used the QHY268C for planetary photography in video mode. Before now, I always used this camera in long exposure mode. I think the camera works very well and when I cropped the capture area down to 1600x1200 from its native 6000x4000, I was capturing16fps in Sharpcap, which is quite reasonable.
Secondly, this is the first time I used my Takahashi FSQ85 as a planetary/lunar scope. I think it worked our pretty well. I would normally have moved the camera over to the TEC140 or even the C925 SCT scope, however, I do not yuet have the adapters for the QHY268C to do that just yet.
Technical Details
As mentioned, imaged with FSQ85 and QHY268C. I used Lakeside motorfocus and captured 2000 frames in Sharpcap - another first use of this software (excellent) and utilised the best 35% of the frames in Autostakkert.
I used Photoshop to process the outputr from Autostakkert. Try as I might, and despite colour correction, I still think there is a slight green tinge to The Moon in this image so I will experiment with some different processing techniques.
EDIT: I am leaving the image as is but the reason for the green tinge is because I did not equalise the RGB channel intensities properly. There are several ways to achieve this. You can use linear fit in PixInsight and use the weakest median channel as the master with which to equalise the other two channels. Or, again with PixInsight, you could combine the RGB with channel combination with the channel intensities as they emerge from the stacking program and then do a colour combination to equalise the three channels. Or, you could use autocolour in Photoshop to achieve the colour calibration. Actually, there is a fourth way too, bu using Helmut Bornemann's autocolour script in PixInsight.
http://www.skypixels.at/pixinsight_scripts.html
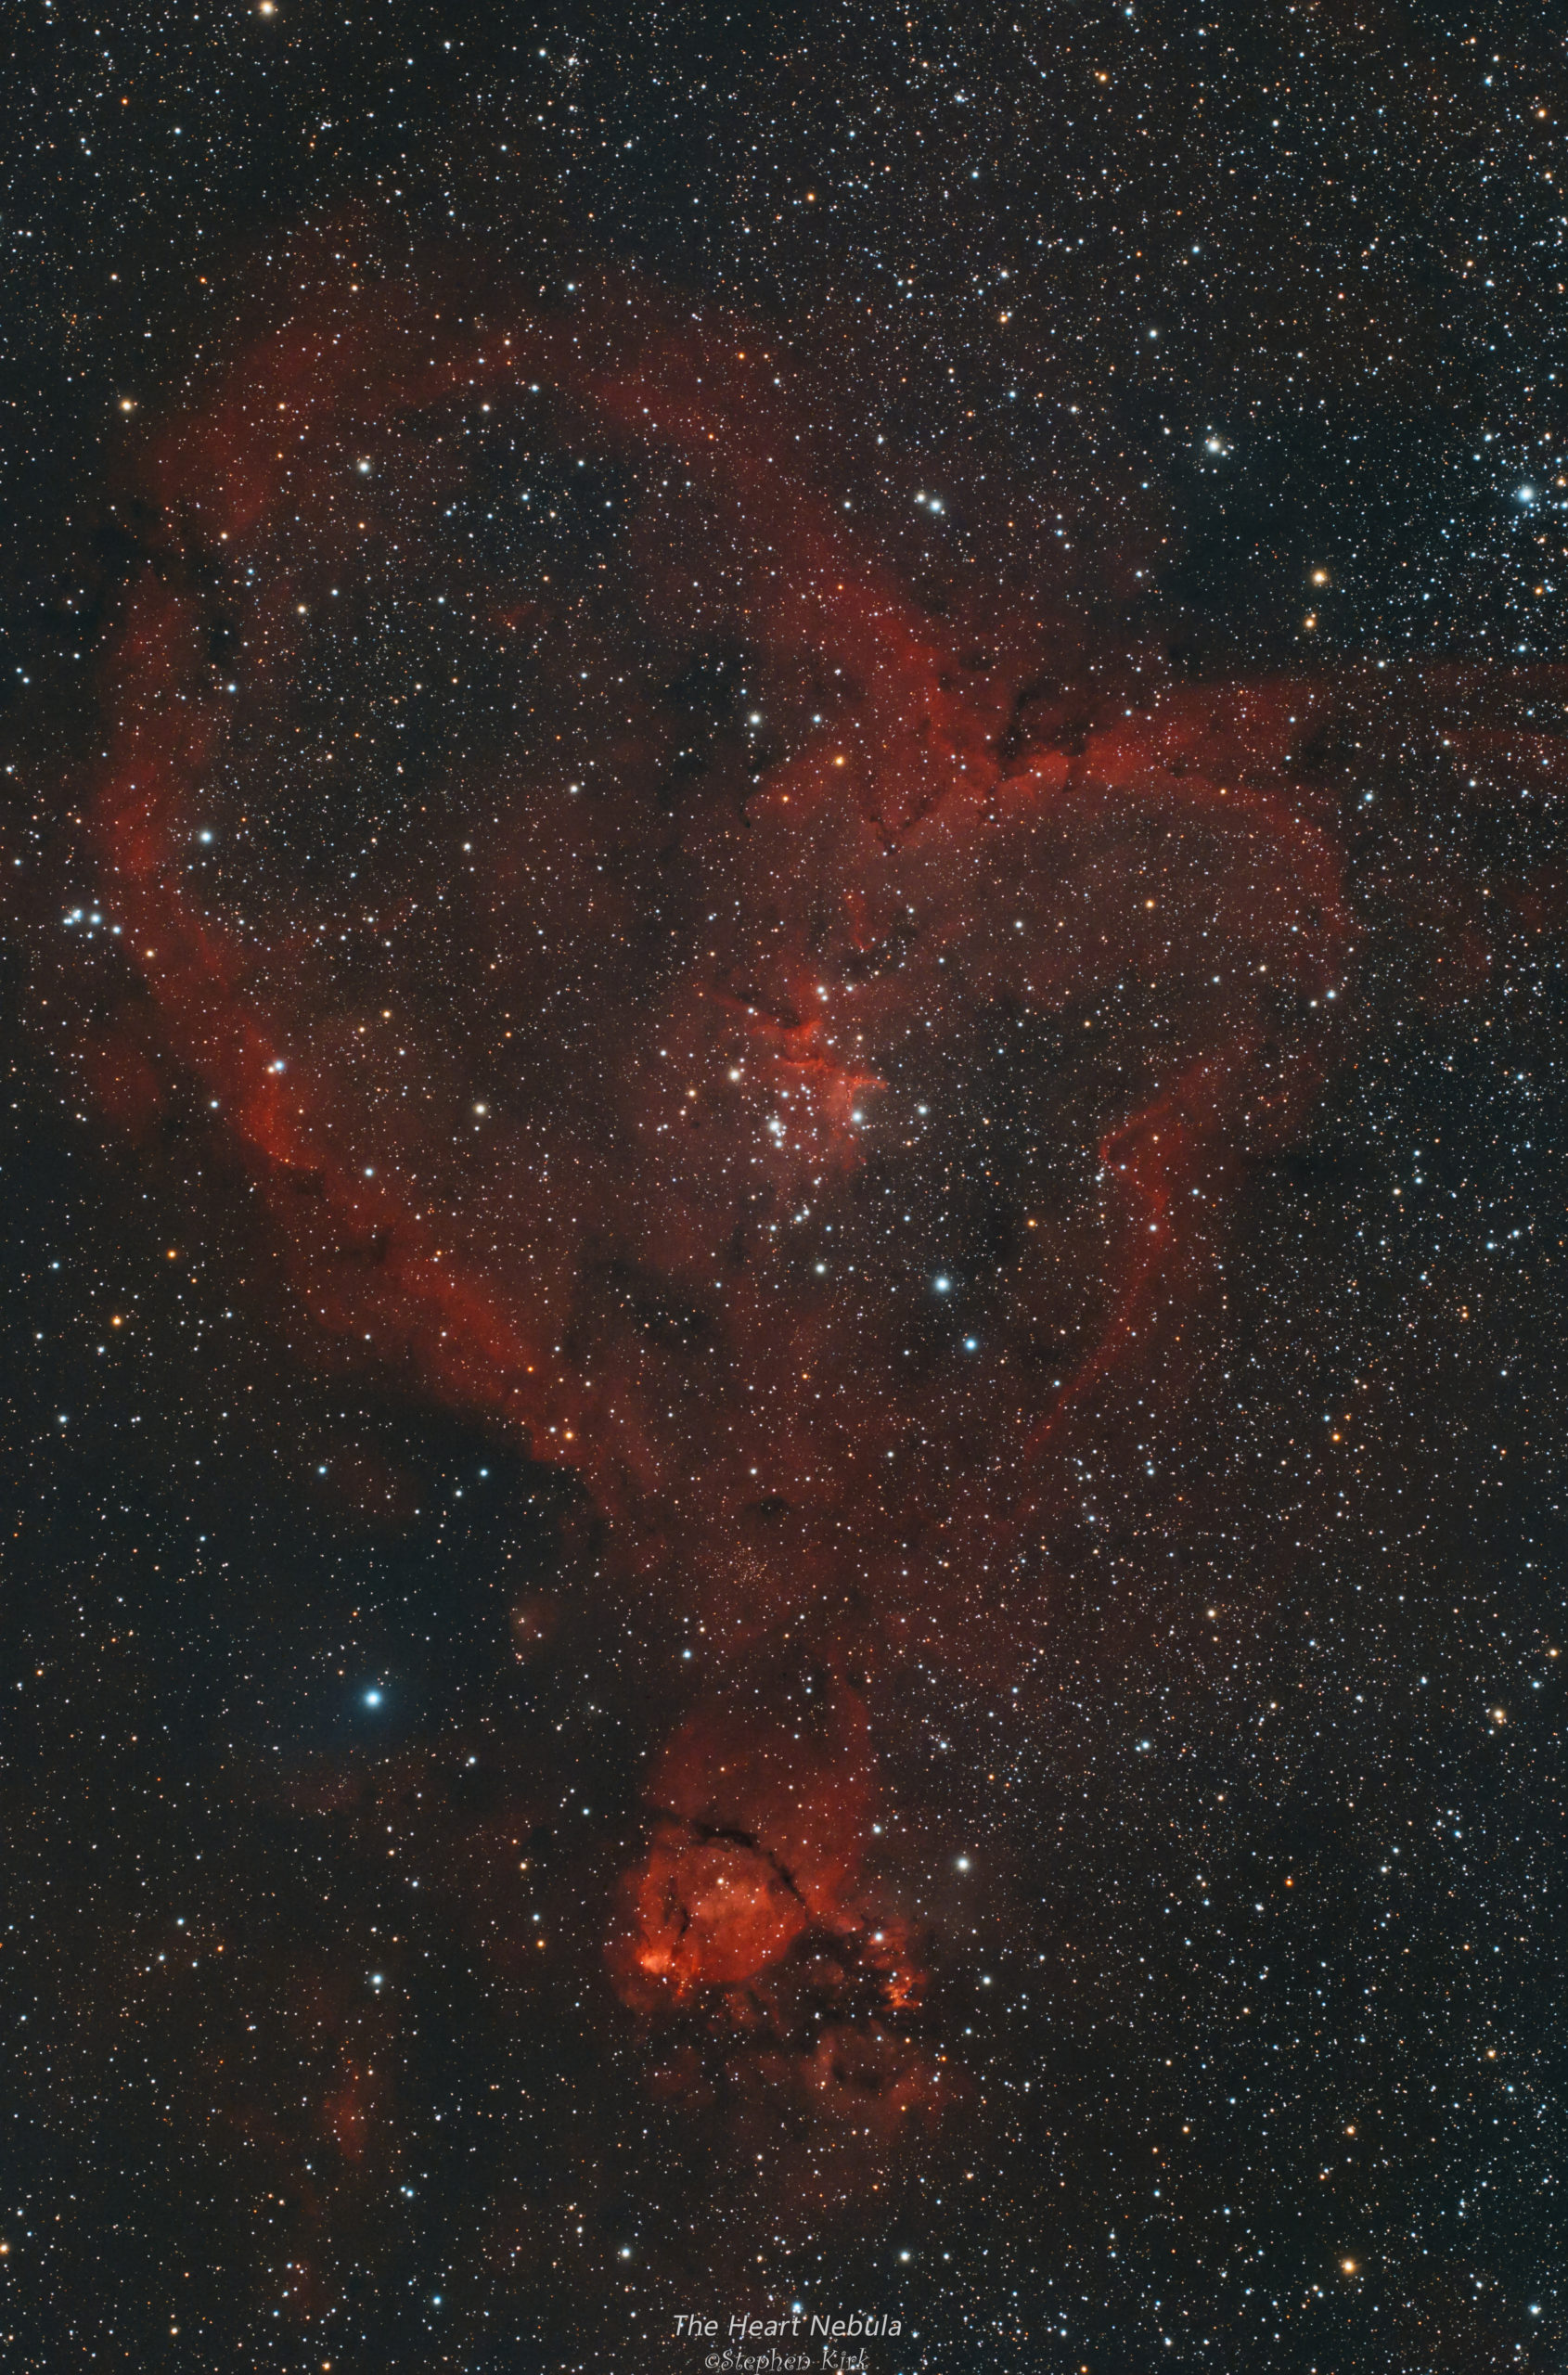
The Heart Nebula - IC1805
A famous emission nebula in the Northern constellation of Cassiopeia, the Heart Nebula is a huge star forming region located about 8000 light years away, out in the Perseus Arm of our galaxy. It is often imaged as a pair of nebulae alongside the Soul Nebula as the famous Heart and Soul Nebulae. I have imaged them together here as well as The Soul nebula here, presented on its own. It is also known as IC1805 and Sharpless S2-190.

It is a beautiful nebula and I have even seen it portrayed on Valentine cards :)
Technical Details
Imaged from my back yard in Nottingham, UK on 20 December 2020. Seeing conditions and sky transparency were reasonable. I used Takahashi FSQ85 refractor at native focal length and a QHY268C OSC CMOS camera. I took 42 x 180s exposures and the data was captured with Sequence Generator Pro. Processed in PixInsight and Photoshop.
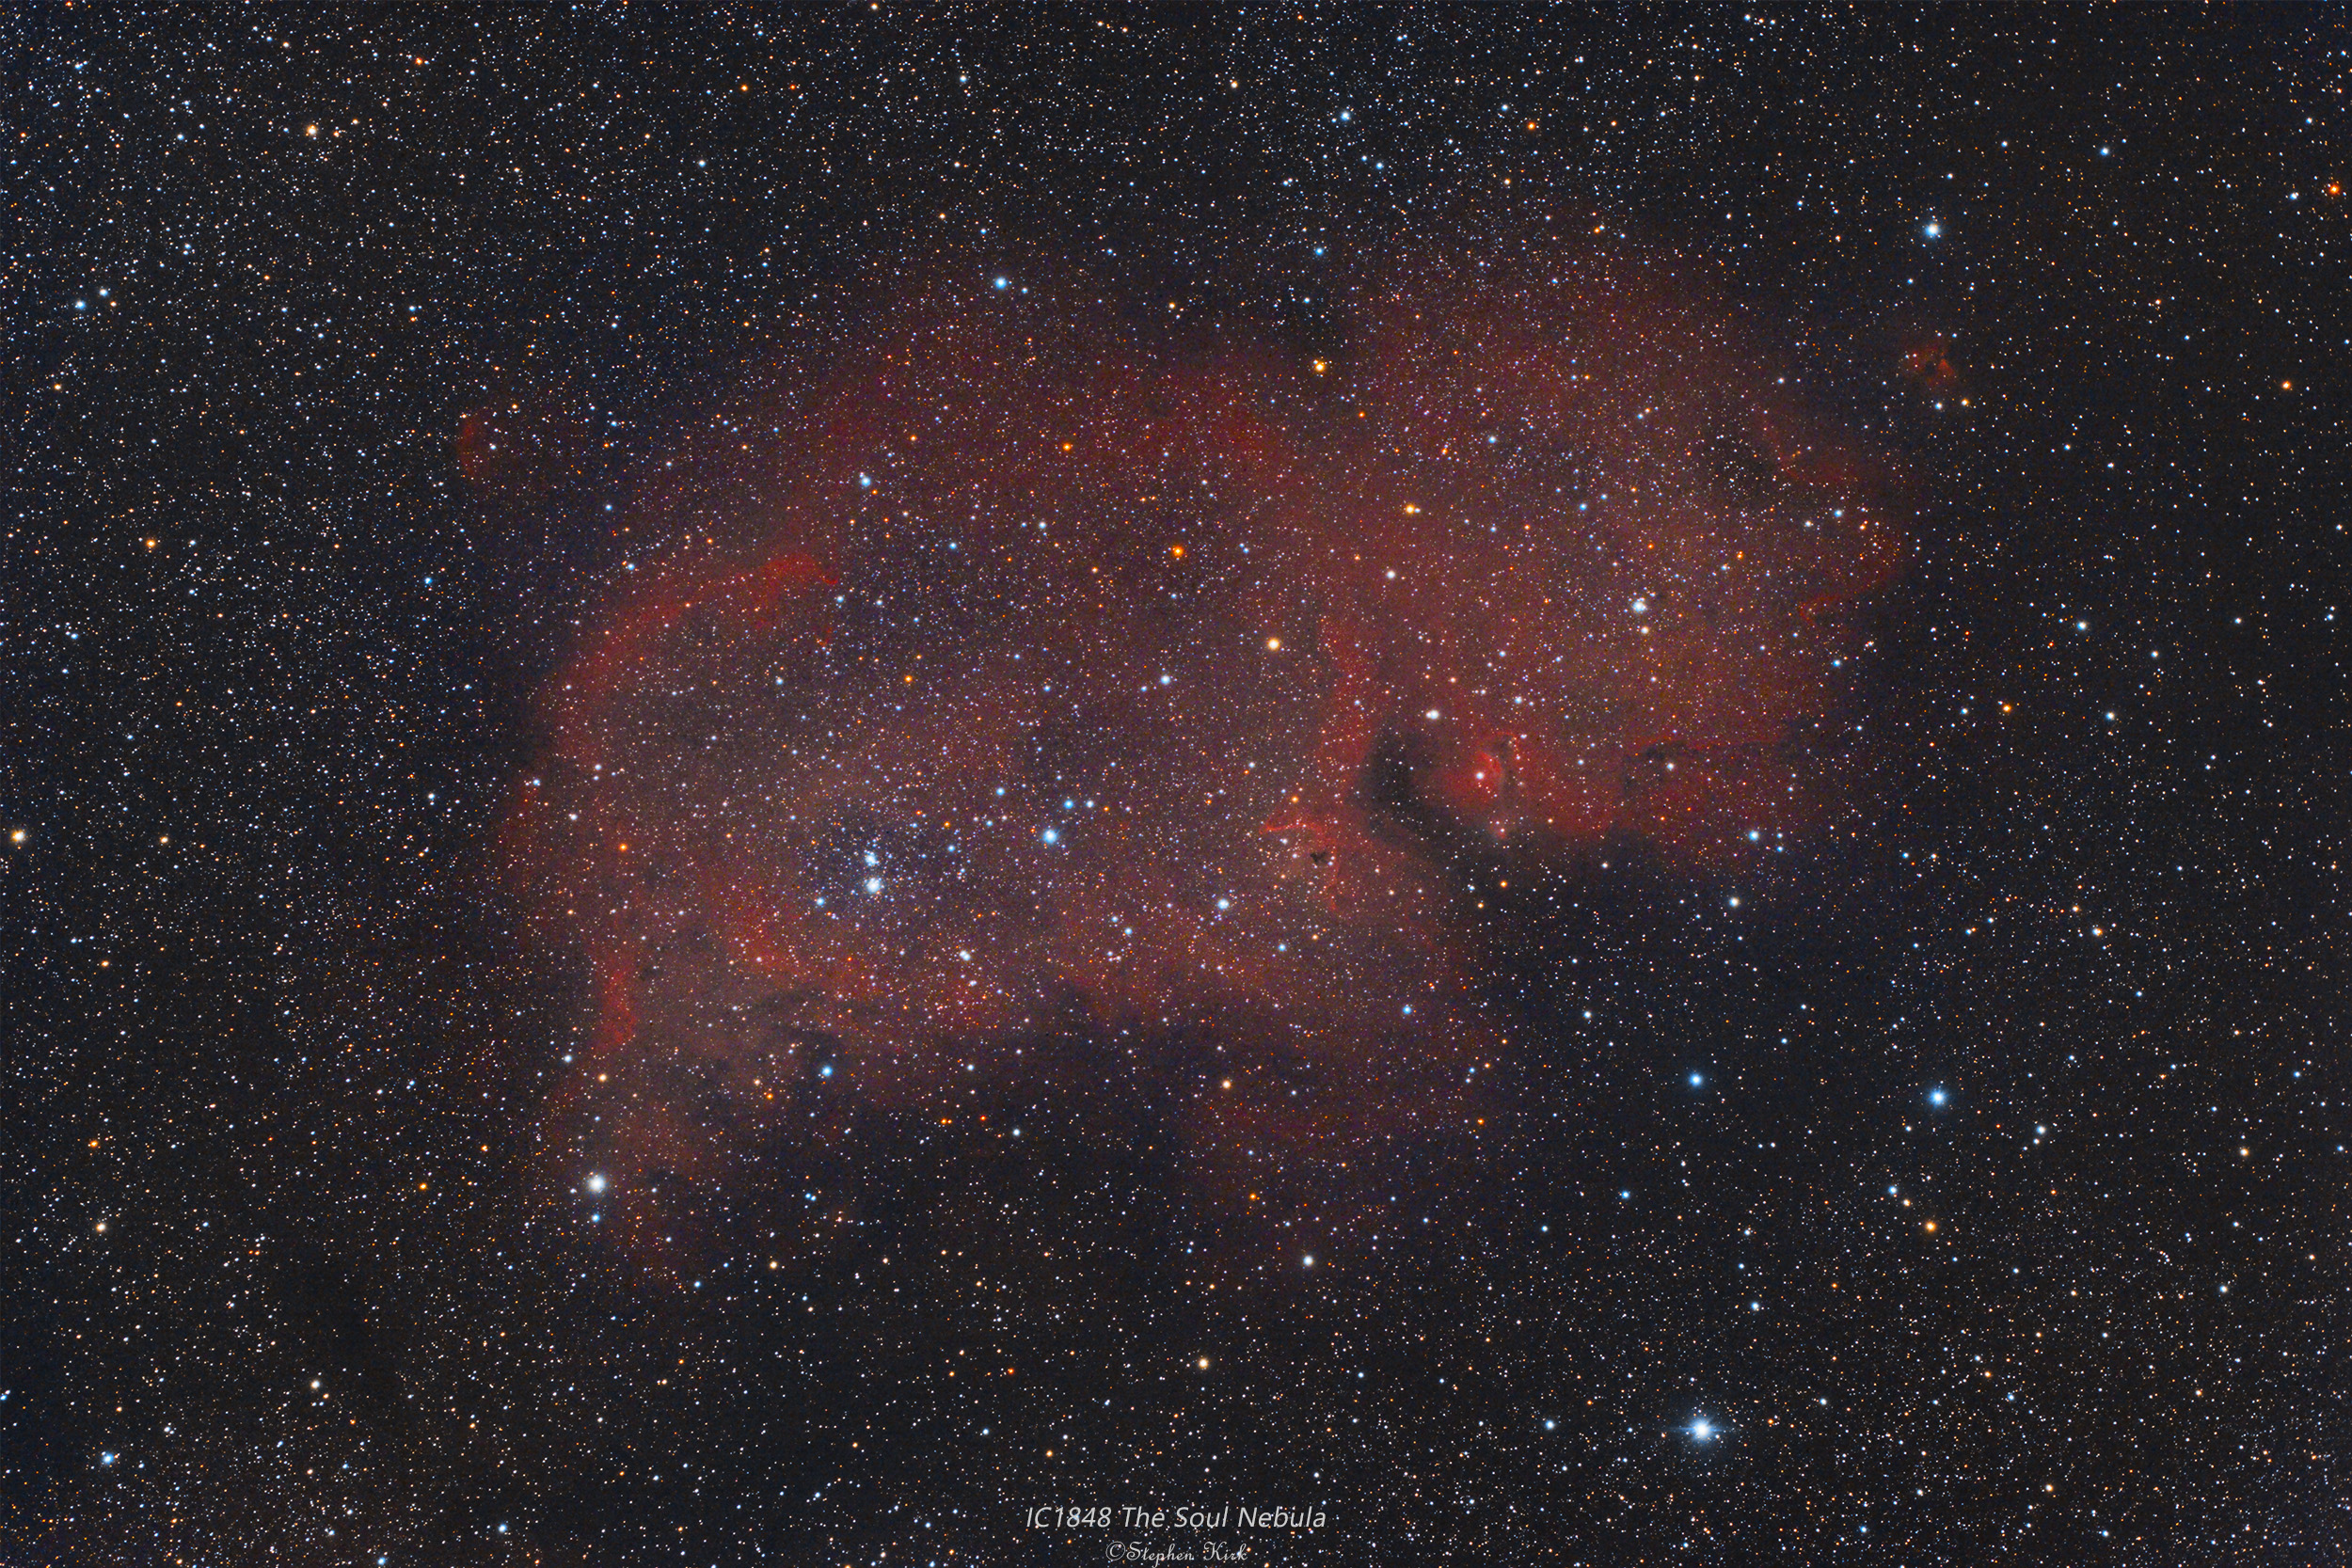
The Soul Nebula with QHY268C and FSQ85
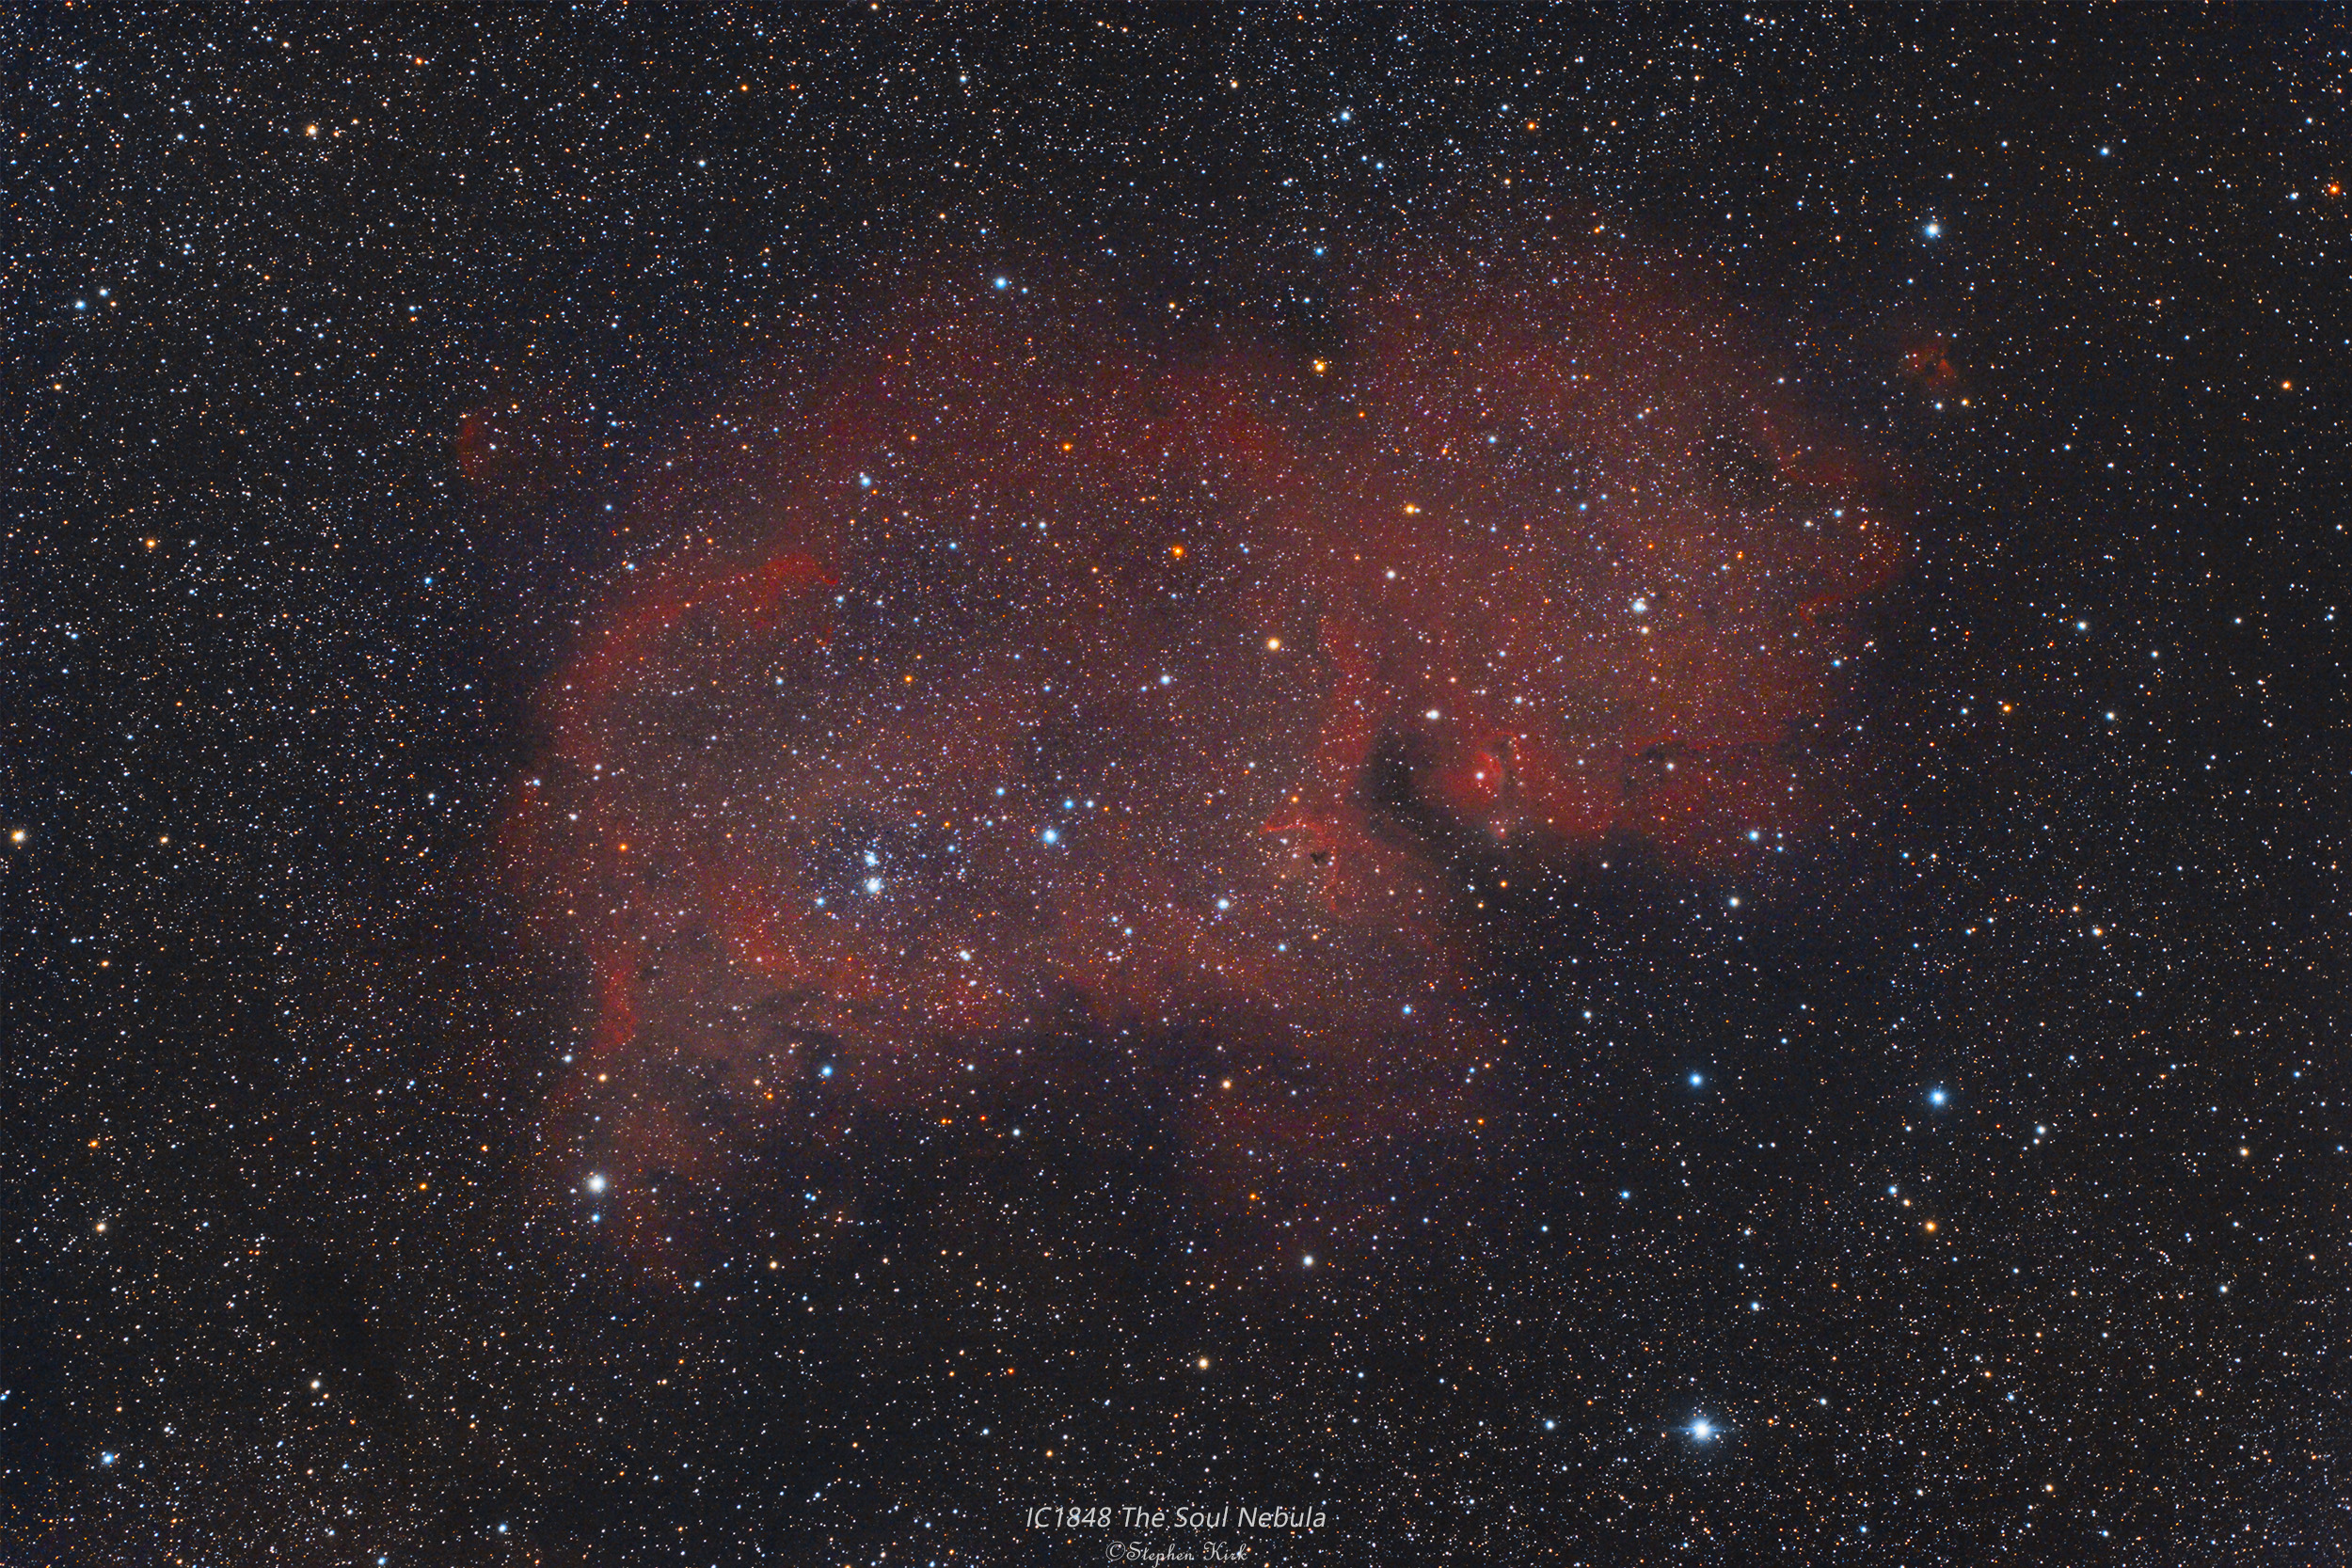
The Soul Nebula is a large emission nebula in the constellation of Cassiopeia. It is commonly imaged with the nearby Heart Nebula as a nebula pair, not unsurprisingly called the Heart and Soul Nebulae such as my rendition here.
The Soul Nebula is a vast star forming region and is located about 7000 light years away, in the Perseus Arm of our galaxy, outward from the core. It is sometimes called the baby nebula because it resembles a baby!
Technical Data
Imaged with my Takahashi FSQ85 refractor at its native focal length and I used my QHY268C colour camera on MESU 200 mount using off-axis guiding. The mage comprises 42 x 3 minute exposures to give a total integration time of just over two hours. It could use some more data, especially some Ha data to bring put more detail in the nebula.
Seeing and transparency were average and the data was captured November 2020.
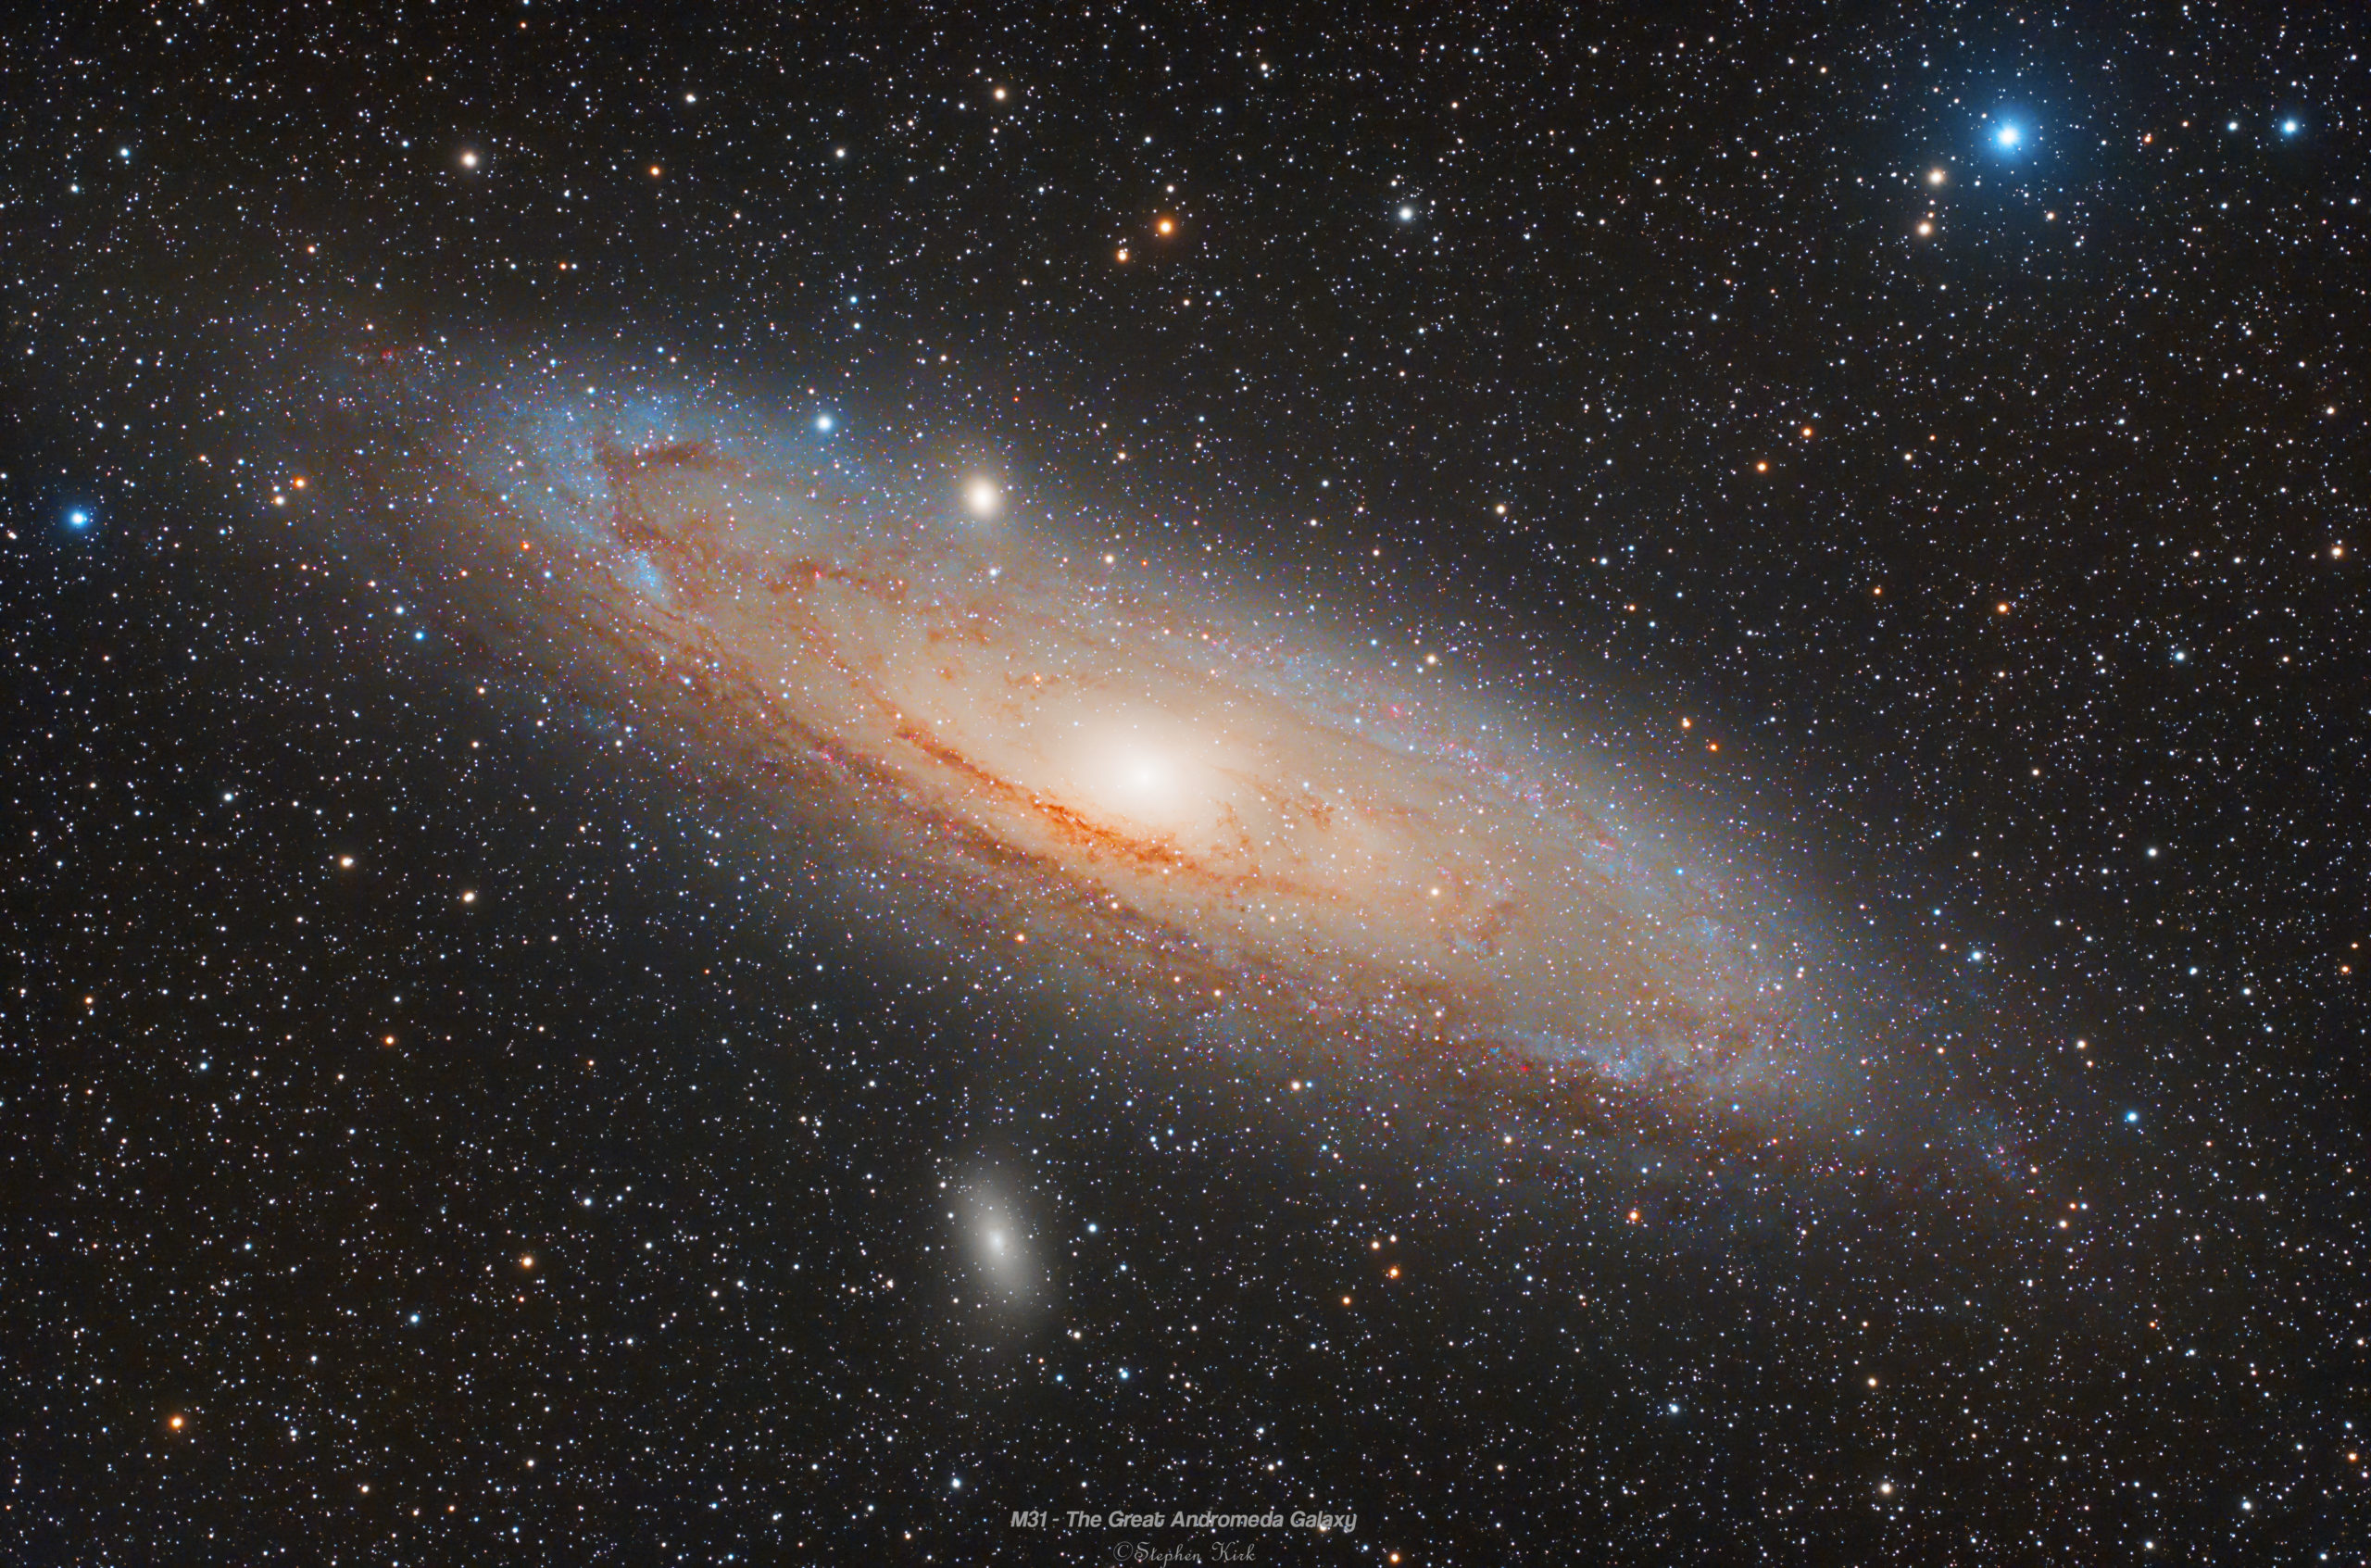
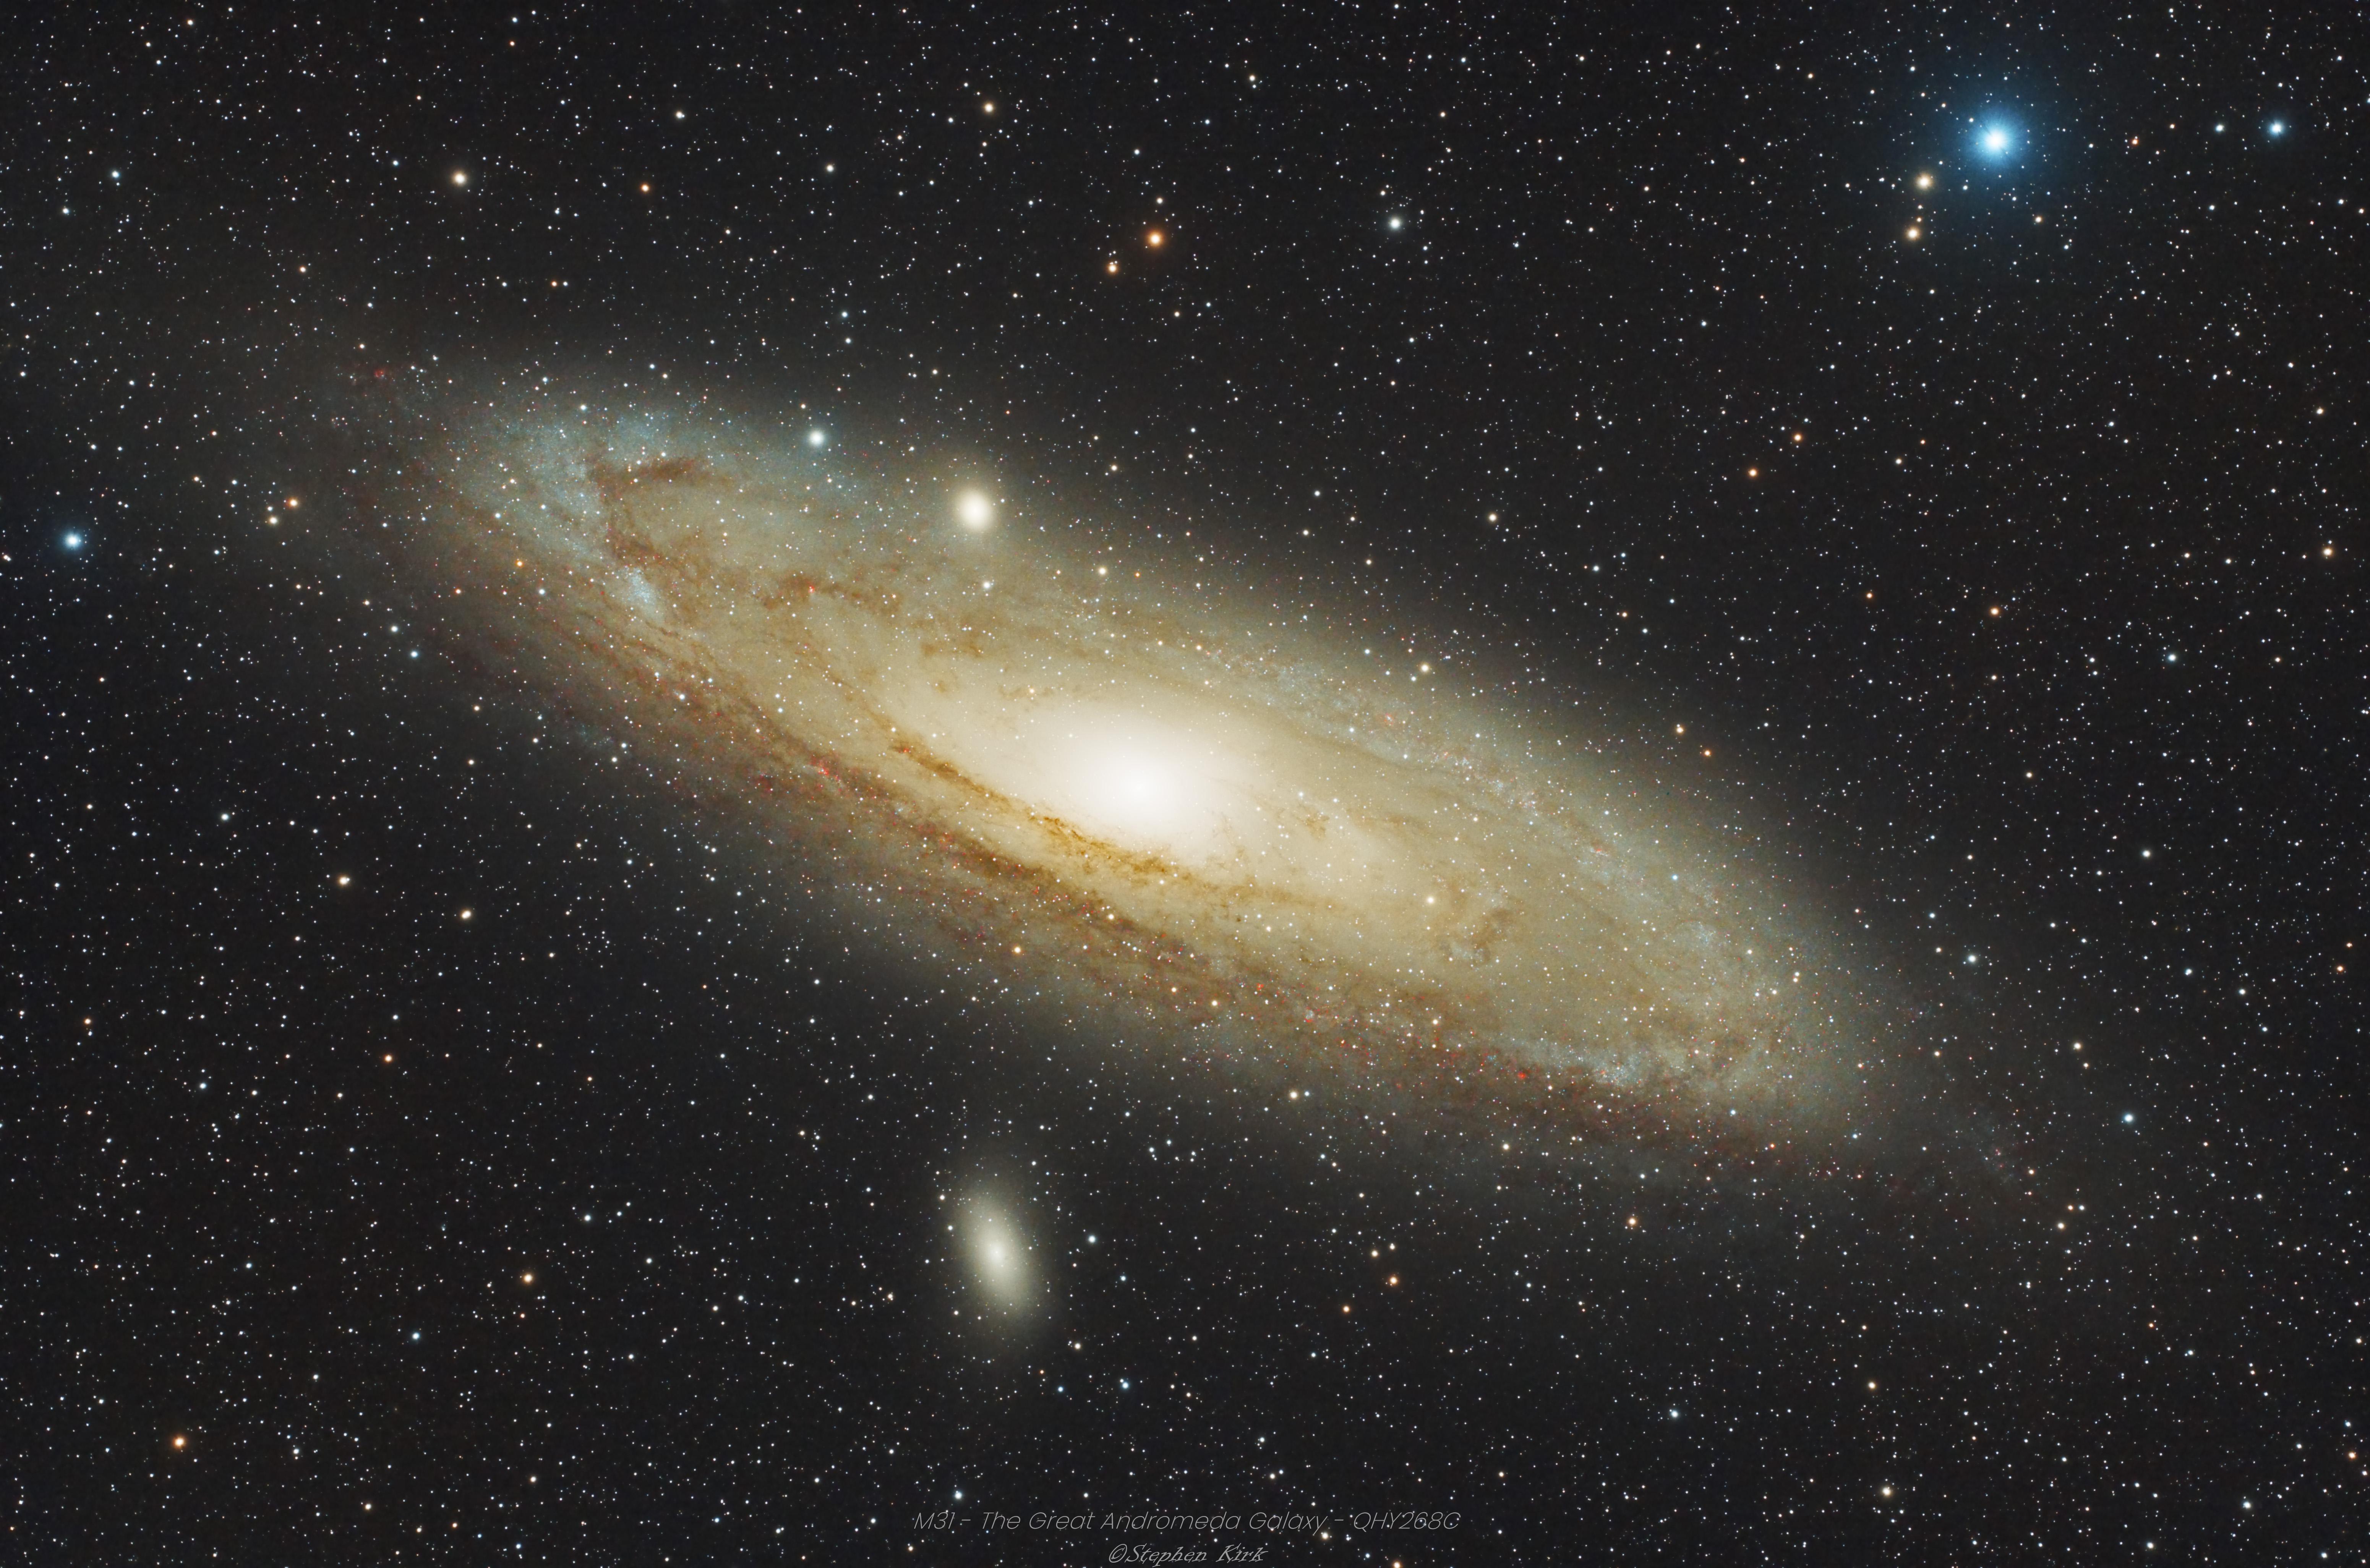
M31 with QHY268C
I have imaged M31 several times before and on this occasion I thought I'd turn the QHY268C onto the galaxy.

This image is made up from a total of 82 exposures, each of 180 seconds for a total integration time of about 2.5 hours.
I used my Takahashi FSQ85 refractor at its native focal length. I used an LDAS 2" light pollution filter in front of the camera to try and cut through the light pollution a bit.
Imaged from my backyard in Nottingham, October 2020 on MESU 200 mount and OAG used with an ASI 120mm guidecam.
Data captured with Sequence Generator PRo and processed in Pixinsight and Photoshop CC.
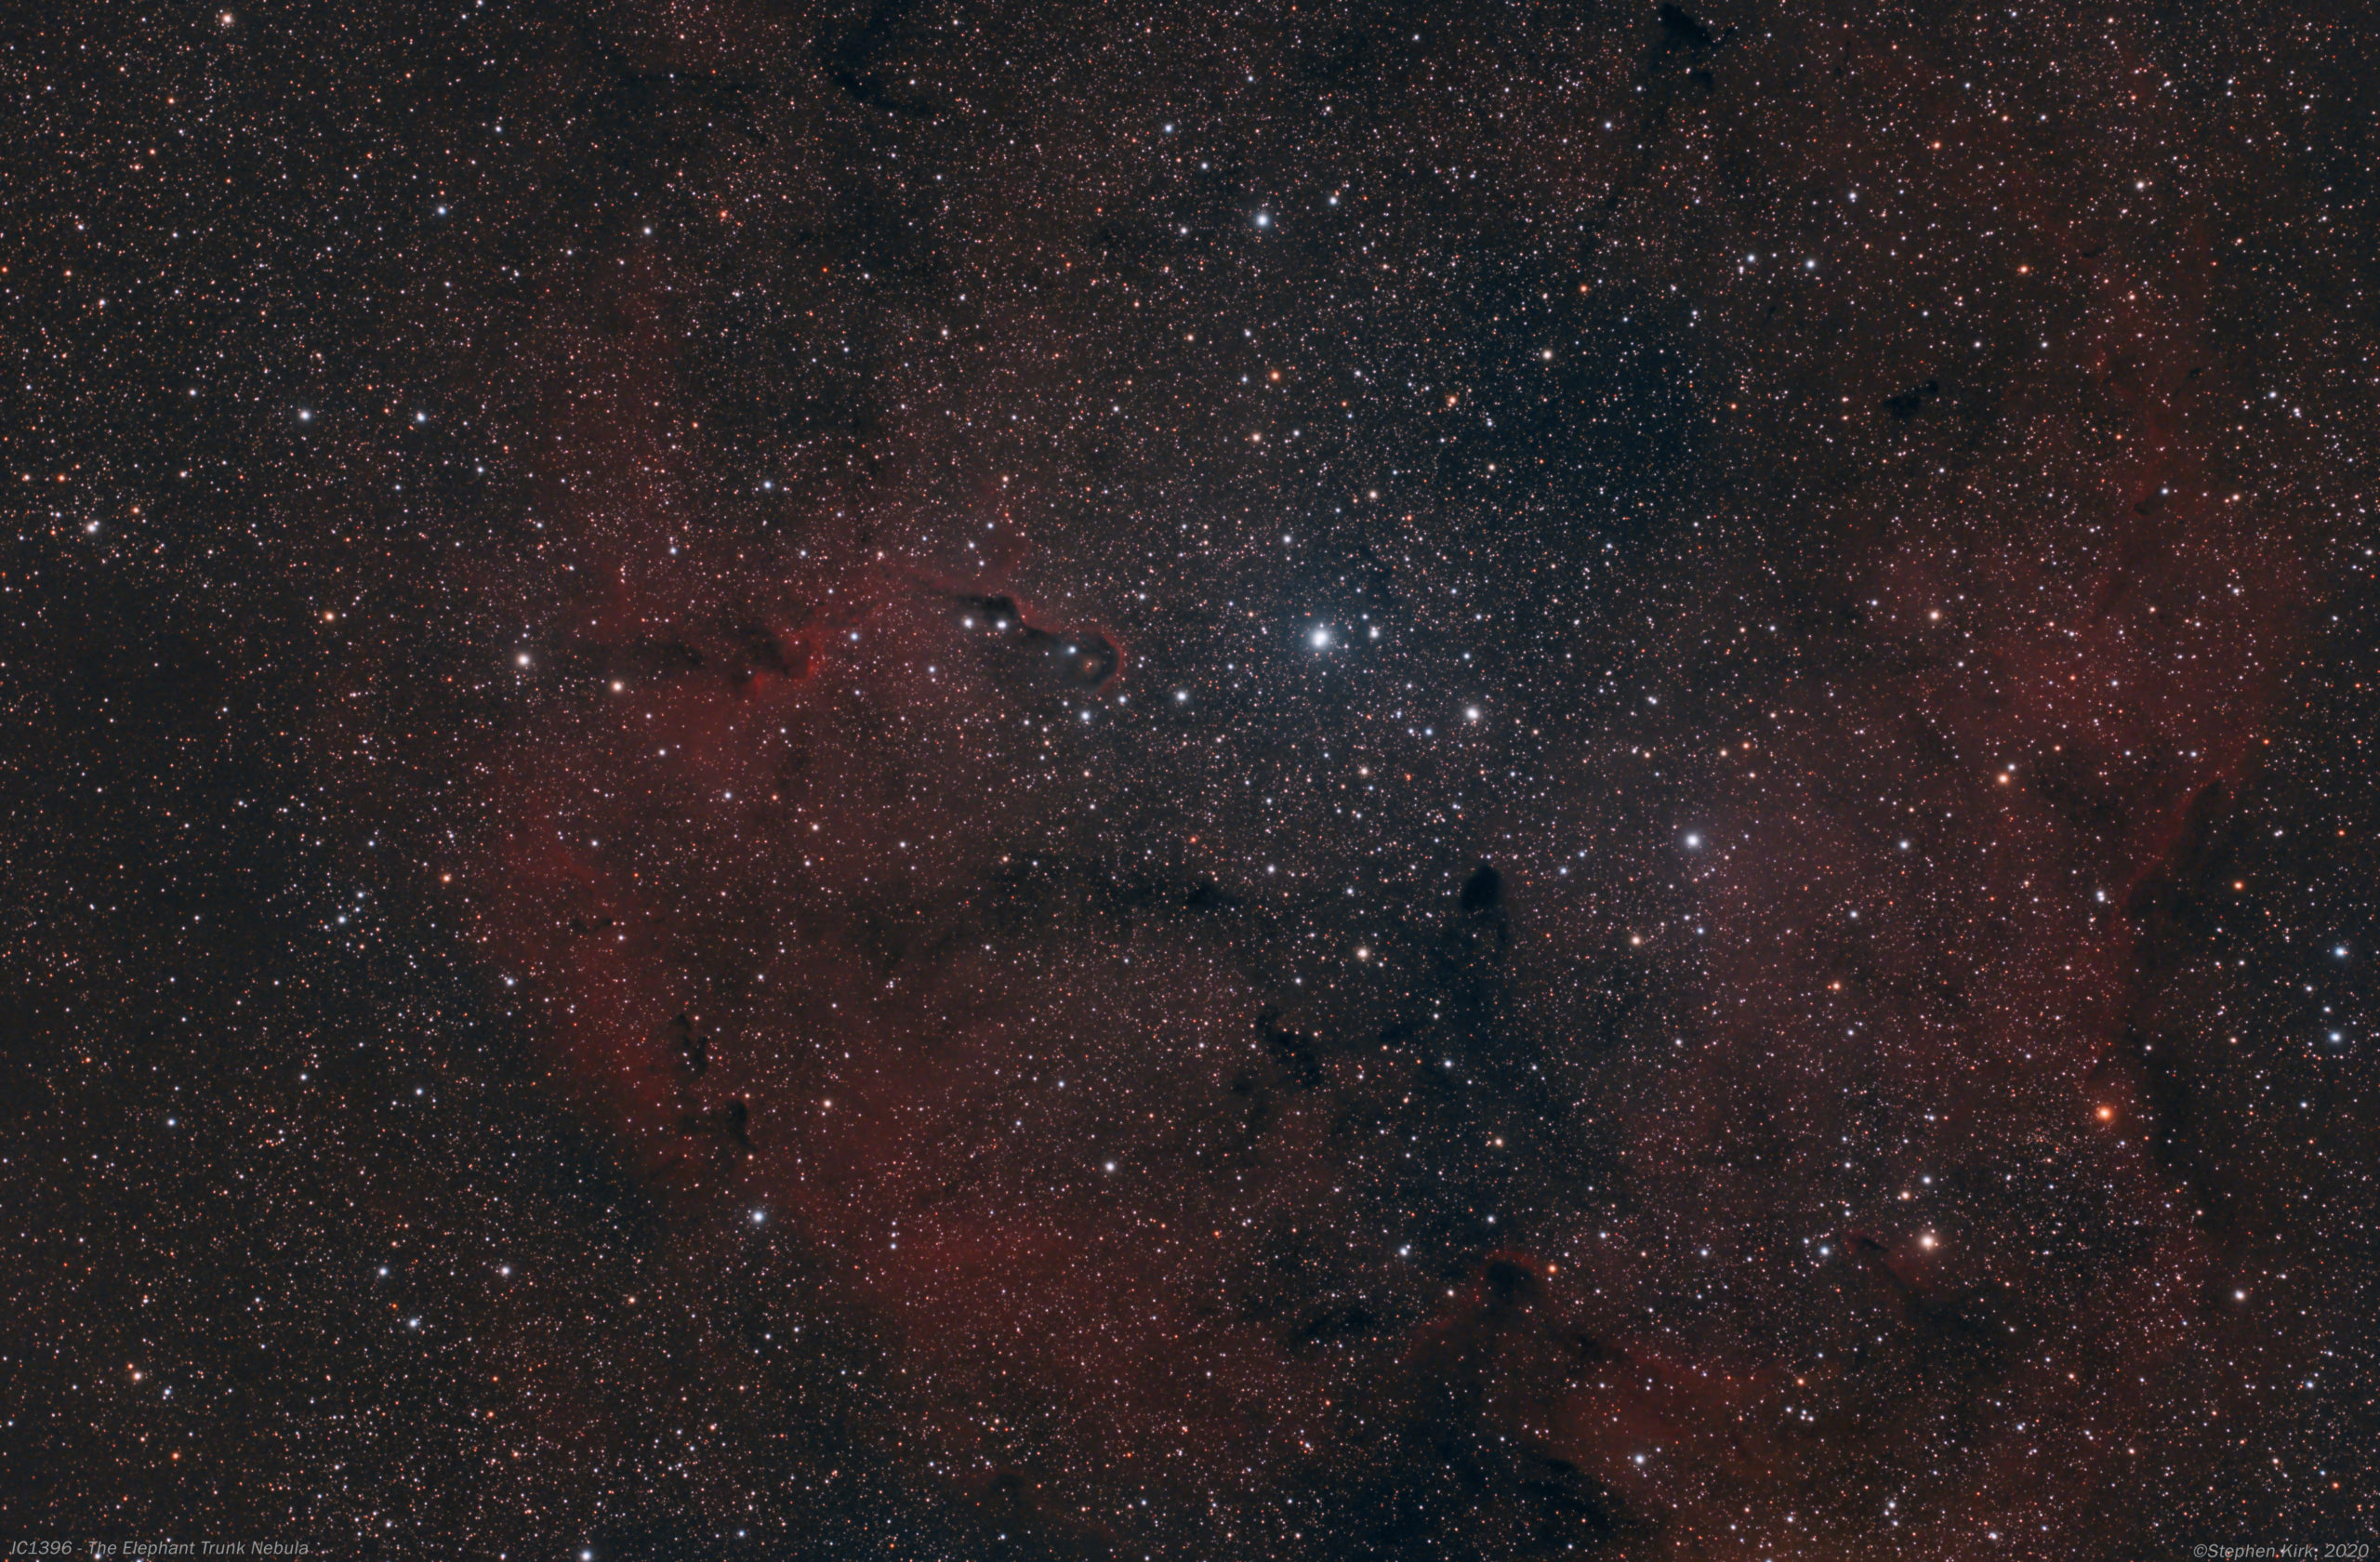
IC1396 - Elephant Trunk Nebula

I have imaged IC1396 before. It passes directly overhead at my location in Nottingham, UK.
Imaged here on 14-15 October 2020 with FSQ85 refractor and QHY268C OSC camera on MESU 200 mount.
A total of 55 x 240s exposures. Developed in PixInsight and Photoshop CC. Image capture with Sequence Generator Pro.

First Light Image From QHY268C and FSQ85

Full Size Image here (opens in a new tab).
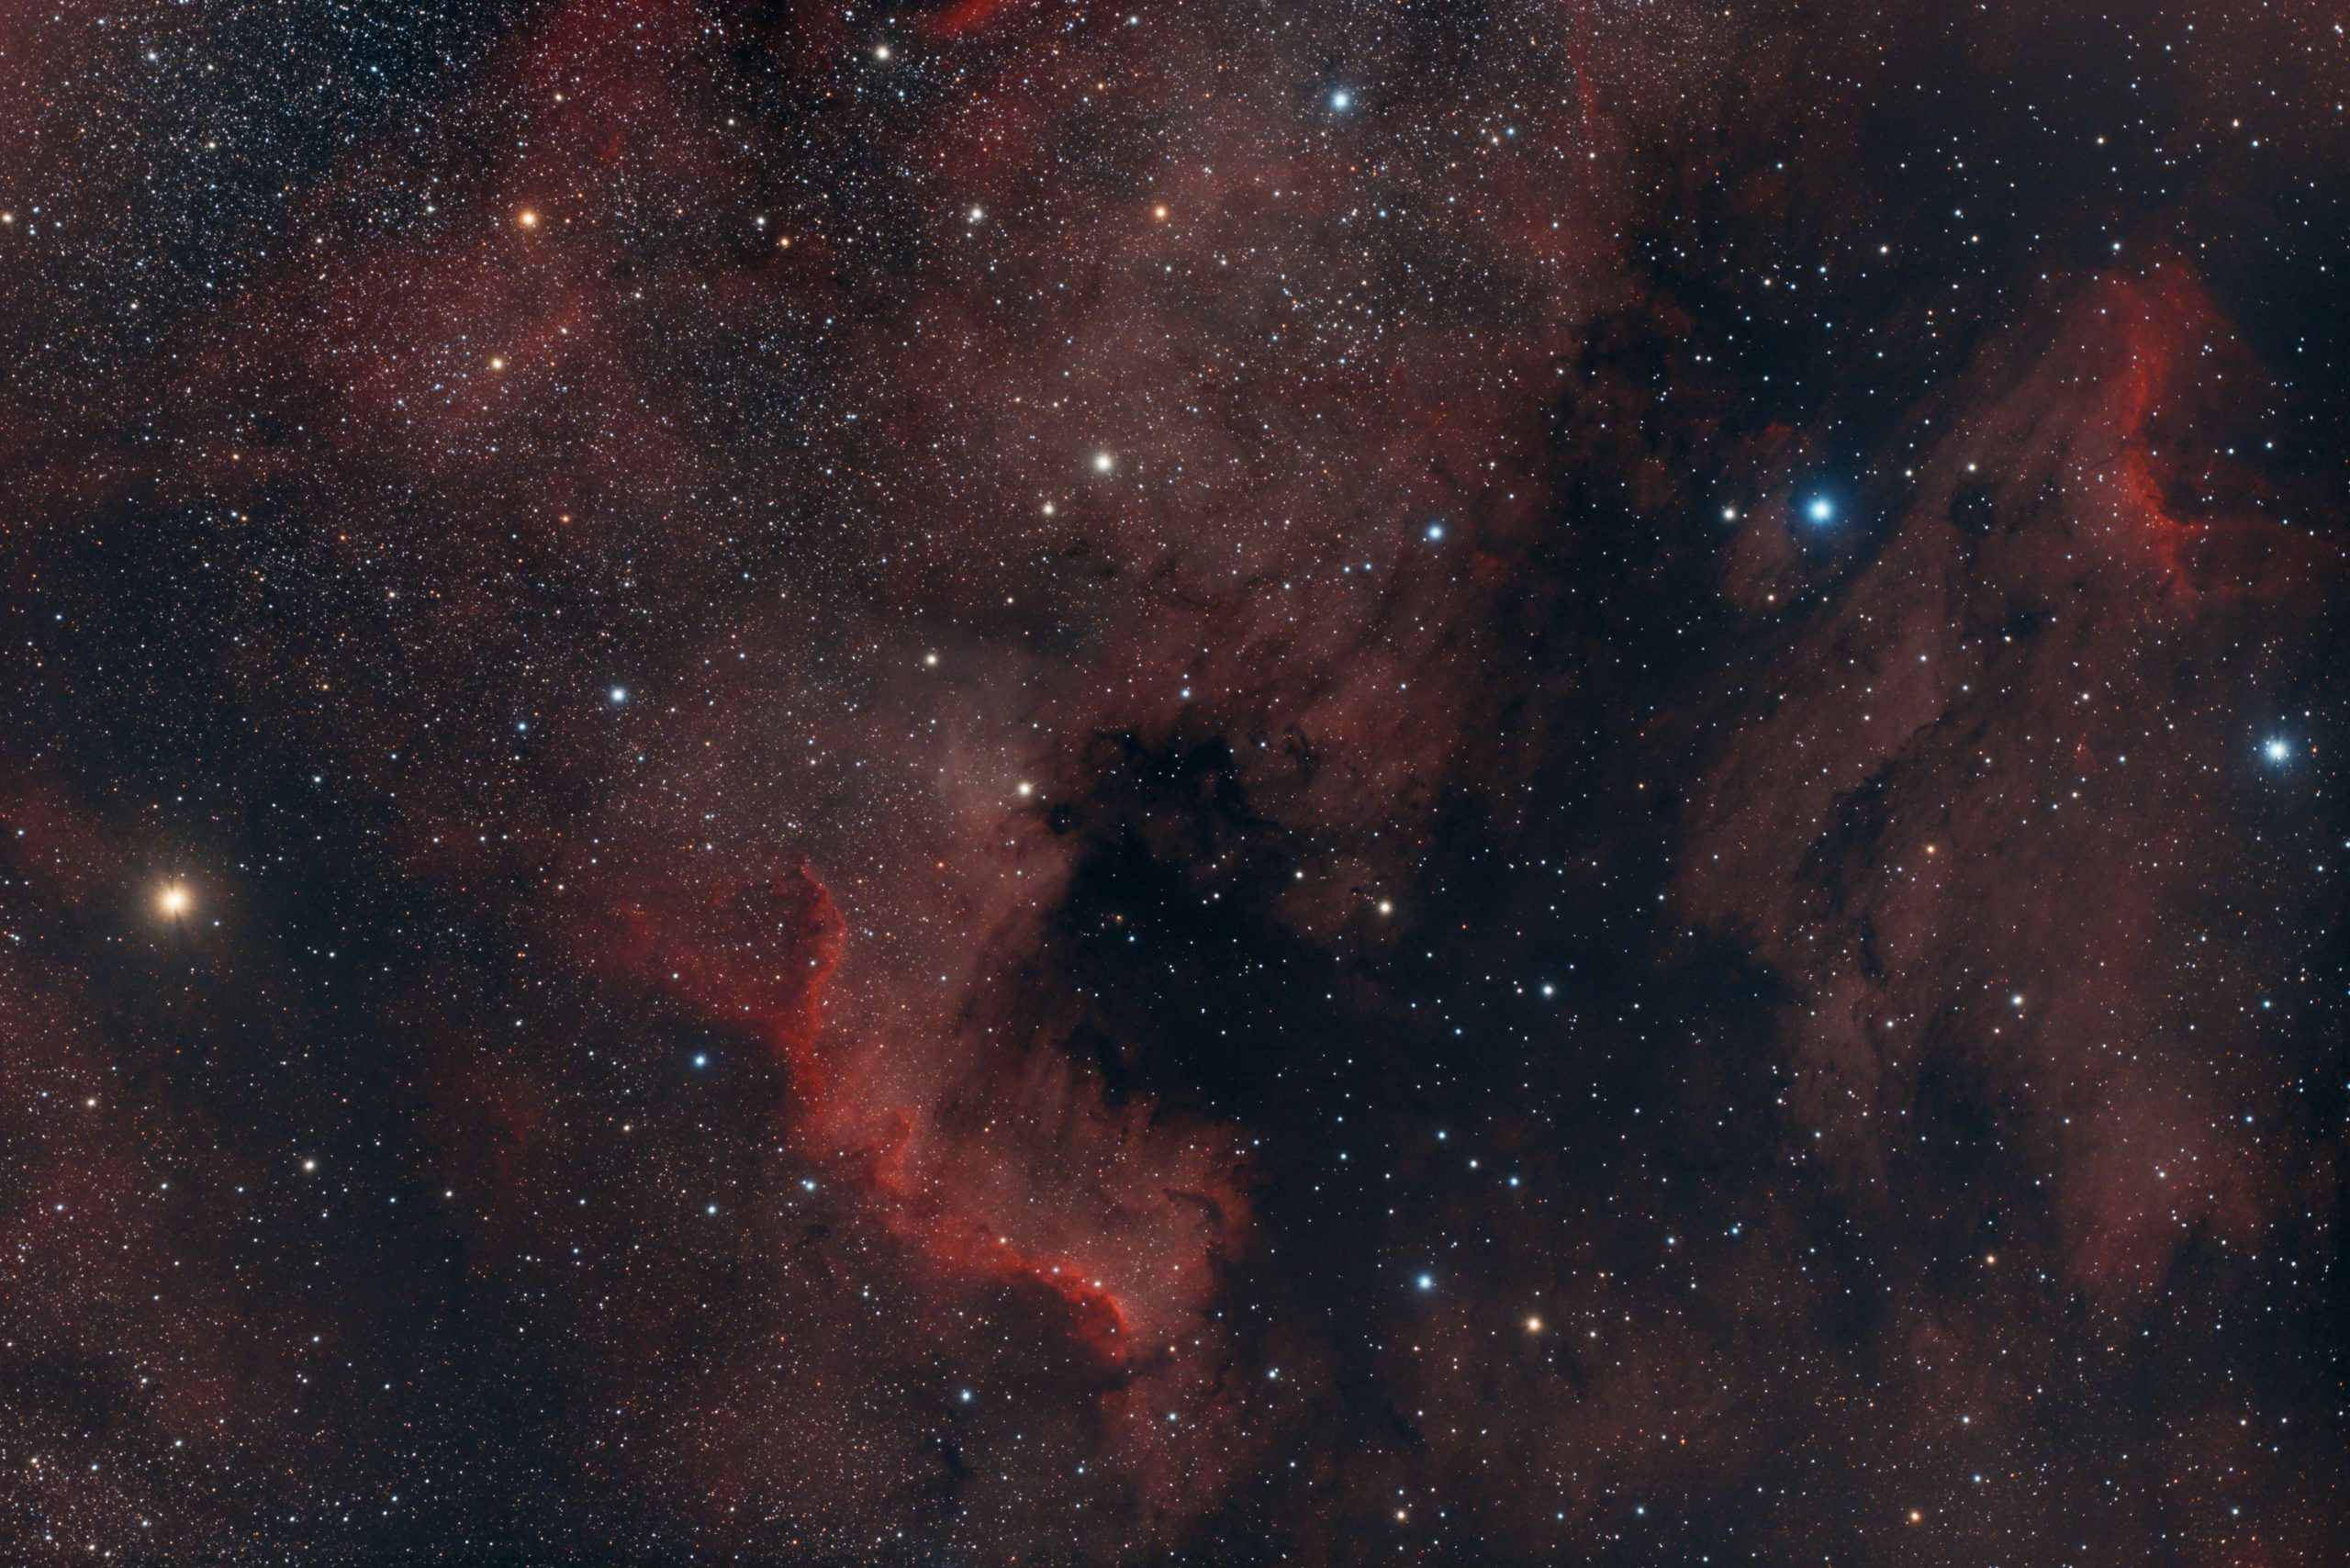
This my first semi-completed image from the QHY268C and so far I am impressed with its performance. I discuss unboxing the camera and also how I connect it to the FSQ85 in other posts on my site.
This image - above - of The North American and Pelican Nebulae is a stack of 47 x 180s exposures at Gain 0 and Offset 30 at -15C on my Takahashi FSQ85. This is my first deep-sky CMOS camera and I had to research how to preprocess the data from the camera and I will discuss this in another post.
Since I acquired the camera and in keeping with the "new gear curse", I have been constantly frustrated by wet weather and cloudy skies for almost a month. The 47 exposures for this image were spread out over about seven imaging sessions, sometimes with as few as four exposures per session, such as been cloudy nature of the skies of late where I live - Nottingham, UK. I'd set up, get everything running and then it would cloud over.

I'm really happy how clean the images look as you can see from the single 180 exposure above. Very little processing work is needed to bring out the detail in good data. I was a bit concerned initially about the visual appearance of the master dark but it did the job of removing the artefacts in the lights.
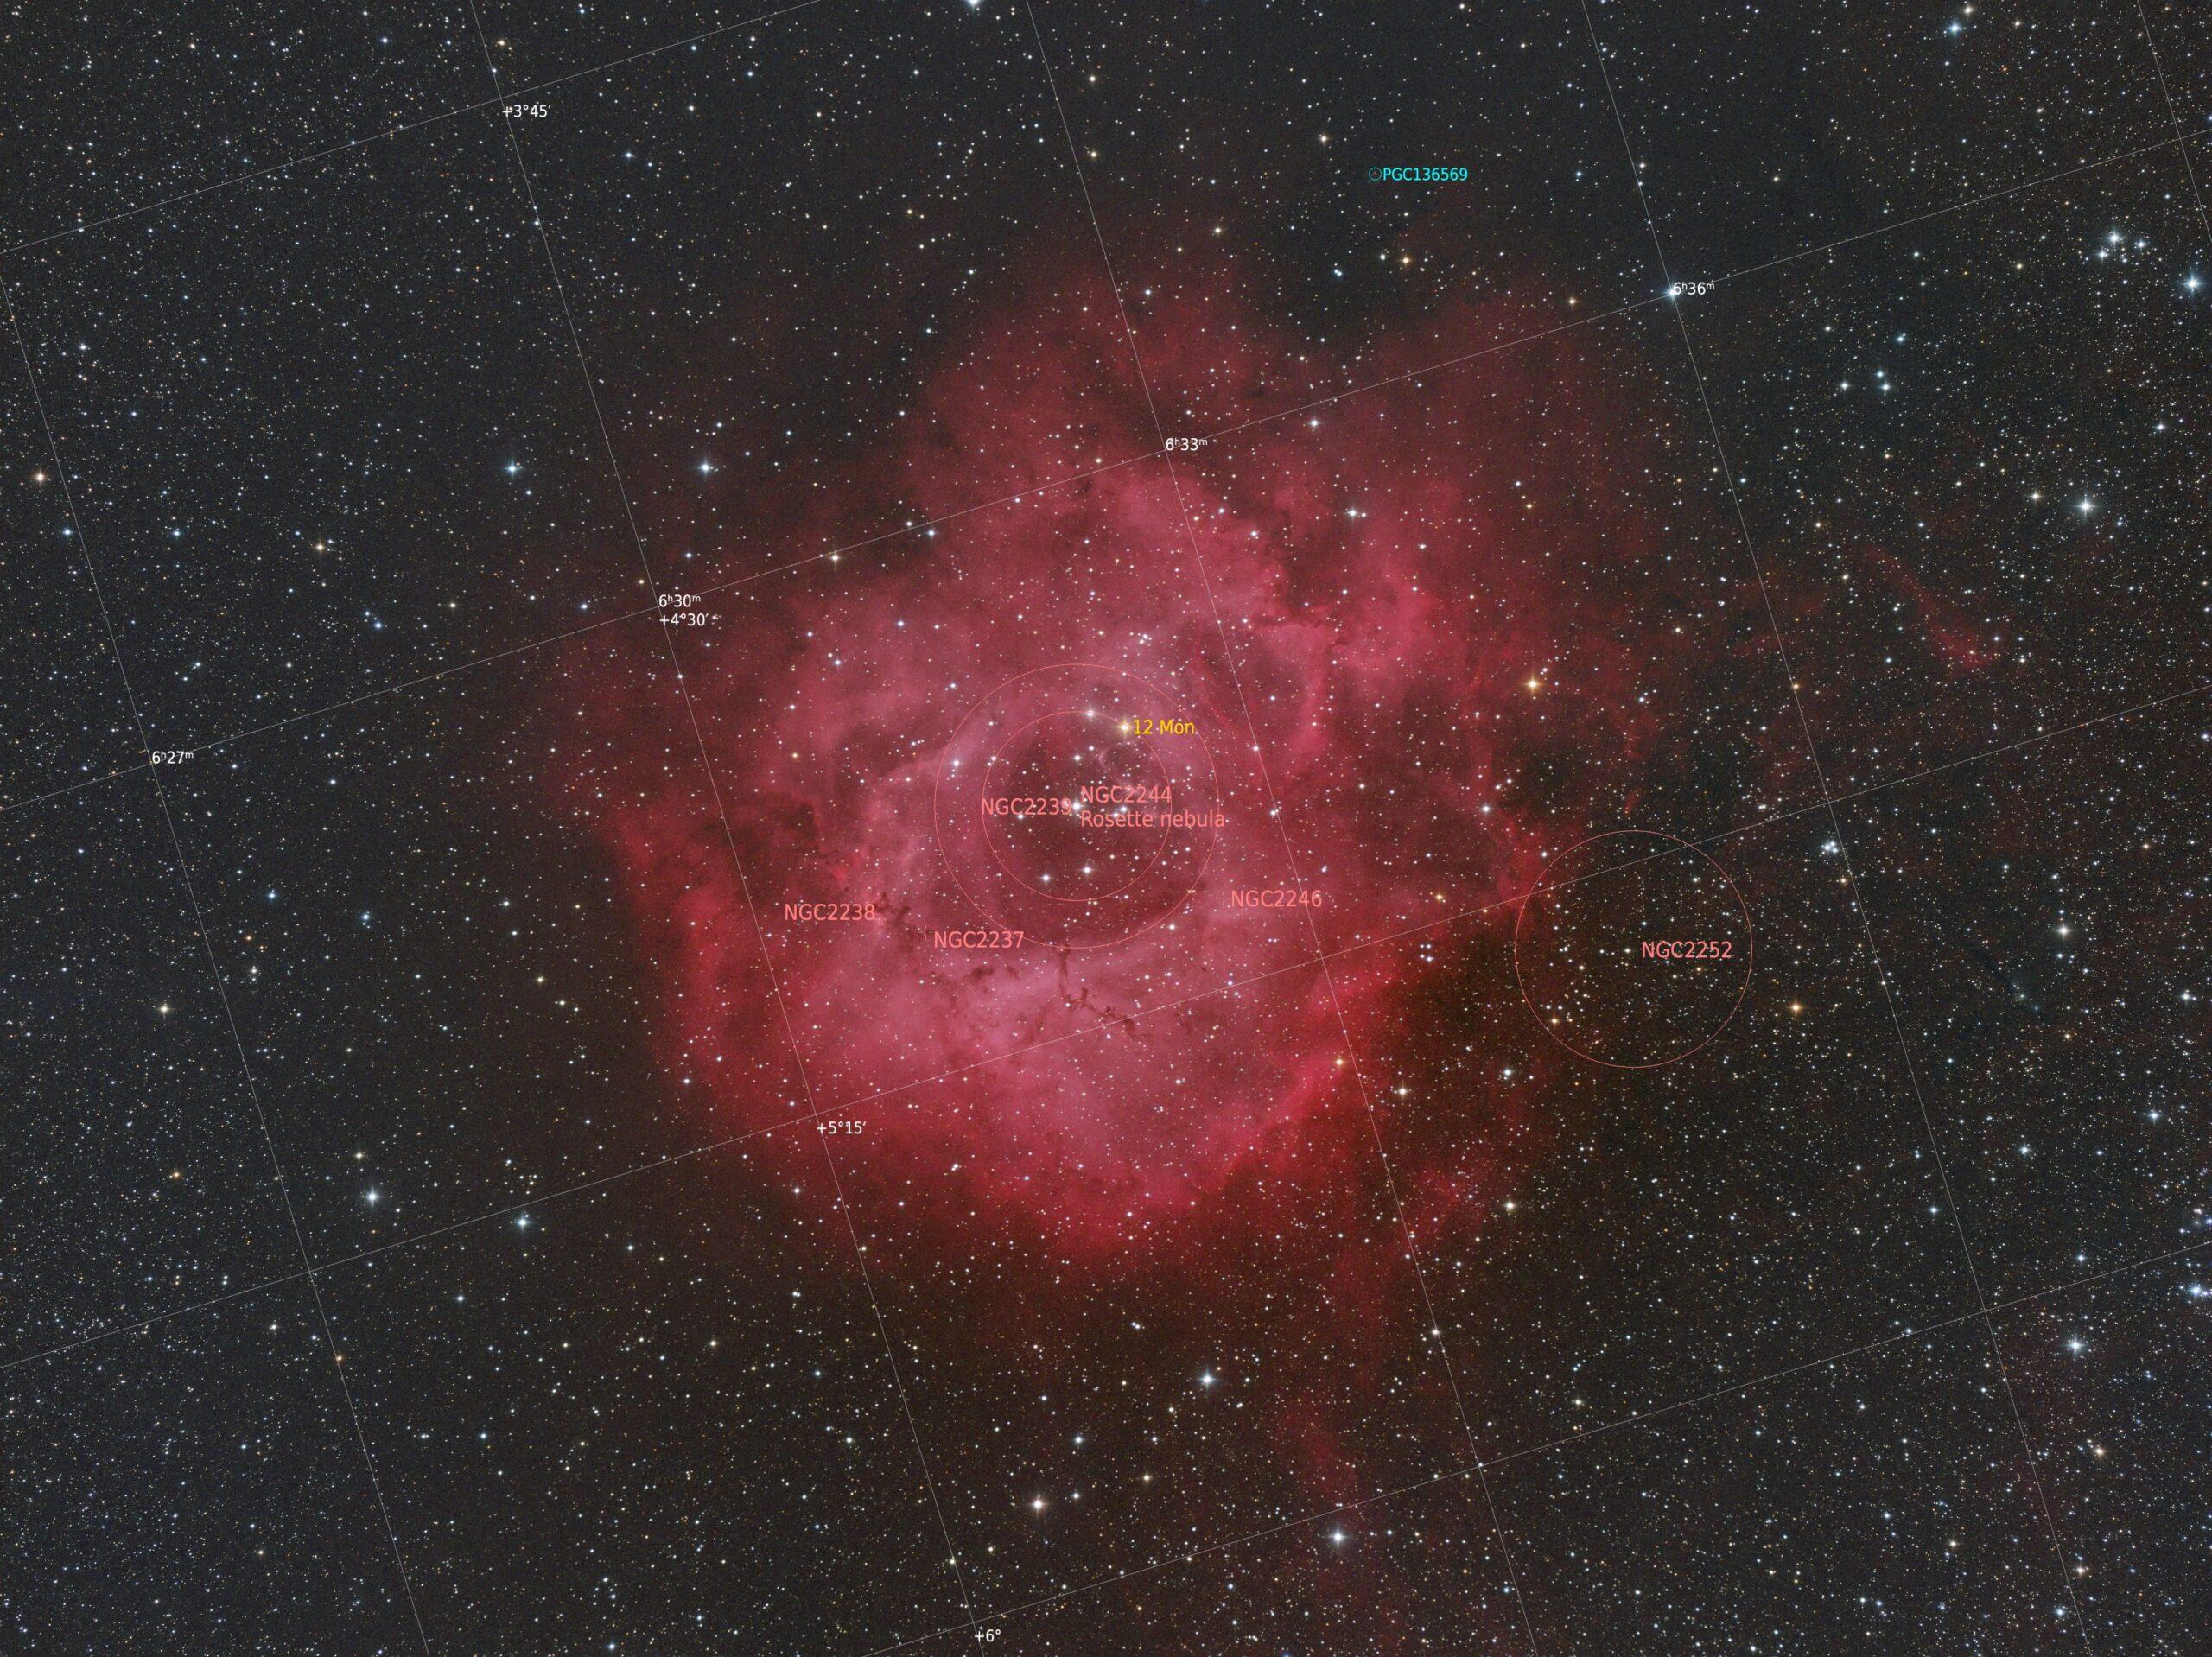
Below is an annotated version of the main picture at top.

The relatively large APS-C sensor, 16-bit resolution and high pixel count, allied to very low noise and zero amp glow make this camera an incredibly powerful proposition. I understandf QHY and ZWO are about to release a mono version of this camera shortly.
I think it is not unreasonable to say the era of CCD in amateur photography is pretty much over with these incredibly powerful and cost effective CMOS cameras being released nowadays (Oct 2020).
The Rosette Nebula FSQ85
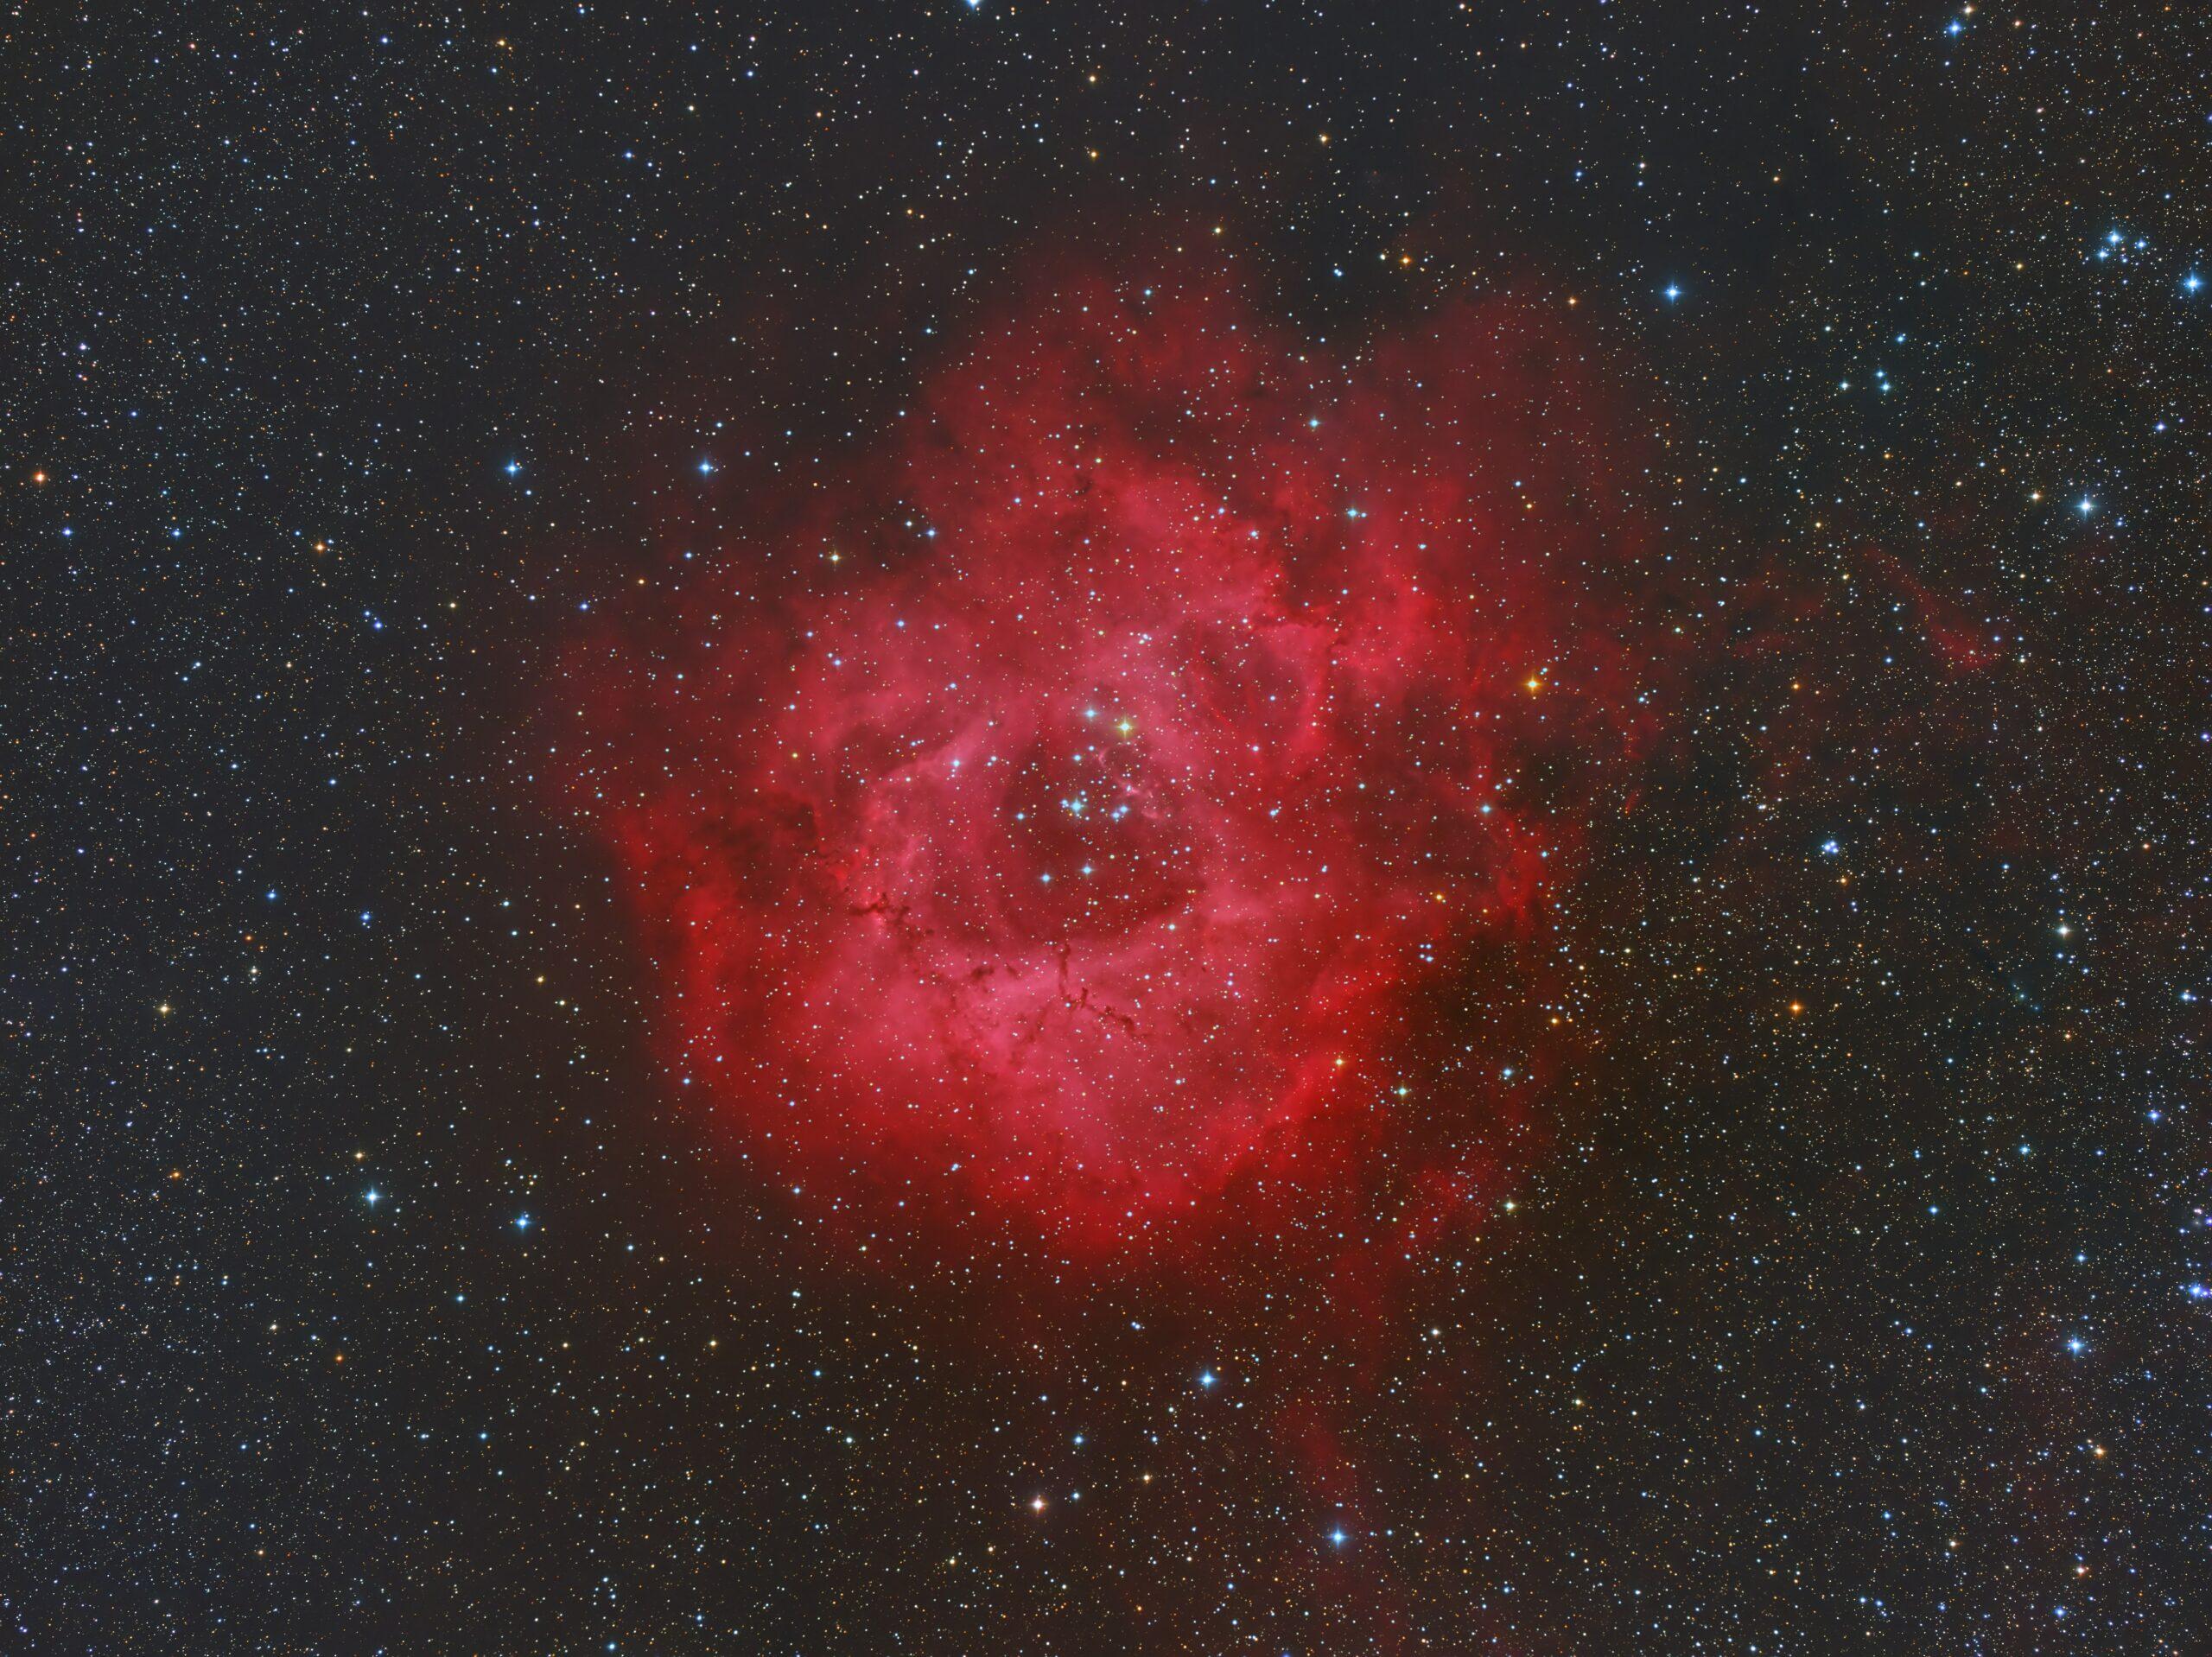
The Rosette Nebula is a huge emission nebula in the Orion arm of the galaxy located in the constellation of Monoceros. It is about 5500 light years away and about 150 light years across and stars are being born from the hydrogen that comprises the nebula.
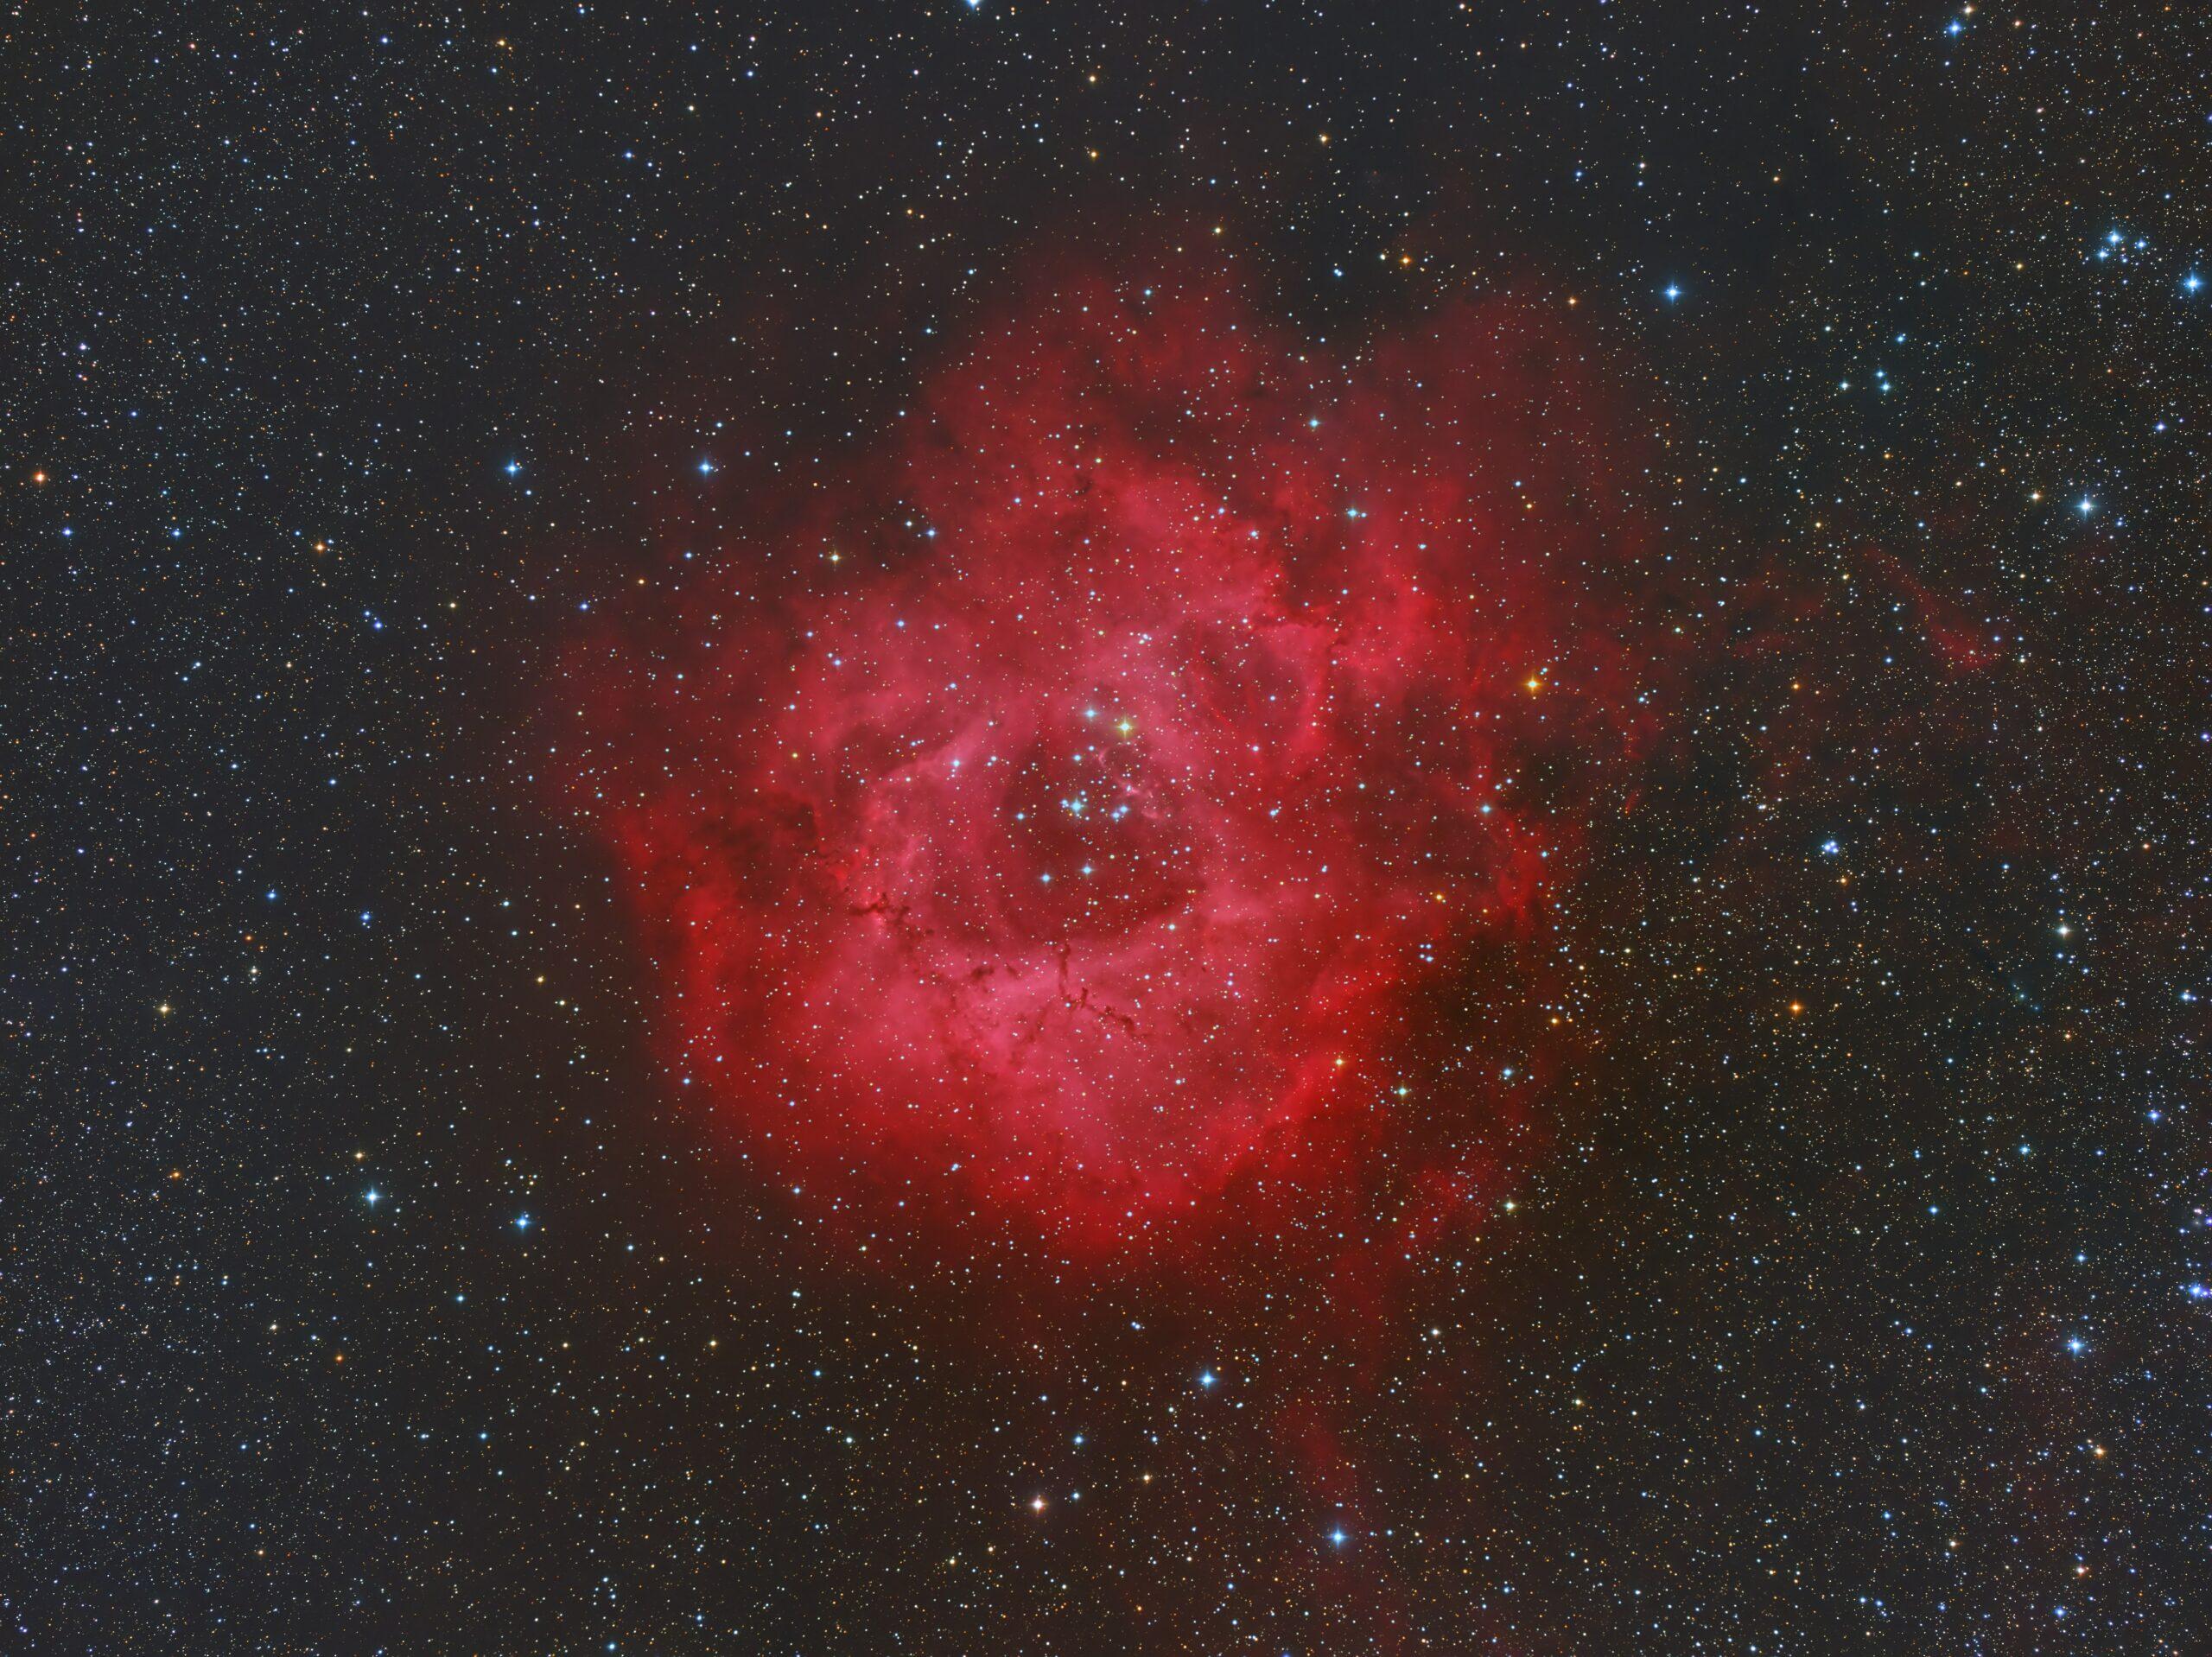
Image Technical Data
Imaged with Takahashi FSQ85 at native focal length with my Moravian Instruments G2-8300 cooled CCD camera and Astrodon RGBHa filters. Data collected from my backyard observatory on 8th January 2018.
Image data is as follows (Ha is 1x1 and RGB is 2x2)
Ha > 14 x 1200s ; Red > 17 x 300s ; Green 12 x 300s ; Blue > 20 x 300s

As can be seen above, the Ha image is extremely detailed and shows a huge amount of detail. This is 3.5 hours of exposures through the Astrodon 3nm Ha filter.

Above is the RGB only image which is binned 2x2. It is a good picture in its own right but it is a bit flat and lacks the pizazz and sparkle of the Ha image. It is the combination of the Ha and the RGB that creates the colourful and detailed main image at the top. There are many ways this combination can be achieved. Here, I did it all in PixInsight whereas on some other pictures I used PI and Photoshop. What I did here was when in the linear state used the emission line script to add the Ha data to the red part of the image. Then after stretching the images I used the NBRGB script to combine the images in the linear state.
Simeis 147 (Samyang 135 mm)
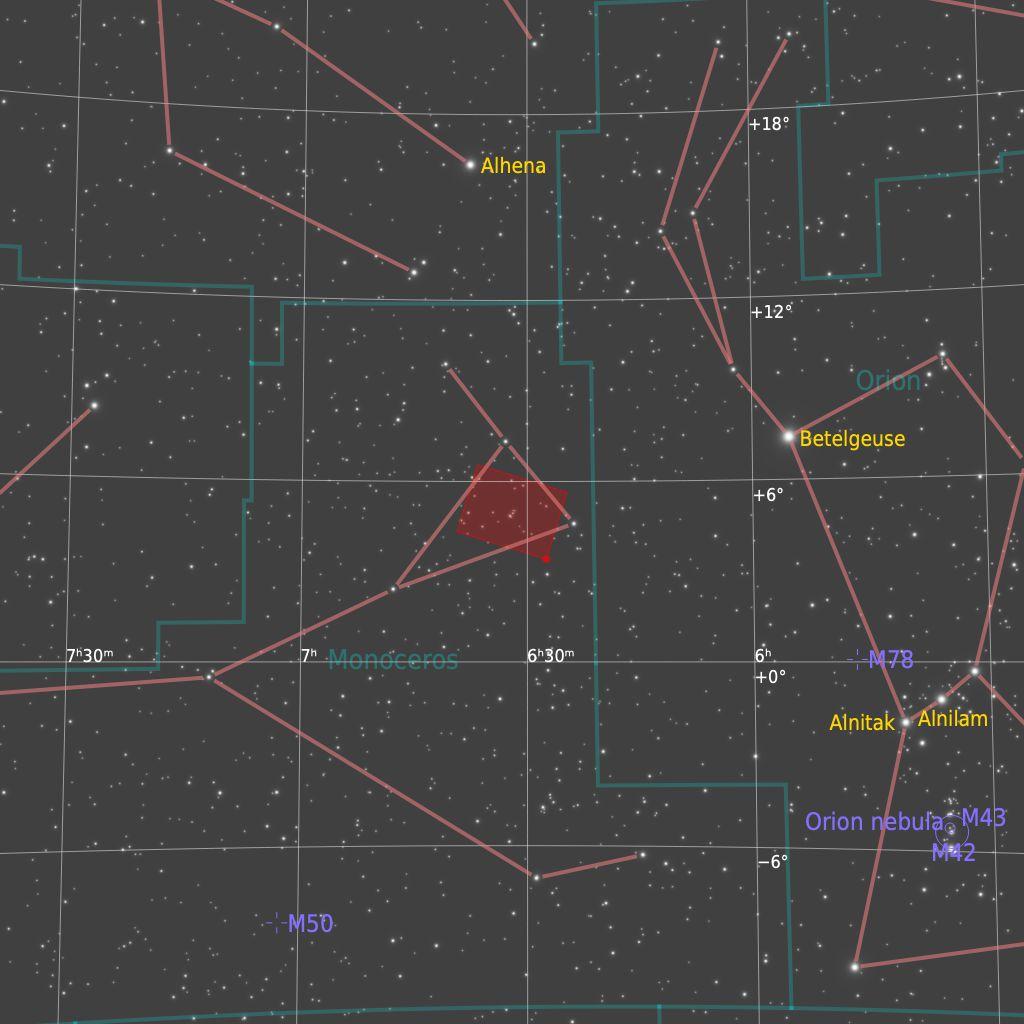
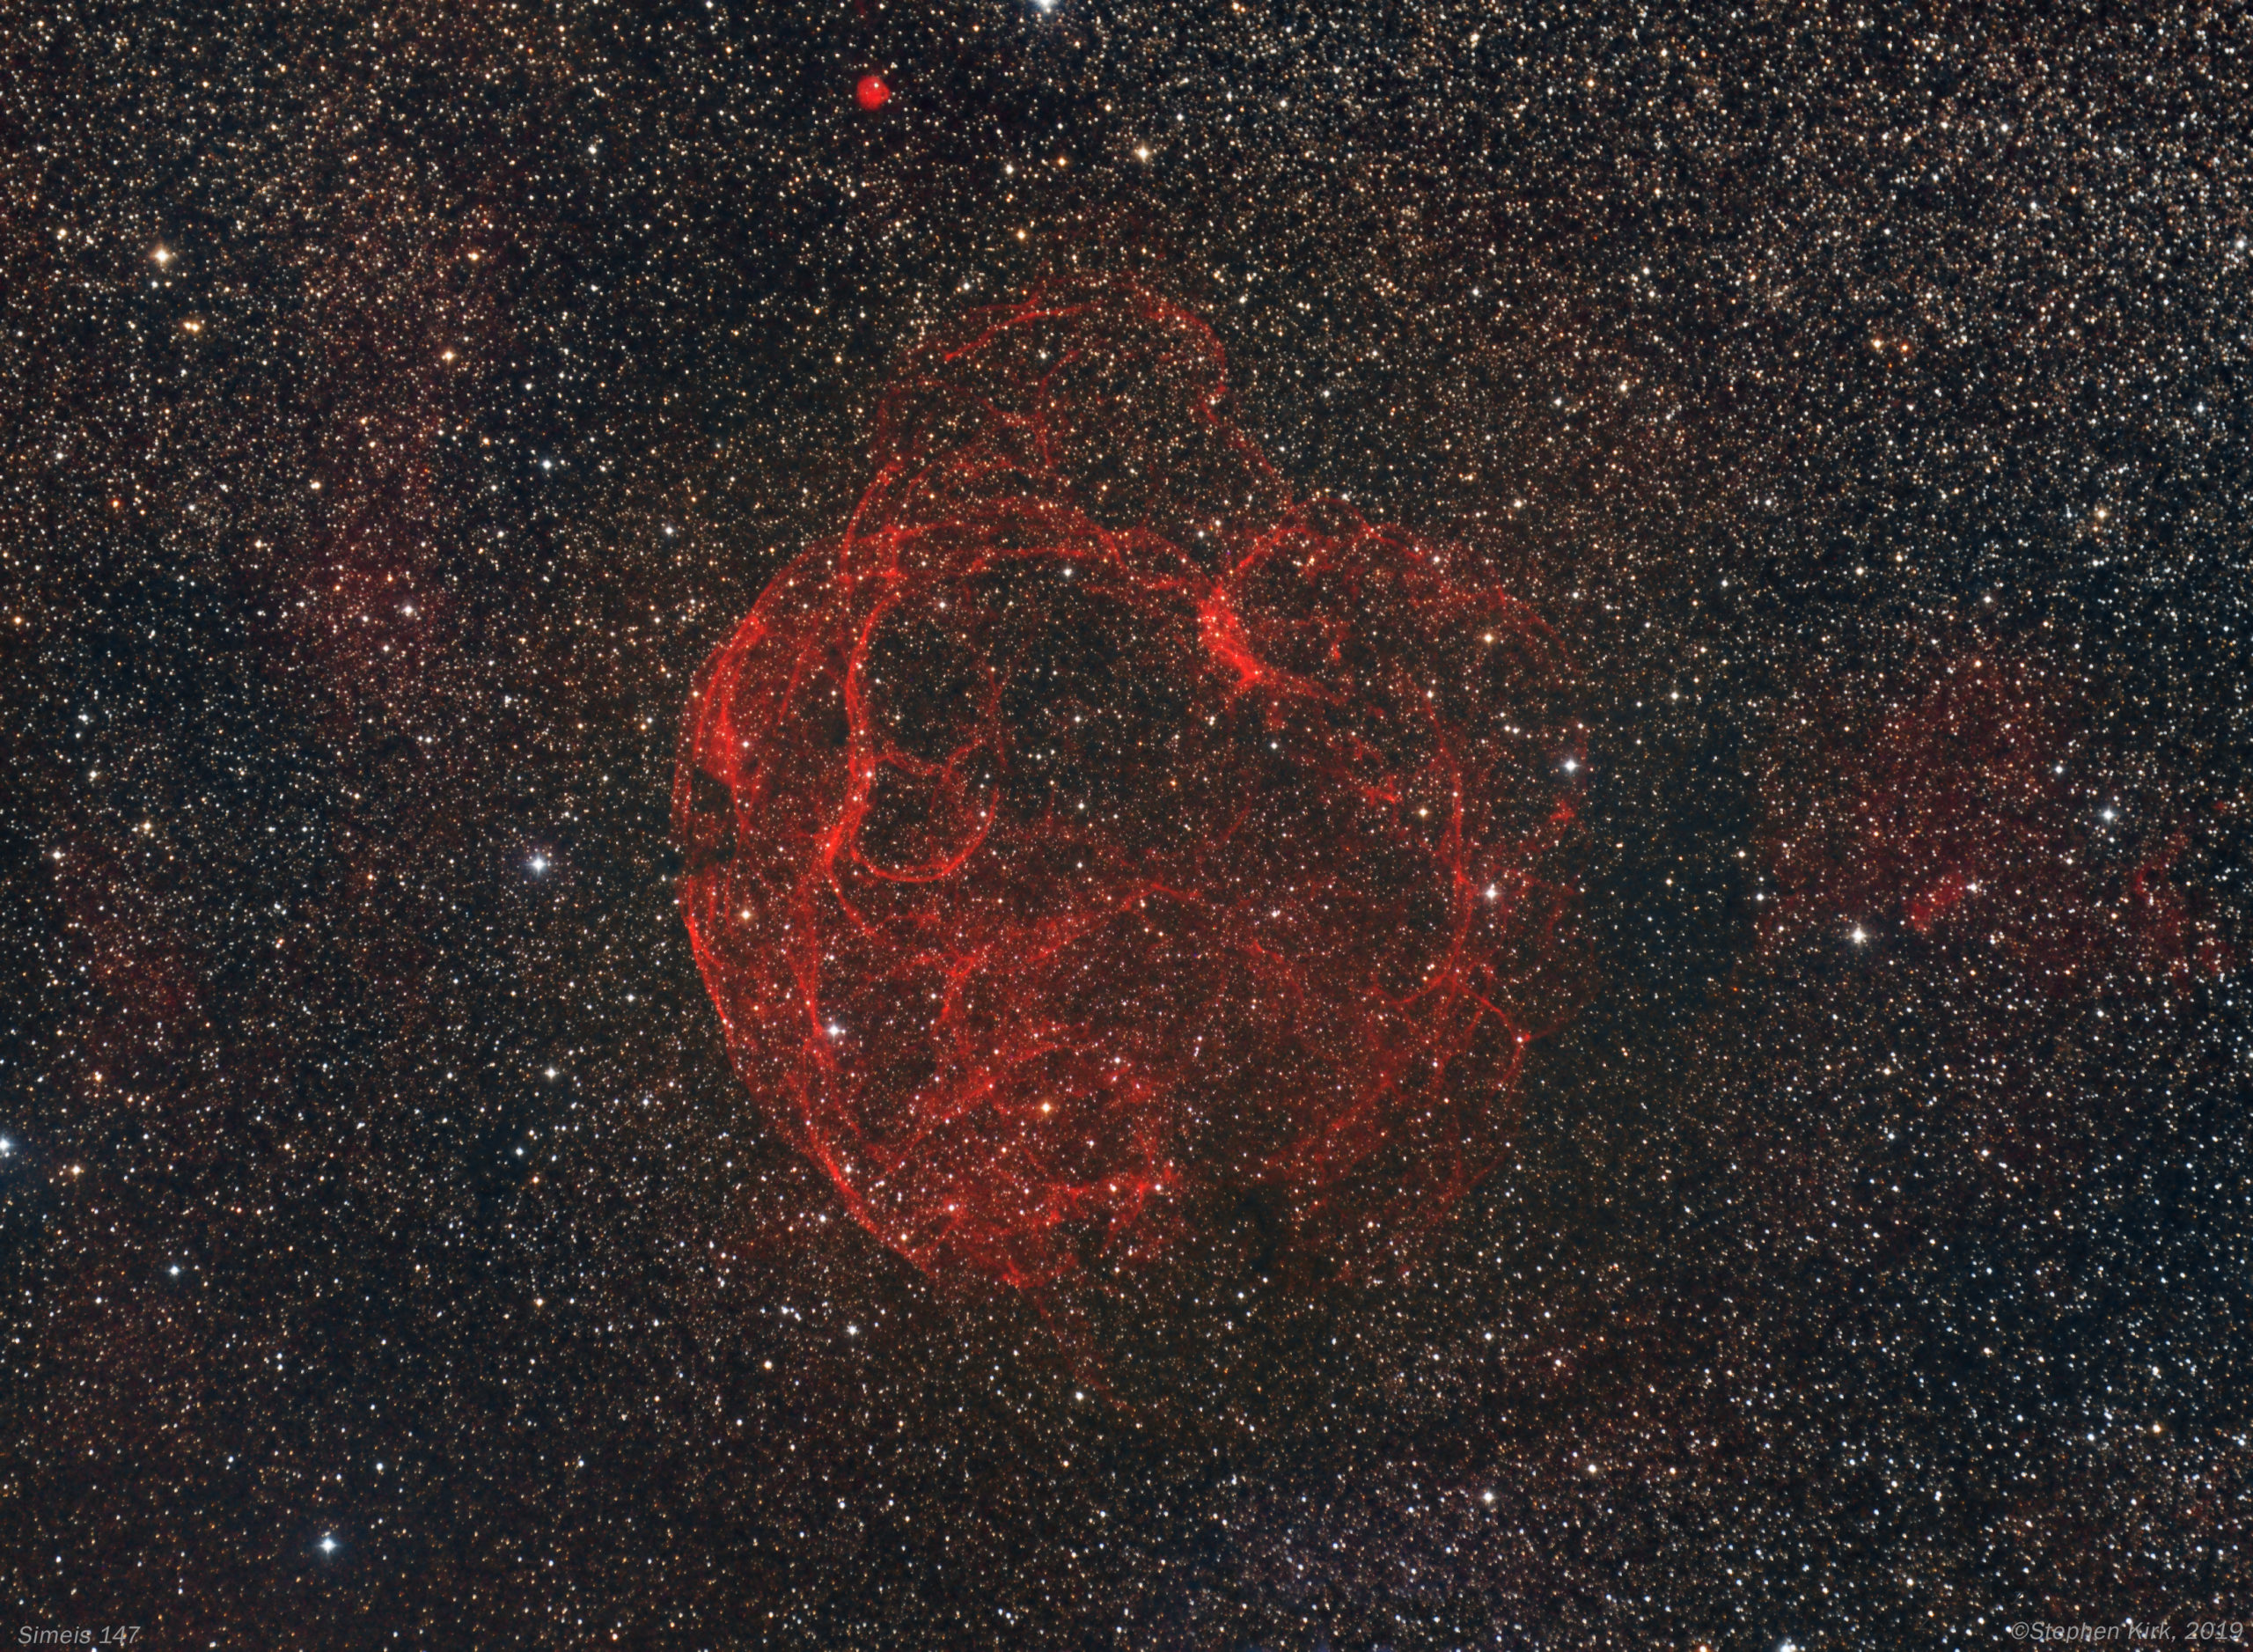
Simeis 147 (Sharpless Sh2-240) sometimes called The Spaghetti Nebula is a supernova remnant of a star that exploded forty thousand years ago. It sits across the border of Taurus and Auriga and is a huge object, about six moon widths across. It is located about 3000 light years away. Because of its extremely low surface brightness it was only discovered as recently as 1952. It is an exceptionally difficult object to observe visually and to have any hope of seeing it with your own eyes at the eyepiece requires extremely dark skies (Bortle 1), specialist filters, immaculate seeing and transparency and extreme dark adaption of your eyes. This rules out almost anywhere near civilisation. Personally speaking, I have never known any astronomer who has seen it visually. Even with photography it requires very long exposure times to bring out any detail.

Image Technical Data
This image was created with my wide-field rig in my backyard in Nottingham UK (Bortle 5 on the dark sky scale) on the 20 and 21 December 2019. It is such a wide-field object that I used my Samyang 135mm lens and Moravian Instruments G2-8300 cooled CCD camera with Astrodon RGB and Ha(3nm) filters. This delivers a FoV of 8x6 degrees.
All exposures binned 1x1:
Ha (3nm) > 22 x 300s ; Red > 8 x 300s ; Green > 9 x 300s ; Blue > 10 x 300s
The total integration time is four hours so far and this is a rather short time for this object. More data would bring out finer structures in the nebula. As a result, I may revisit this at some point and add to the data set already acquired. However, the current result is not so bad for the limited amount of data so far captured. Simeis 147 is so faint that it can consume as much data as you can throw at it and I have seen images of it with 30,40 and even 50 hours of data!
The Image data is captured with Sequence Generator Pro and processed with PixInsight and Photoshop CC.
Other versions of this object often include an Oxygen channel (OIII) because supernova remnants are rich in Hydrogen and Oxygen. I may capture this channel too at some point.

Above is the RGB only data. As you can see, there is very little to show for the data collected. It is when you blend this RGB with the Ha channel data below - especially with the red channel - that the detail in the main picture in this post at the top is revealed.

