
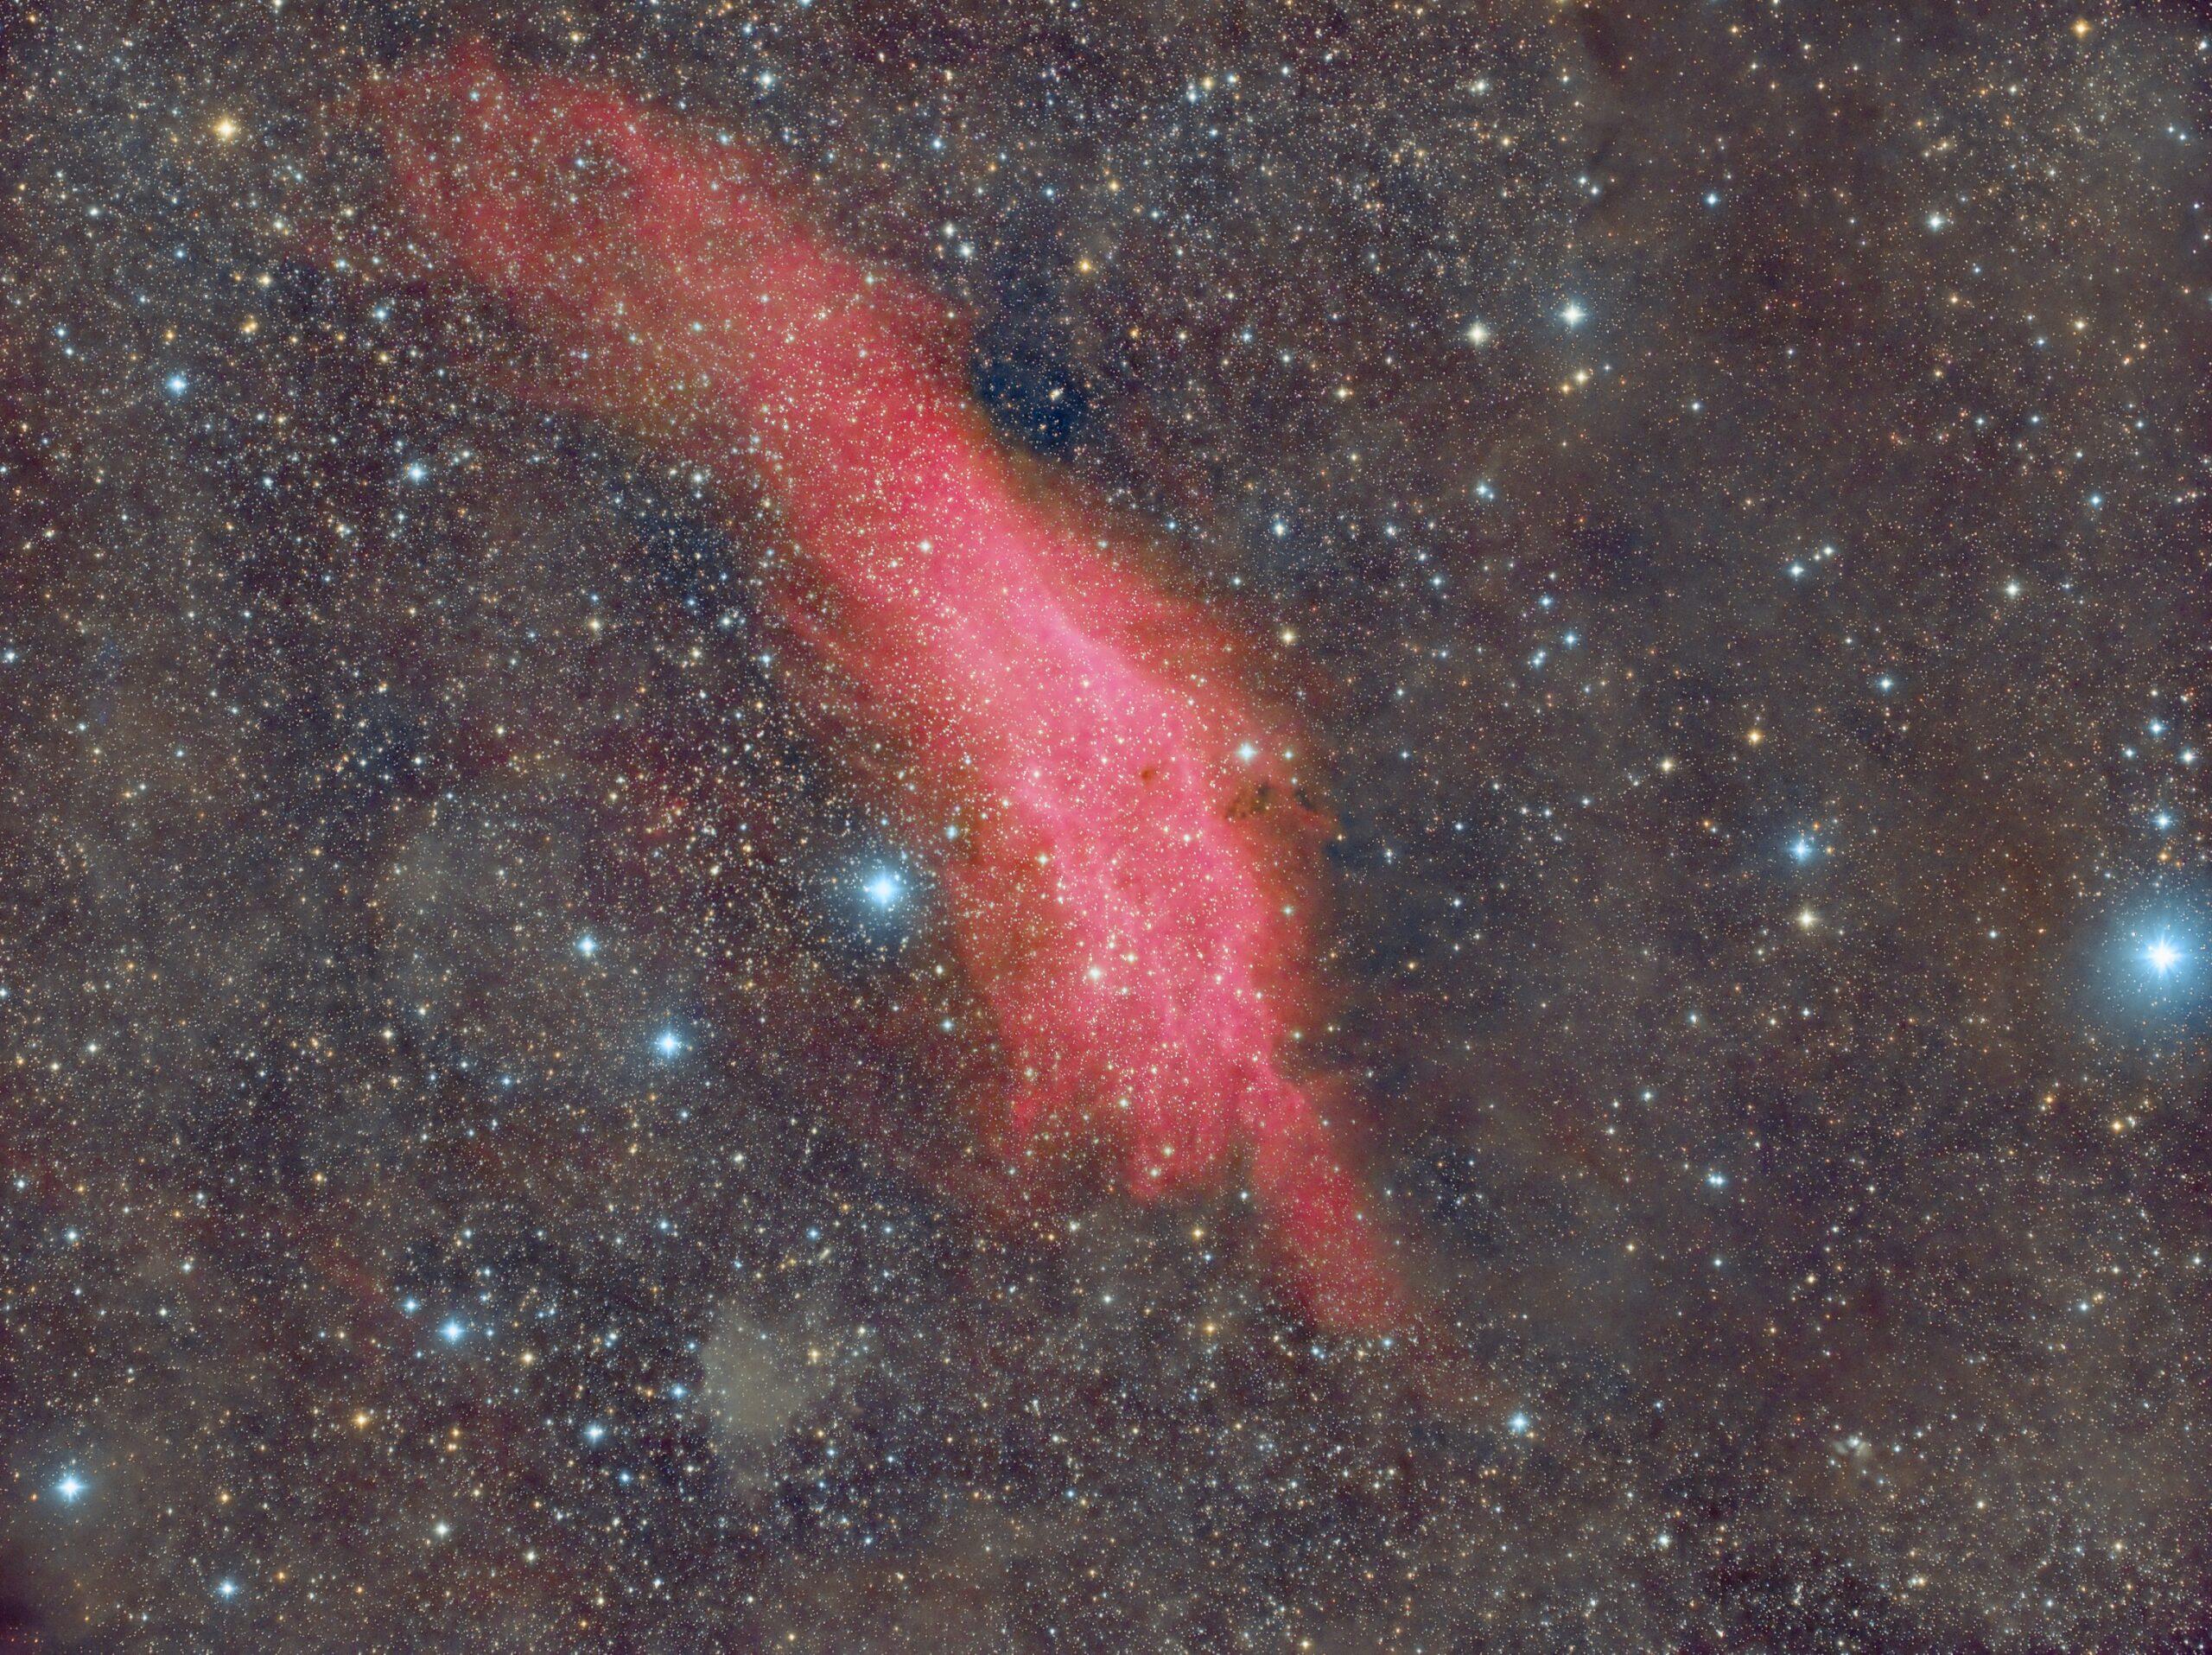
The California Nebula
The California Nebula - NGC 1499 - is a vast hydrogen gas emission nebula about 1000 light years away in the constellation of Perseus. It is named as such because of its vague resemblance to the US state of California.
It is a very large, faint and diffuse object, about four times the diameter of the moon. It is almost completely invisible visually without specialist filters and was not discovered until the advent of astrophotography in 1884. The nebula shines by reflecting the light of the bright star Markib. It shines red because Hydrogen atoms, when excited by nearby bright sources like stars, emit or re-radiate light at the 656nm wavelength which is in the red part of the spectrum to our eyes.

Image Technical Data
The California Nebula is so large that most telescopes cannot get the nebula in the field of view, nowhere near in fact. It is of course possible to create multi-panel mosaic images but these take a great deal of imaging sky time, something in very short supply in the UK rain and cloud infested skies! DSLR lenses are perfect for this type of wide field imaging, however. This image is almost eight degrees across by six degrees and was made with my wide field DSLR lens portable set up in my backyard, December 7th 2019. Samyang 135mm DSLR lens connected to Moravian Instruments G2-8300 cooled CCD camera and Astrodon E-series RGBHa (3nm) filters, all mounted on my Skywatcher NEQ6 mount.
All exposures binned 1x1:
Red > 14 x 300s ; Green > 8 x 300s ; Blue > 8 x 300s ; Ha(3nm) > 18 x 300s
To give a total integration time of four hours.
Captured with Sequence Generator Pro and processed with PixInsight.


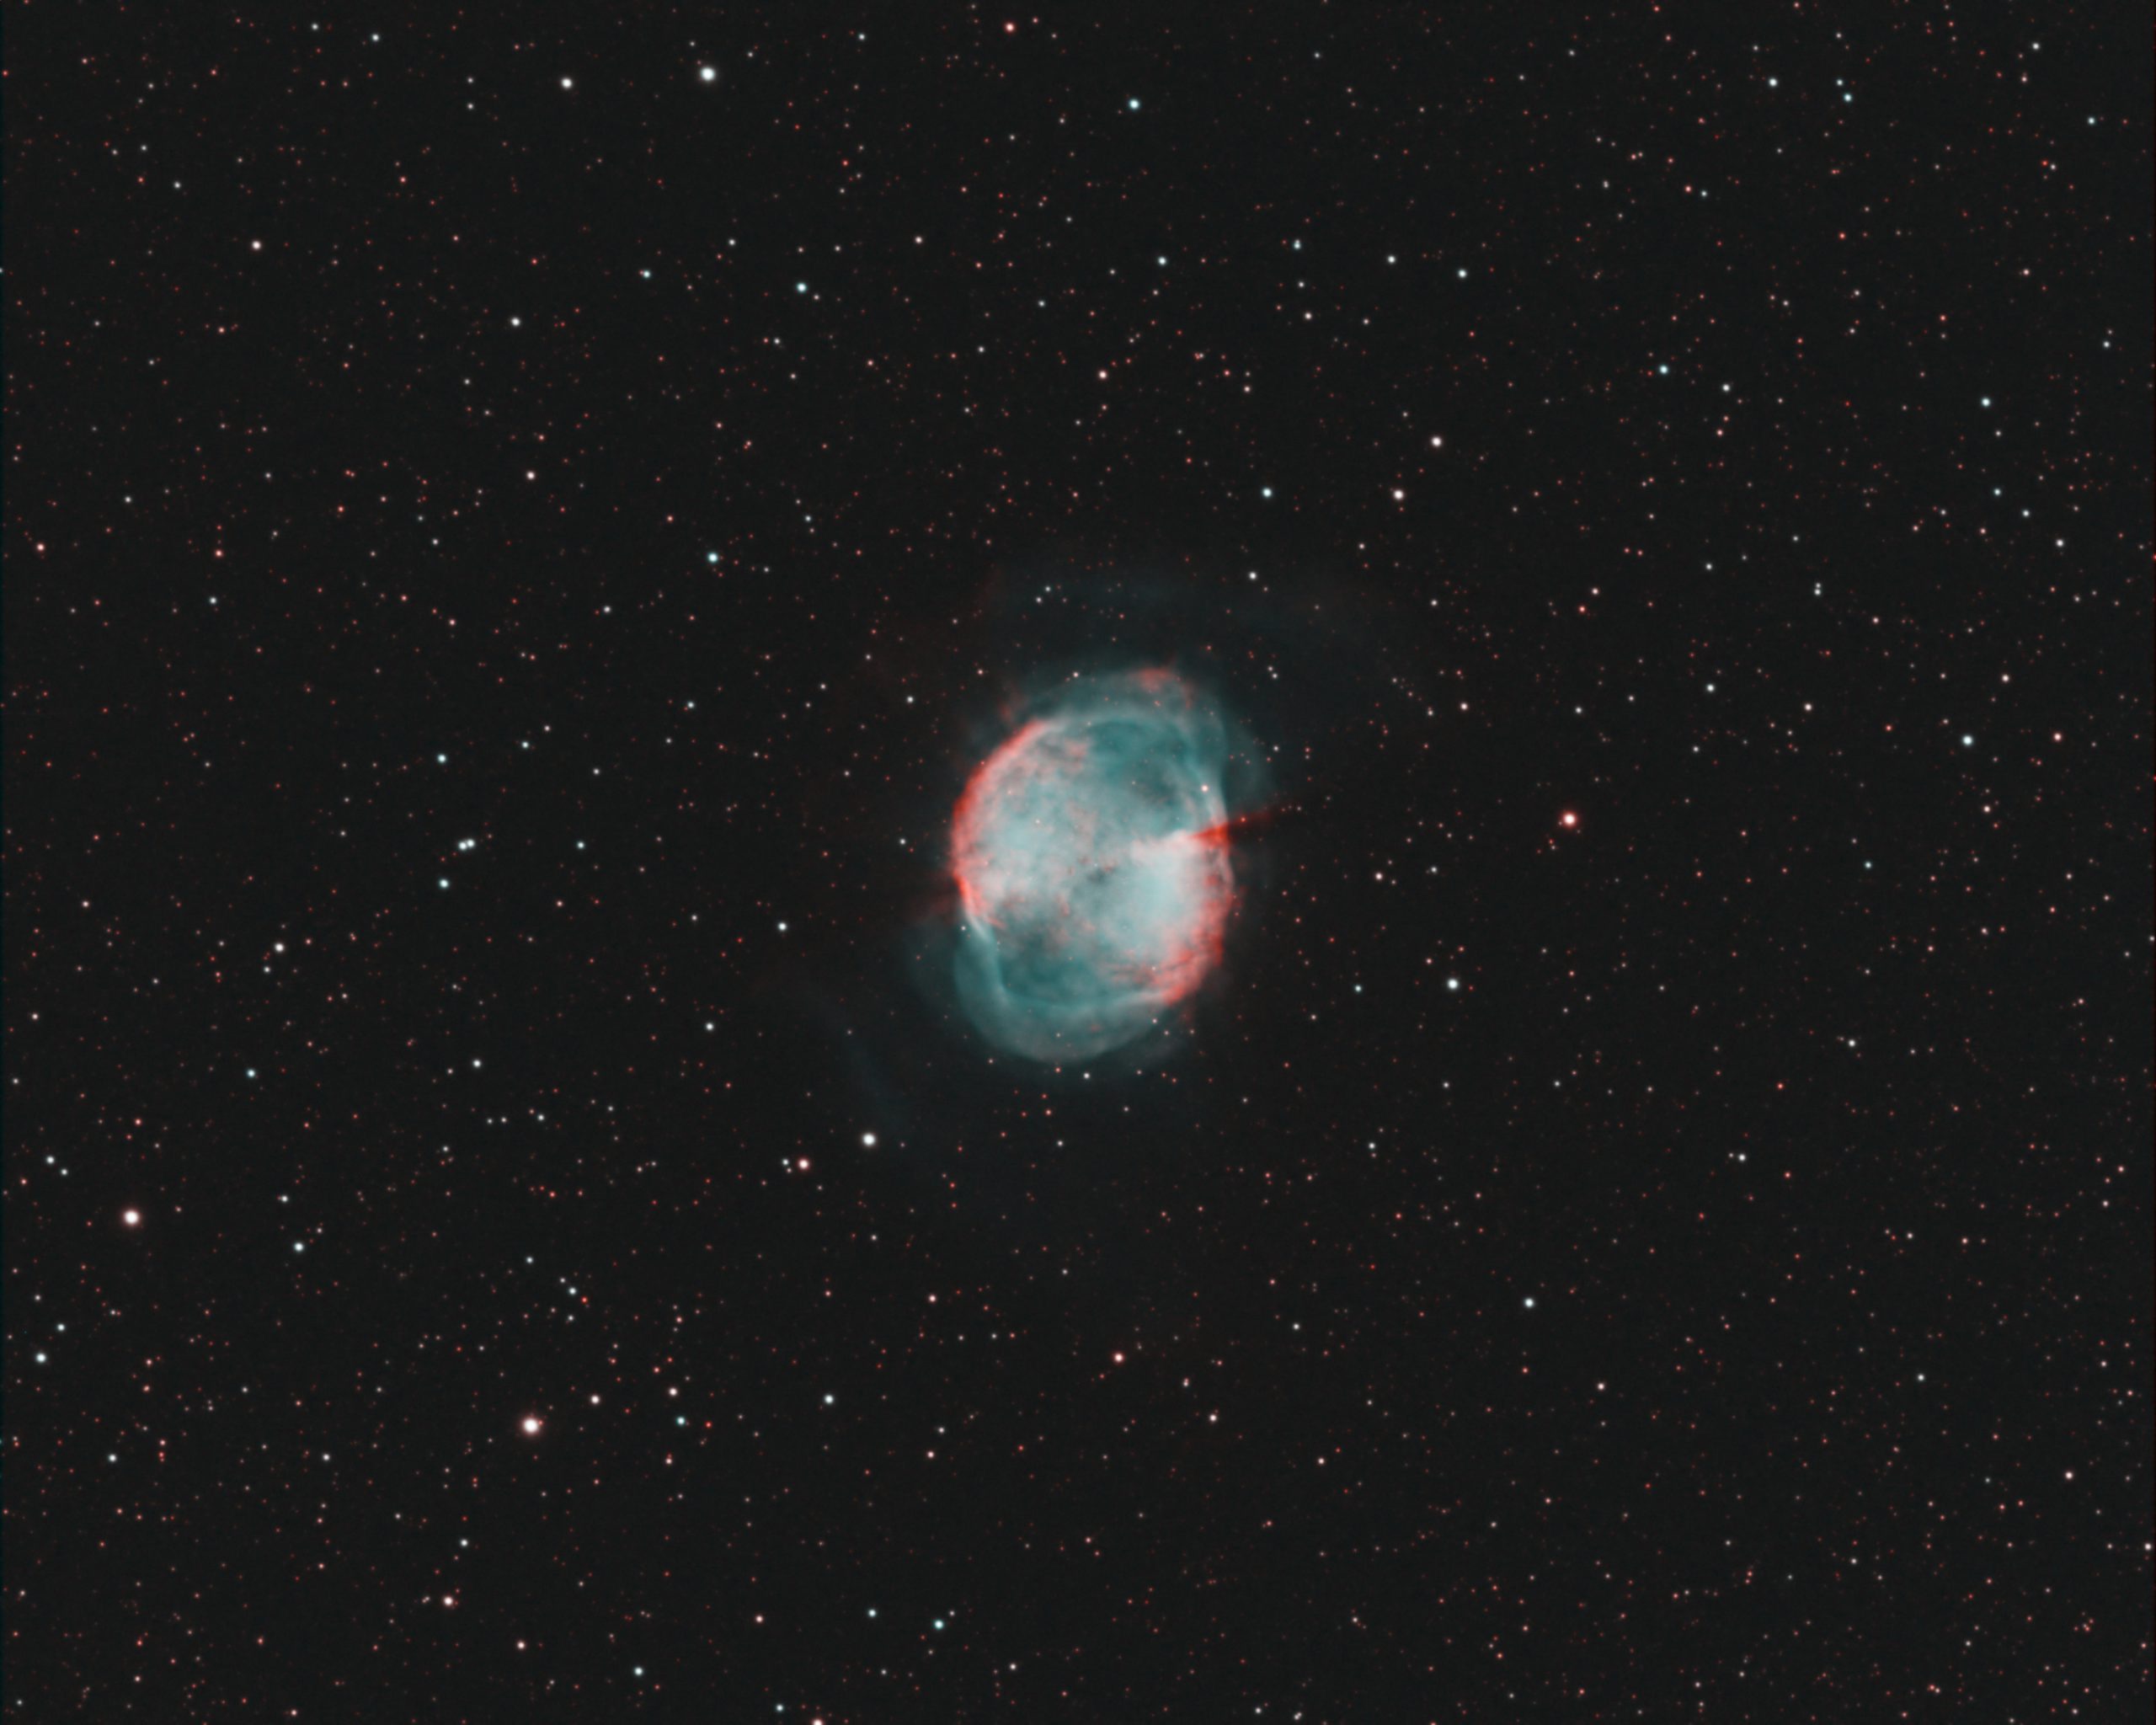
M27 in The Hubble "HOO" Palette (TEC140)
M27 is a famous planetary nebula in the constellation of Vulpecula, The Fox. Despite its name, it has nothing whatever to do with planets, it is instead the remnants of a dying star that has cast off its outer atmosphere when nuclear reaction can no longer sustain it. Our Sun will look like this in five billion years from afar.
M27 is a fine object to view through a telescope. I have also imaged M27 several times over the years. Here for example.
The rendition on this page shows M27 in the HOO or Hydrogen-Oxygen-Oxygen palette which maps the Ha channel to Red and green and Blue to OIII (Oxygen 3). Planetary nebula are rich in Oxygen since it is one of the elements synthesised in the nuclear fusion processes as the star dies.

Image Technical Data
Imaged from my backyard observatory in Nottingham, UK, August 2019. I used my TEC 140 refractor and Atik 460 CCD camera and Astrodon HA (3nm) and OIII (3nm) filters - very expensive filters too! This was all mounted on my MESU 200 and guided with my OAG.
All data is binned 1x1:
Ha > 18 x 300s ; OIII > 12 x 300s
This is quite a short integration but the result is quite nice I think. This is largely down to the utterly superb Astrodon filters and the extremely tight 3nm emission passband.
I did not blend the data Ha, OIII, OIII >>> one on one to R, G, B Insteads I used the following PixelMath formula:
Red > Ha(i.e. one to one)
Green > (OIII * 0.85) + (Ha * 0.15)
Blue > (OIII * 0.8) + (Ha * 0.2)
Then add them all together to give the colour result. Making only small changes to the formulae can make quite a large difference to the outcome and will emphasis the green, blue or red more depending on which colour formula you wish to adjust.
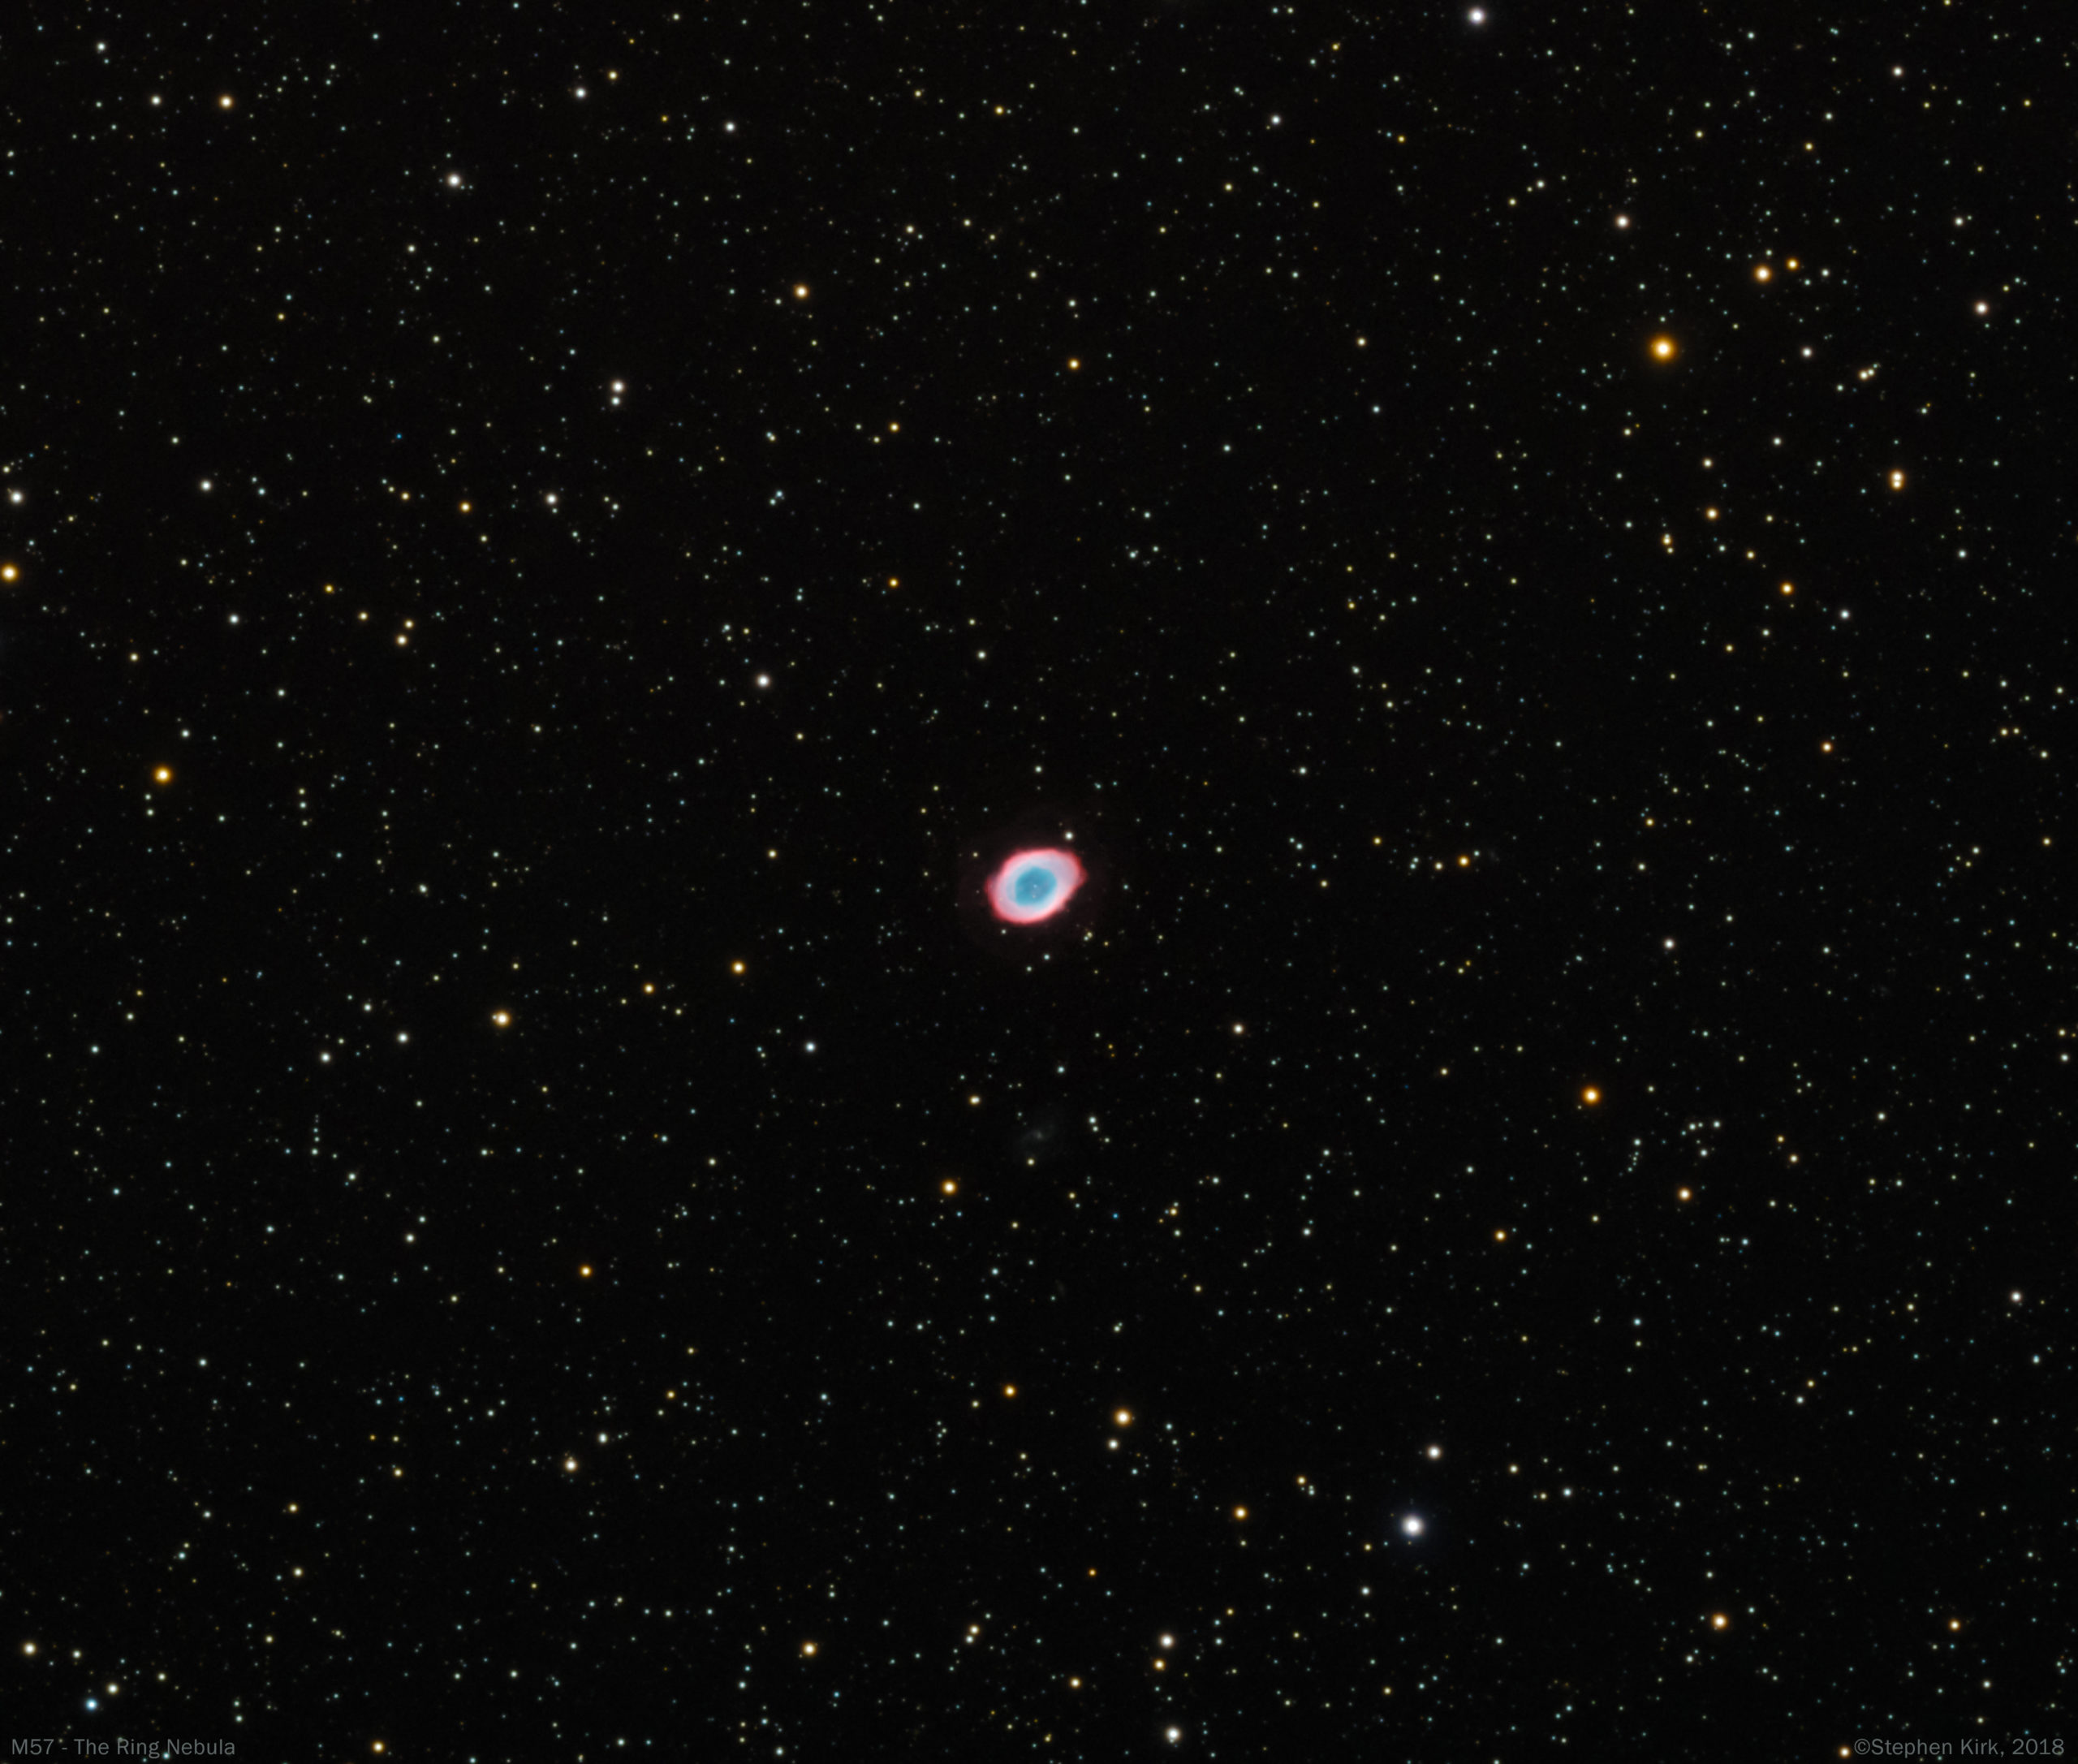
M57 - The Ring Nebula In Lyra - TEC140
A famous planetary nebula in the Northern Hemisphere of the sky in the summer constellation of Lyra. One of four planetary nebulae in the Messier catalog of deep sky objects, the other three being M27, M76 and M97. It is visible in a small telescope as a faint ring. M57 is about 2500 light years away and it is the outer envelope shed off by a dying star, the star itself can be seen right in the middle of the nebula. The Sun will look like this from afar when it does the same in about five billion years from now. More massive stars do not die in this fashion but explode in a cataclysmic event called a supernova; M1 being one such example.
In the image below, look for the ghostly outer ring surrounding the main "ring" of the nebula.

Image Technical Data
Imaged from my backyard in Nottingham, UK with my TEC 140 refractor and Atik 460 cooled CCD camera over three nights in August 2018 with Astrodon LRGBHa filters. mounted on MESU 200 and guided with OAG.
Everything binned 1x1
Lum > 13 x 600s ; Red > 12 x 300s ; Green 12 x 300s ; Blue > 12 x 300s ; Ha > 12 x 300s
Total integration > 6 hours )just over)
Captured with Sequence Generator Pro and processed with PixInsight and Photoshop CC.
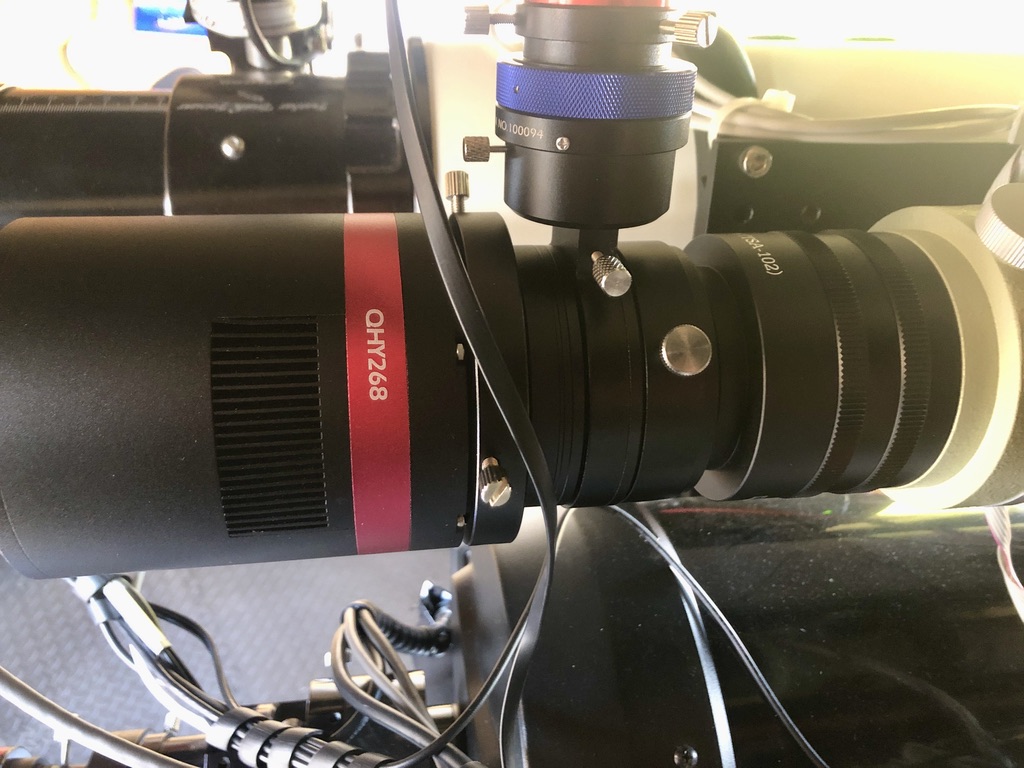
Connecting QHY268C/OAG To FSQ85 (none reduced) With An All-Threaded Connection
Introduction
I've bought a QHY268C colour CMOS camera and a QHYOAG-M as discussed in my post here. As I explain in that post, my intention is to connect this up to my Takahashi FSQ85 "BabyQ" and make it an extensible system so that with easy and minor changes I can also connect the camera/OAG assembly to my Williams Optics Redcat 51, Samyang 135mm lens and maybe other optical systems (although its primary use will be on the FSQ85). I also explain in that post how to configure the QHY268C and the OAG assembly such that both camera and guide camera can both reach focus simultaneously by "padding" out the camera side of the OAG with about 13mm of spacers between the OAG and the camera in order to get both cameras to simultaneously focus.
I now needed to determine a way to mount the OAG-QHY268C assembly via a threaded method to the FSQ (and Redcat). I do not like the 2" barrel compression method of attaching expensive camera assemblies to telescopes for imaging purposes (fine for visual). Your mileage may vary but in my opinion they are risky at best and can introduce tilt into the optical train. I have had them fall out before (fortunately caught by the USB and power cables). So in the context of this discussion it has to be a threaded method of attachment and furthermore this method must allow for the insertion of a 2" filter. I need to use a 2" IDAS light pollution filter in the imaging train because of my backyard Bortle 5 suburban skies so I needed to figure this out. Furthermore, this filter must be easily and readily changeable - possibly when set up at night - since I have plans to use this camera with a narrowband filter such as the Optolong L-Extreme.
Bear in mind when considering filters that even though the QHY268C is a OSC camera, there is nothing to prevent you from using a filter wheel between the camera and the OAG. This FW can be populated with an LDAS LP filter and an L-Extreme (and others). It would also serve to "pad" the camera back from the OAG to achieve the objectives I outlined in my previous post. However, for now I have exhausted the budget and do not wish to use a filter wheel. So I need to install a filter drawer into the imaging train, and I needed to figure out how.
NOTE: This mechanism I describe applies to the Takahashi FSQ85. I can't comment if it works on other Takahashi telescopes. One tends not to have multiple Takahashi FSQ telescopes ($$$$$$$) ! 
SECOND NOTE: The method I describe is the telescope at native focal length without the FSQ 0.73 reducer. I no longer use the focal reducer with this telescope and sold it.

The Crazy And Expensive World Of Takahashi Adapters.
As owners of Takahashi refractors will be very aware, if you want an all-threaded method of connection then several costly adapters are needed to get the telescope to focus with a camera. The focal point of the telescope is a quite a distance from the rear of the focuser housing - about 200mm or so in my example. Therefore, to get the camera to focus this space must be made up by racking out the focuser and also with adapters. The stock focuser with the FSQ85 does indeed rack out a long way, but not enough to make up for the 200mm distance to the focus point. It is never a good idea to have the focuser racked out too far because doing so can introduce a slight flop and sag in the focuser, a bad thing when imaging since the imaging sensor in the camera will not then be orthogonal to the imaging circle. With that in mind, the adapters I choose are such that the focuser is 80% into the focuser housing to minimise any flop risk.
As an aside, my FSQ85 example is from 2012 and has a good focuser but I have heard reports that the focuser on more recent examples are not as good and cause issues in the corners of the image. Indeed, I have heard where people have upgraded to a Starlight Instruments focuser at a cost of £700, rather a lot to have to pay on top of the already eye-watering cost of Takahashi FSQ ownership! 😱

Please refer to the top picture. The first adapters I have used are two Takahashi TKA31581 Vari-Ring Spacers, each of which adds 17mm to the imaging train. This has a 72mm male telescope side thread and ends in a 72mm female camera side. These adapters are not too expensive, about £21 each in the UK. So with two of them in series I am adding 34mm to the imaging train. You can add as many of these as you wish to get the back focus for a particular situation, hence the term "vari" in the adapter name.
As an aside, Instead of using the two adapters I used, you could instead use the Takahashi Auxiliary Extender (TKA23250) which extends the M72 female threads at the end of the focuser tube and presents a female M72 thread. This adds 50mm to the imaging train.
The next part in the imaging train is the CA35 TSA102 (TKA23201) adapter whose purpose is to drop the Takahashi 72mm thread from the auxiliary extender down to a more standardised 54mm thread. This adapter has a 72mm male thread on the telescope side and drops the aperture down to M54 female so that common accessories can be used. No other manufacturer that I know of uses M72 other than Takahashi so we need a way to convert from the Takahashi M72 to an "ordinary" system! The CA35 adapter is what does this and it also adds another 25mm to the imaging train. This adapter is more expensive at about £60. I told you these adapters were expensive !!!!!
NOTE: I already owned the above adapters a decade before I bought the QHY268C since most FSQ85 users will own them for other imaging requirements. However, they are additional to the purchase of the scope itself. Takahashi ownership is an expensive business!
Connecting To The Back Of The CA35 With The ZWO Filter Drawer (and rationale for going this route)
The adapters I explained in the paragraphs above are quite "standard" in the context of setting up a FSQ85 all-threaded imaging system. I now needed to work out how to connect the QHYOAG-M to the CA35 with a filter drawer. I also still needed to make up some distance in the imaging train to get to the 200mm or so needed to get the cameras to focus because even with the above adapters it is still short of the required distance to get the camera to focus.
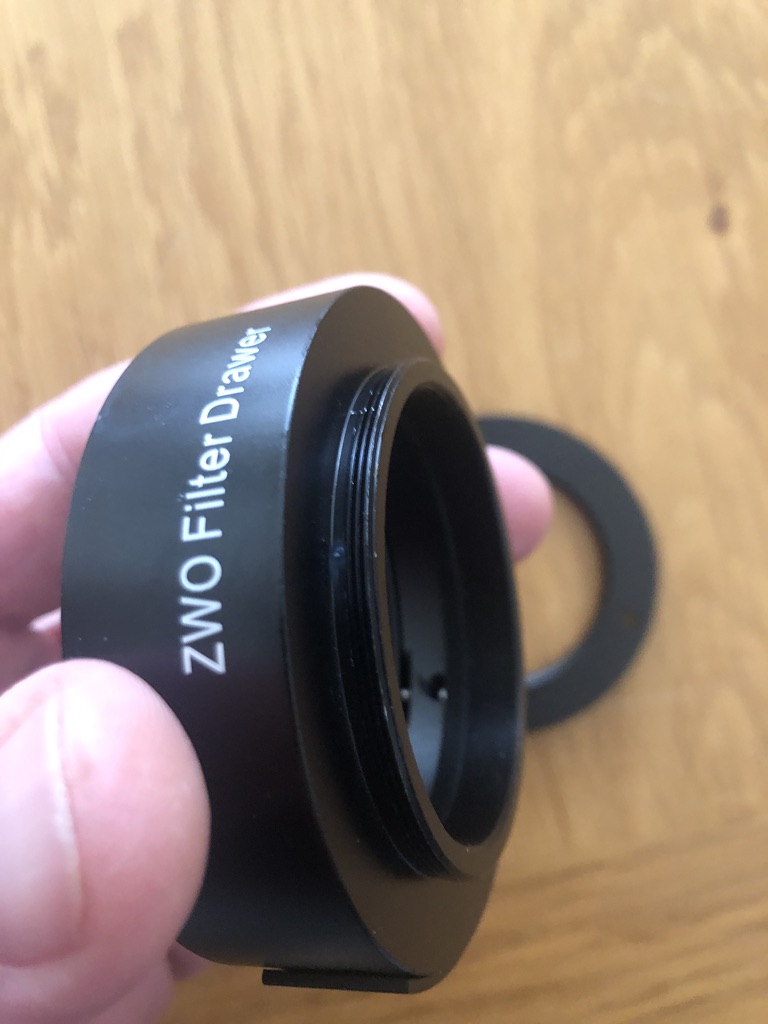
I need a way to be able to insert 2" filters into the imaging train, as discussed above. For sure, I'd always image in OSC with either a LDAS LP filter or a UV/IR cut filter in front of the camera. But I might want to image with a filter such as the Optolong L-Extreme filter too. This means whatever filter I use must be readily changeable when at the scope. QHY supply a spacer with the QHY268C that has a thread for a 2" filter and this can be used to space out the the OAG on the camera-side as discussed in my previous thread. The problem with that method is that it makes the filter difficult to get access to and change, not impossible but tricky and awkward, certainly so at night when, for whaever reason, you change your mind and need to image soemthing different! Another way is I could use a filter wheel between the OAG and the camera but I don't want to spend another £300 on this and have another device needing power/USB. So my thoughts were to use a filter drawer in front of the OAG.
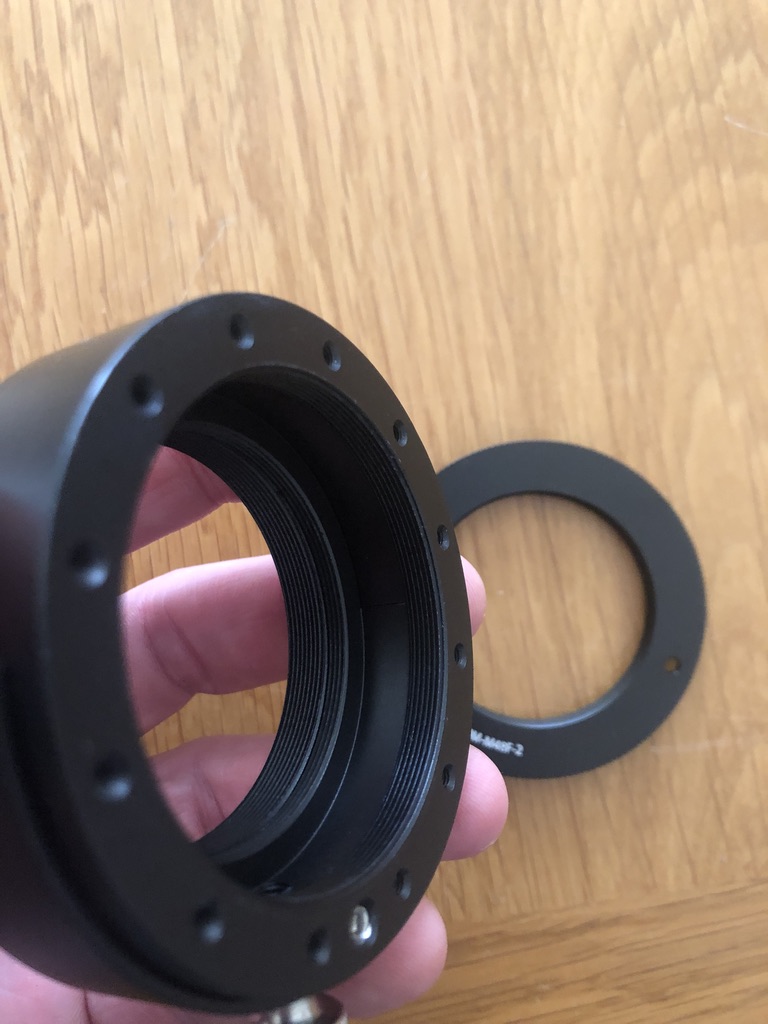
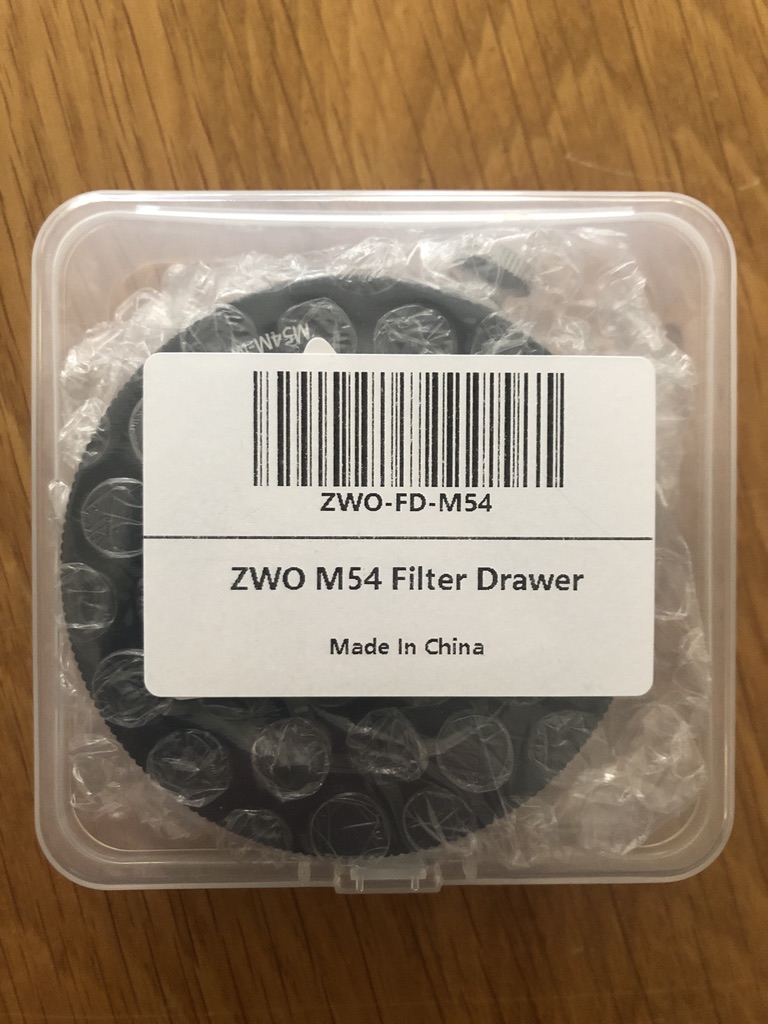
ZWO make a filter drawer (£75) with a 2" compartment for filters and with M54 fitting scope and camera side. I need the filter drawer to have two male M54 threads on either side ideally ideally so that it can mount with the QHY OAG mounting plate and also the CA35 - both of which expose a female M54 thread. However, the ZWO is made with male M54 on one side and female M54 on the other, so I need to change the gender of one side  . Using a filter drawer like this in front of the OAG was a gamble in case I could not pick up guide stars through the filter. More on that later.....
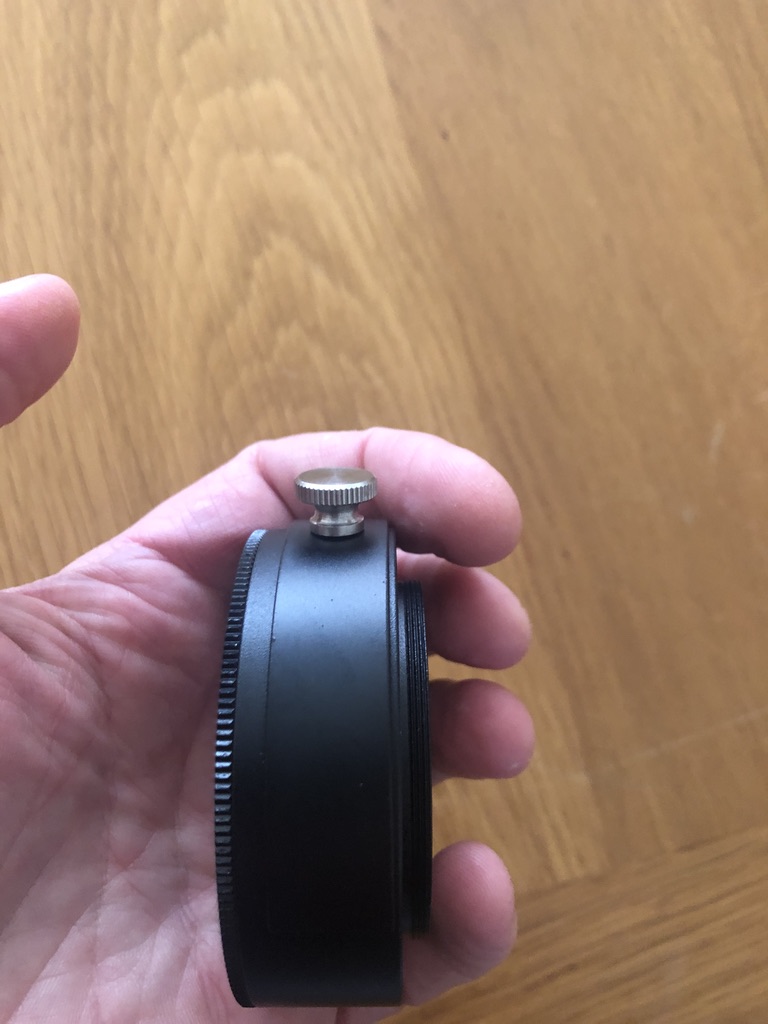
The filter drawer has a slide-in compartment with a strong magnetic catch to keep it secure. The drawer is also provided with a very useful accessory; a M54 male step-down adapter to M48 female. As it happens, the Williams Optics Redcat also has a male M48 on which to mount a camera. So this makes a perfect system and I can kill two birds with one stone.
1. If I mount the ZWO filter drawer with the M54 female side facing the telescope, then I can use an M54 male to M54 male gender change adapter (Takahashi OU031) to connect the female side of the filter drawer to the M54 female thread of the camera side of the CA35 Takahashi adapter. The male side of the filter drawer then screws directly into the OAG.
2. If I want to mount the camera to the Redcat I remove the camera after the M54-M54 male-male adapter, install the screw-in ZWO supplied M54>M48F adapter and I can then mount the whole OAG/Camera/Filter drawer assembly to the Redcat :) Additionally with this filter drawer it will connect onto my Samyang/Rokinon 135mm lens that I have modified slightly with this adapter.
The ZWO filter drawer also adds 24mm of back focus to get us to our goal of 200mm or so to get the cameras focused.
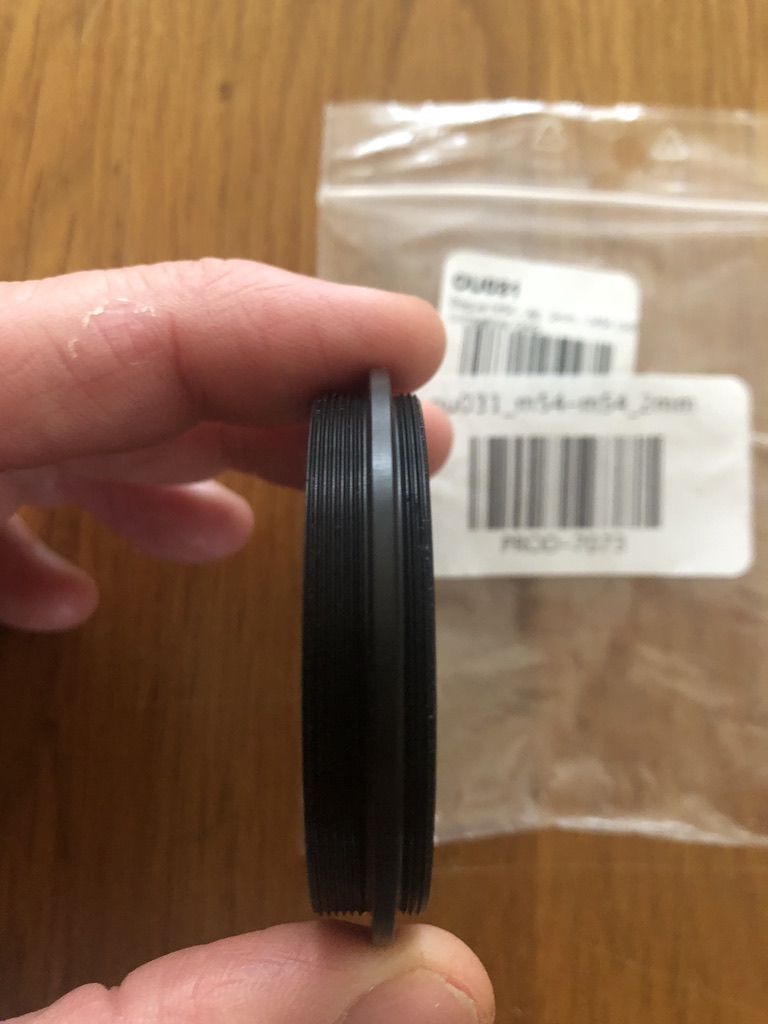
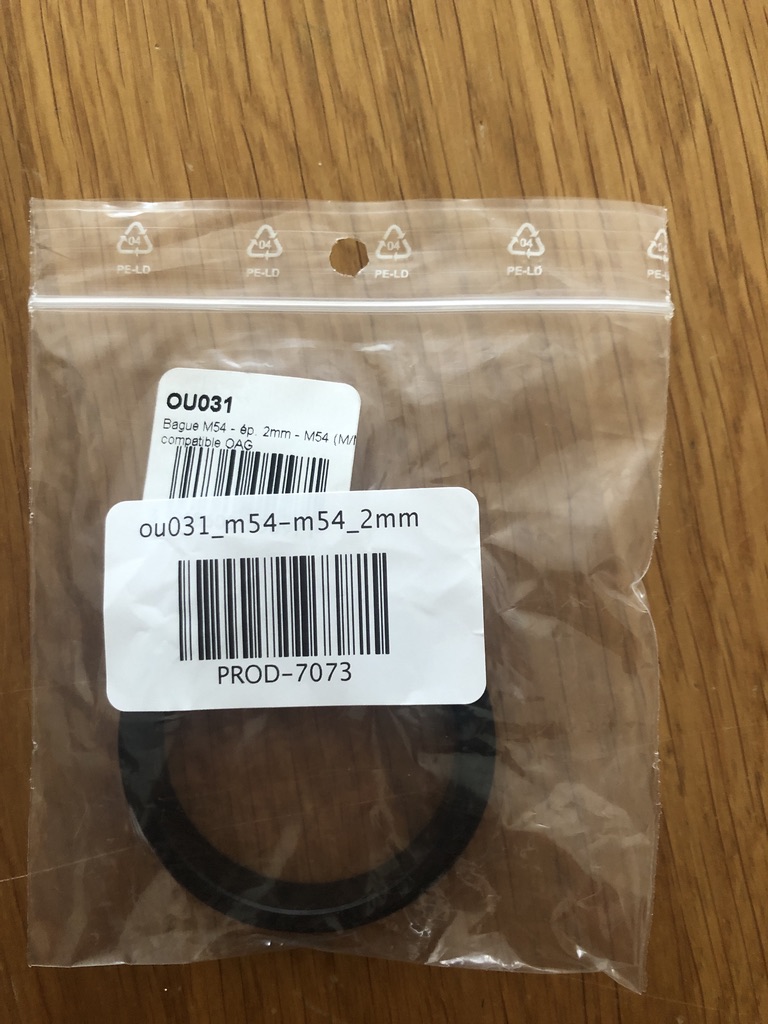
The Takahashi OU031 adapter above joins the female side of the ZWO filter drawer to the female side of the CA35. This simple adapter costs an astonishing £62 ! Other than make them myself I see little alternative other than to pay this exorbitant price.
The male (i.e. camera) side of the filter drawer screws into the M54 female telescope side of the OAG.
And there, we have a completely threaded mounting solution with QHY268C and the guidecam focused at the correct distance!
Will The Guidecam Focus ?
Clearly, the mechanism described has the filter drawer out in front of the OAG and the guidecam. In other words, the guidecam must look through the filter to find a guide star. This was a concern when I set up this arrangement, would guide stars show through? However, I can confirm that with a 2" LDAS LP filter installed the guidecam picked up stars without any problem at all. This will be by far my most predominant use-case for my QHY268C - 95% of the time I will be doing broadband.
Now, that said, I am interested in acquiring an Optolong L-extreme filter which only allows through some very specific narrowband emission lines. It will remain to be seen if a guidestar can work with this filter drawer arrangement and if a guidestar can be seen through the L-Extreme filter. If not, I will need to have a rethink and see if the L-extreme can be installed behind the OAG in some way on the occasions when I may want to capture narrowband through with this camera.
Update: 12 October 2020
The weather in the UK has been very cloudy and wet and since I authored this page and since then I have only had only snatched 15 minutes of clear sky time here and there; imaging in the UK is exceptionally challenging! However, on 11th October I managed to build a picture from 47 subs. Please see my first light post to read about this. A sneak peek on the image below :)

Update 2: 16 October 2020
I had an unexpected clear night, although the seeing was bad, and managed to get 55 x 4 minute subs of IC1396 - Elephant Trunk Nebula.
I think the camera is a good one and exciting times ahead with it hopefully :)

Clear skies, Steve
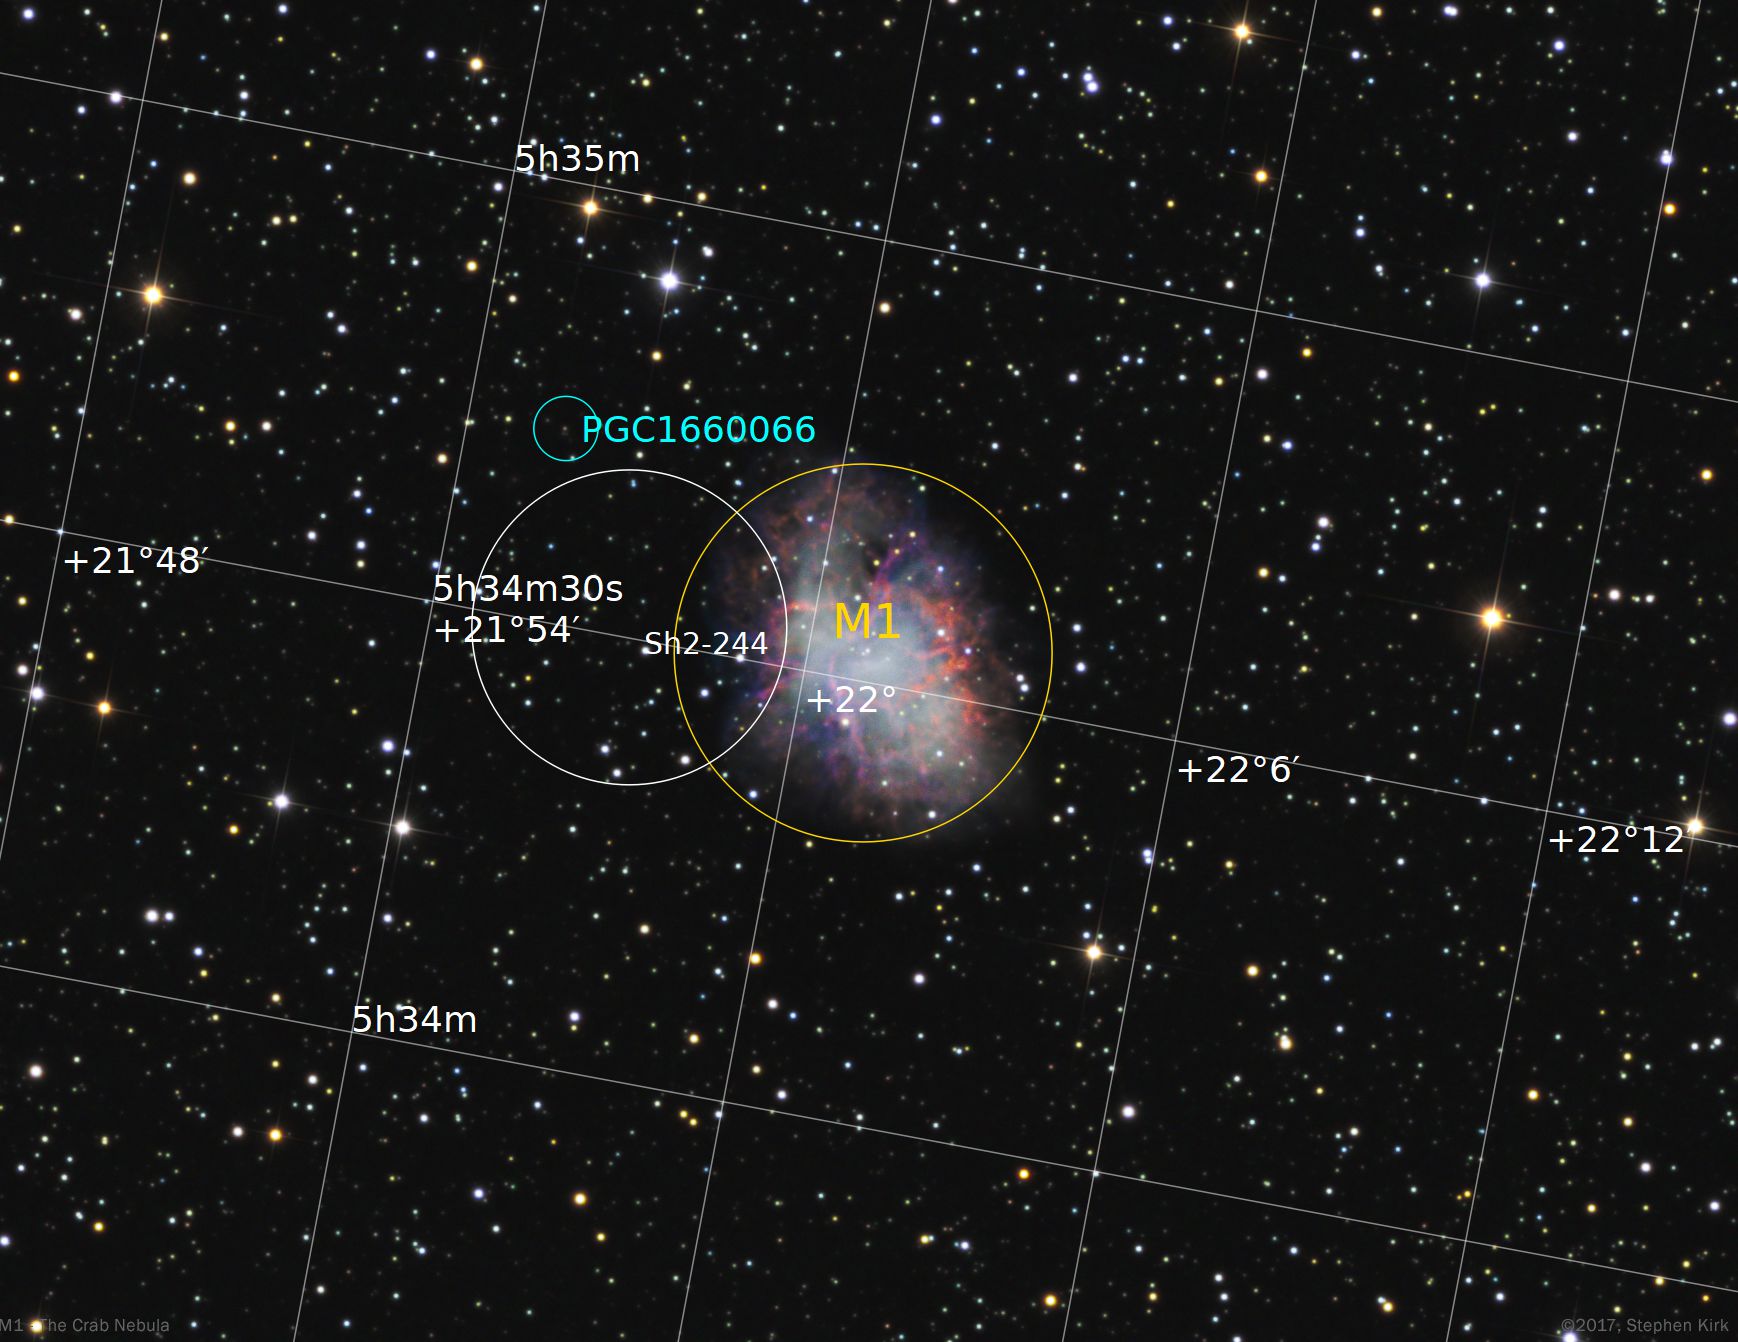
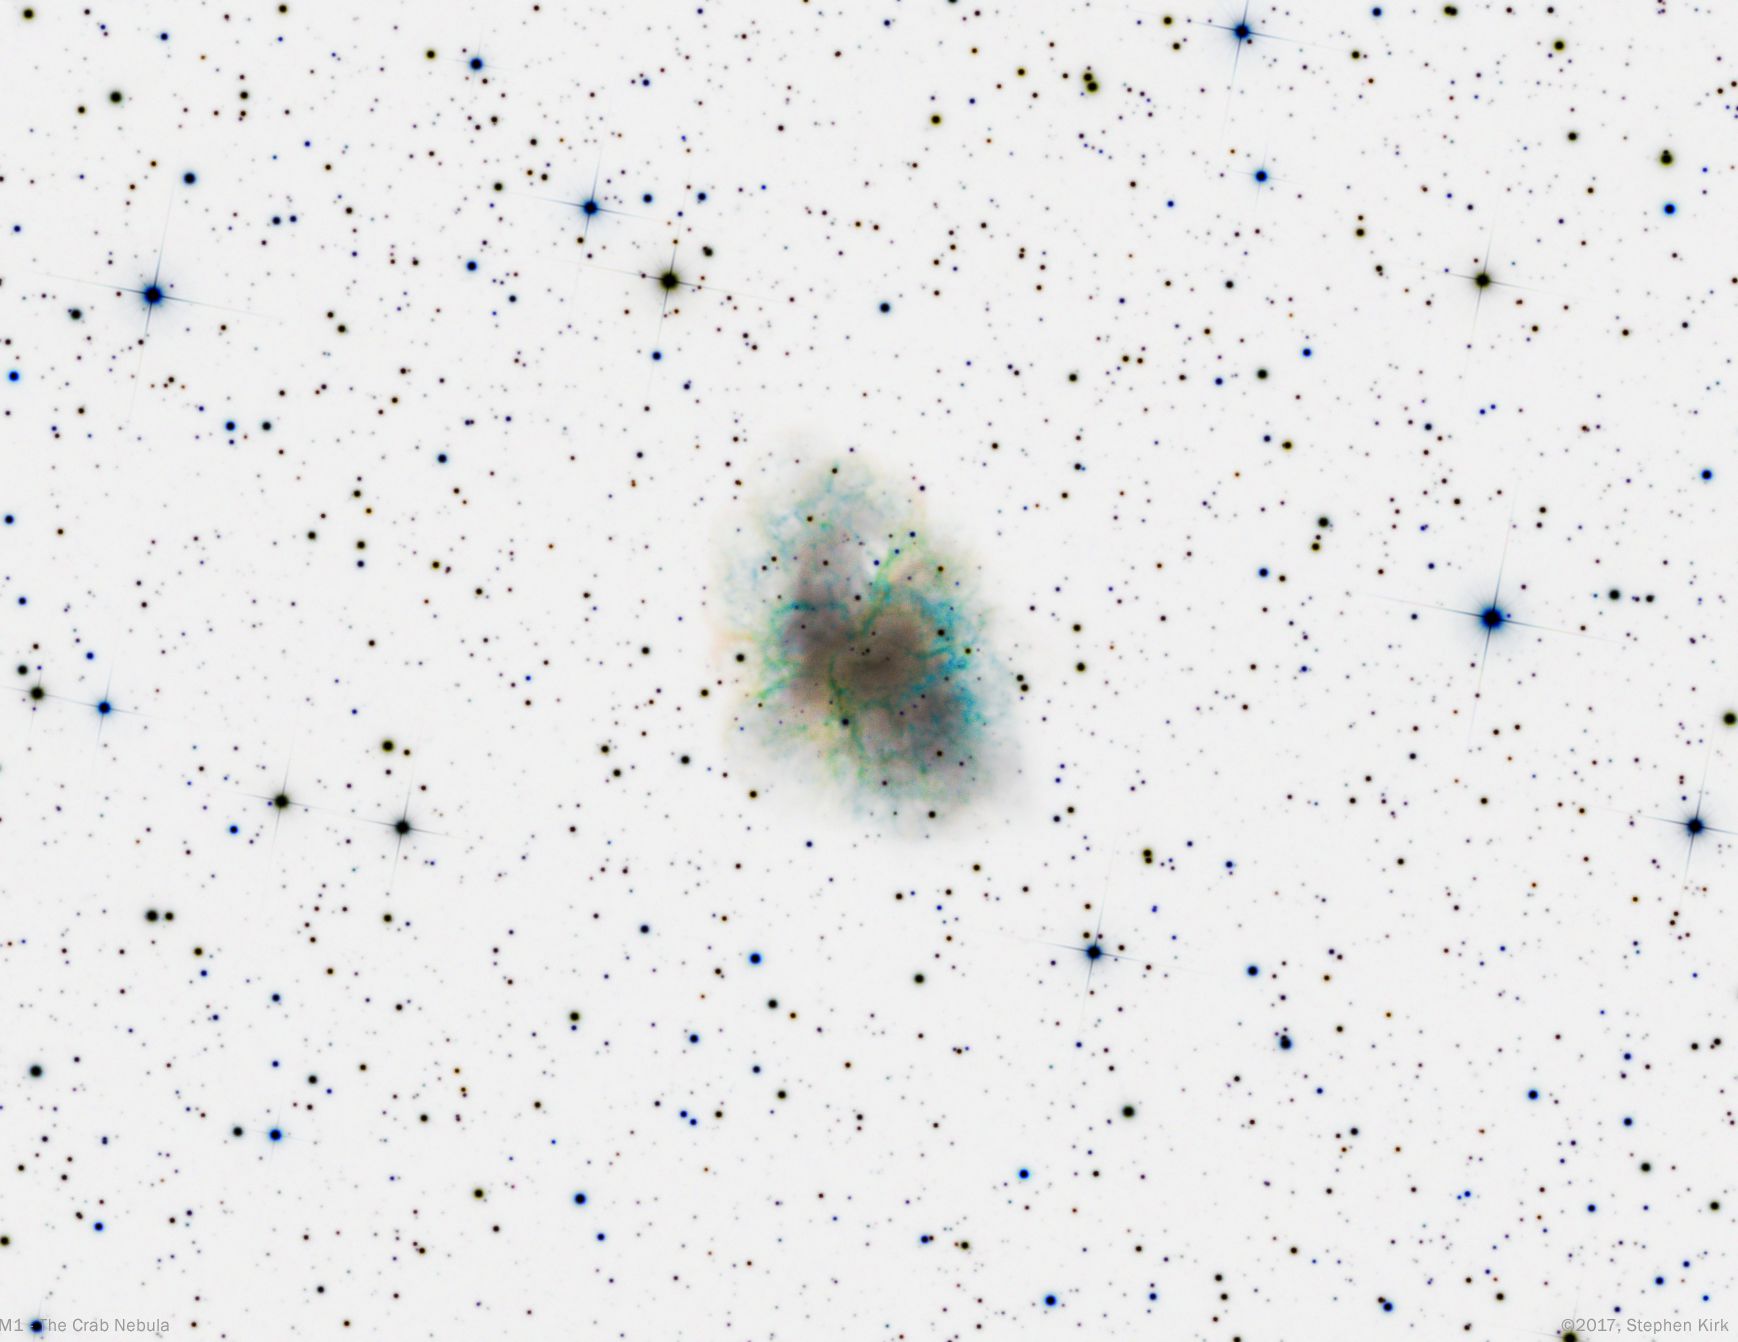
M1 - The Crab Nebula TEC140
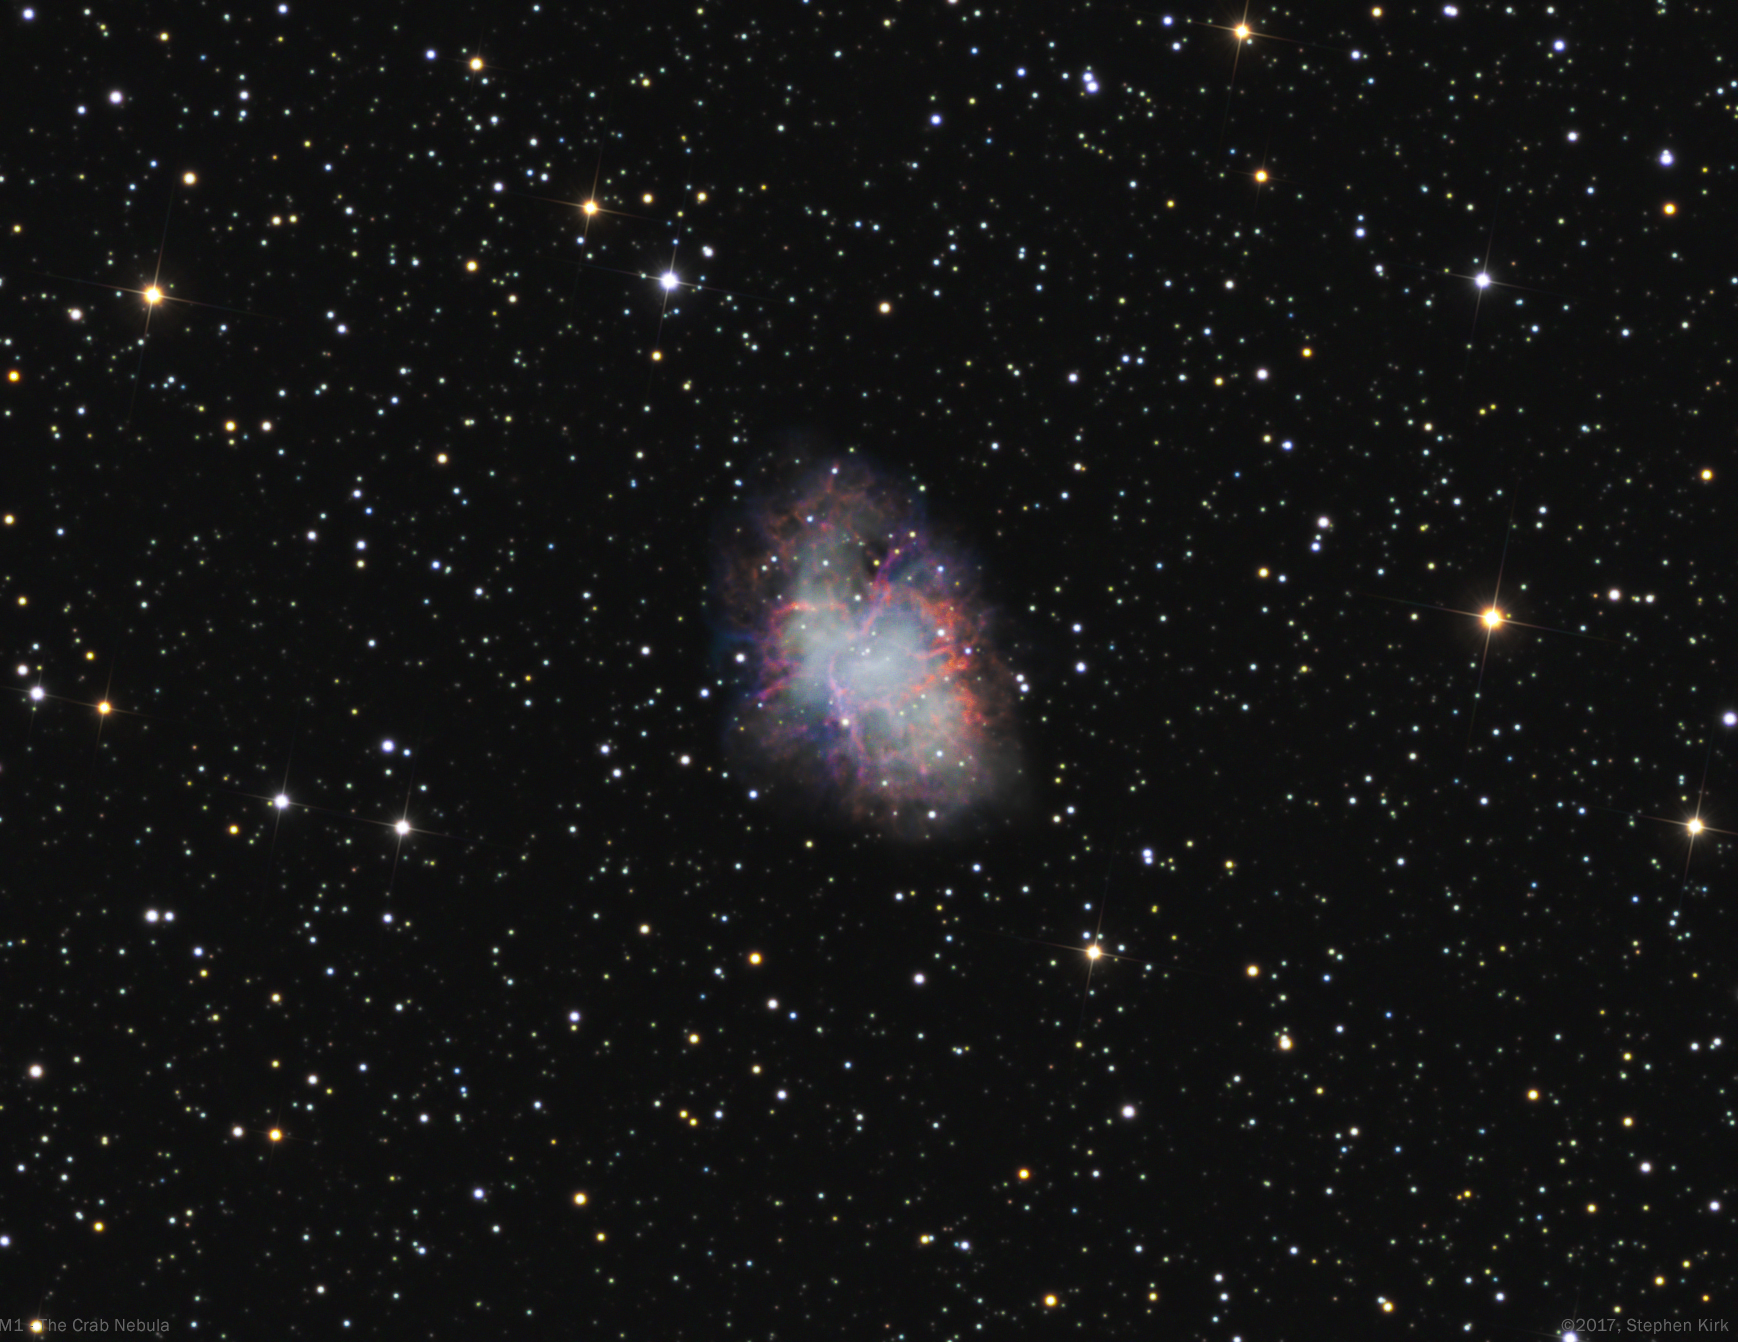
The Crab Nebula - M1 - is the expanding remains of a supernova that was seen in 1054 throughput medieval Europe, The Middle East and China. The nebula is very distant at about 6500 light years and lies in the Perseus Arm of our galaxy, further out from The Galaxy's core than The Sun. It is called The Crab because William Parsons from his Irish observatory who first viewed it in 1840 thought it resembled the outline of a crab and the name has stuck. The object was first observed in the 1731 and was linked to the Supernova of 1054 as recently as 1913. Earlier photographic plates from the 1950's and those taken today show a definite expansion in the nebula in the intervening 70 years.
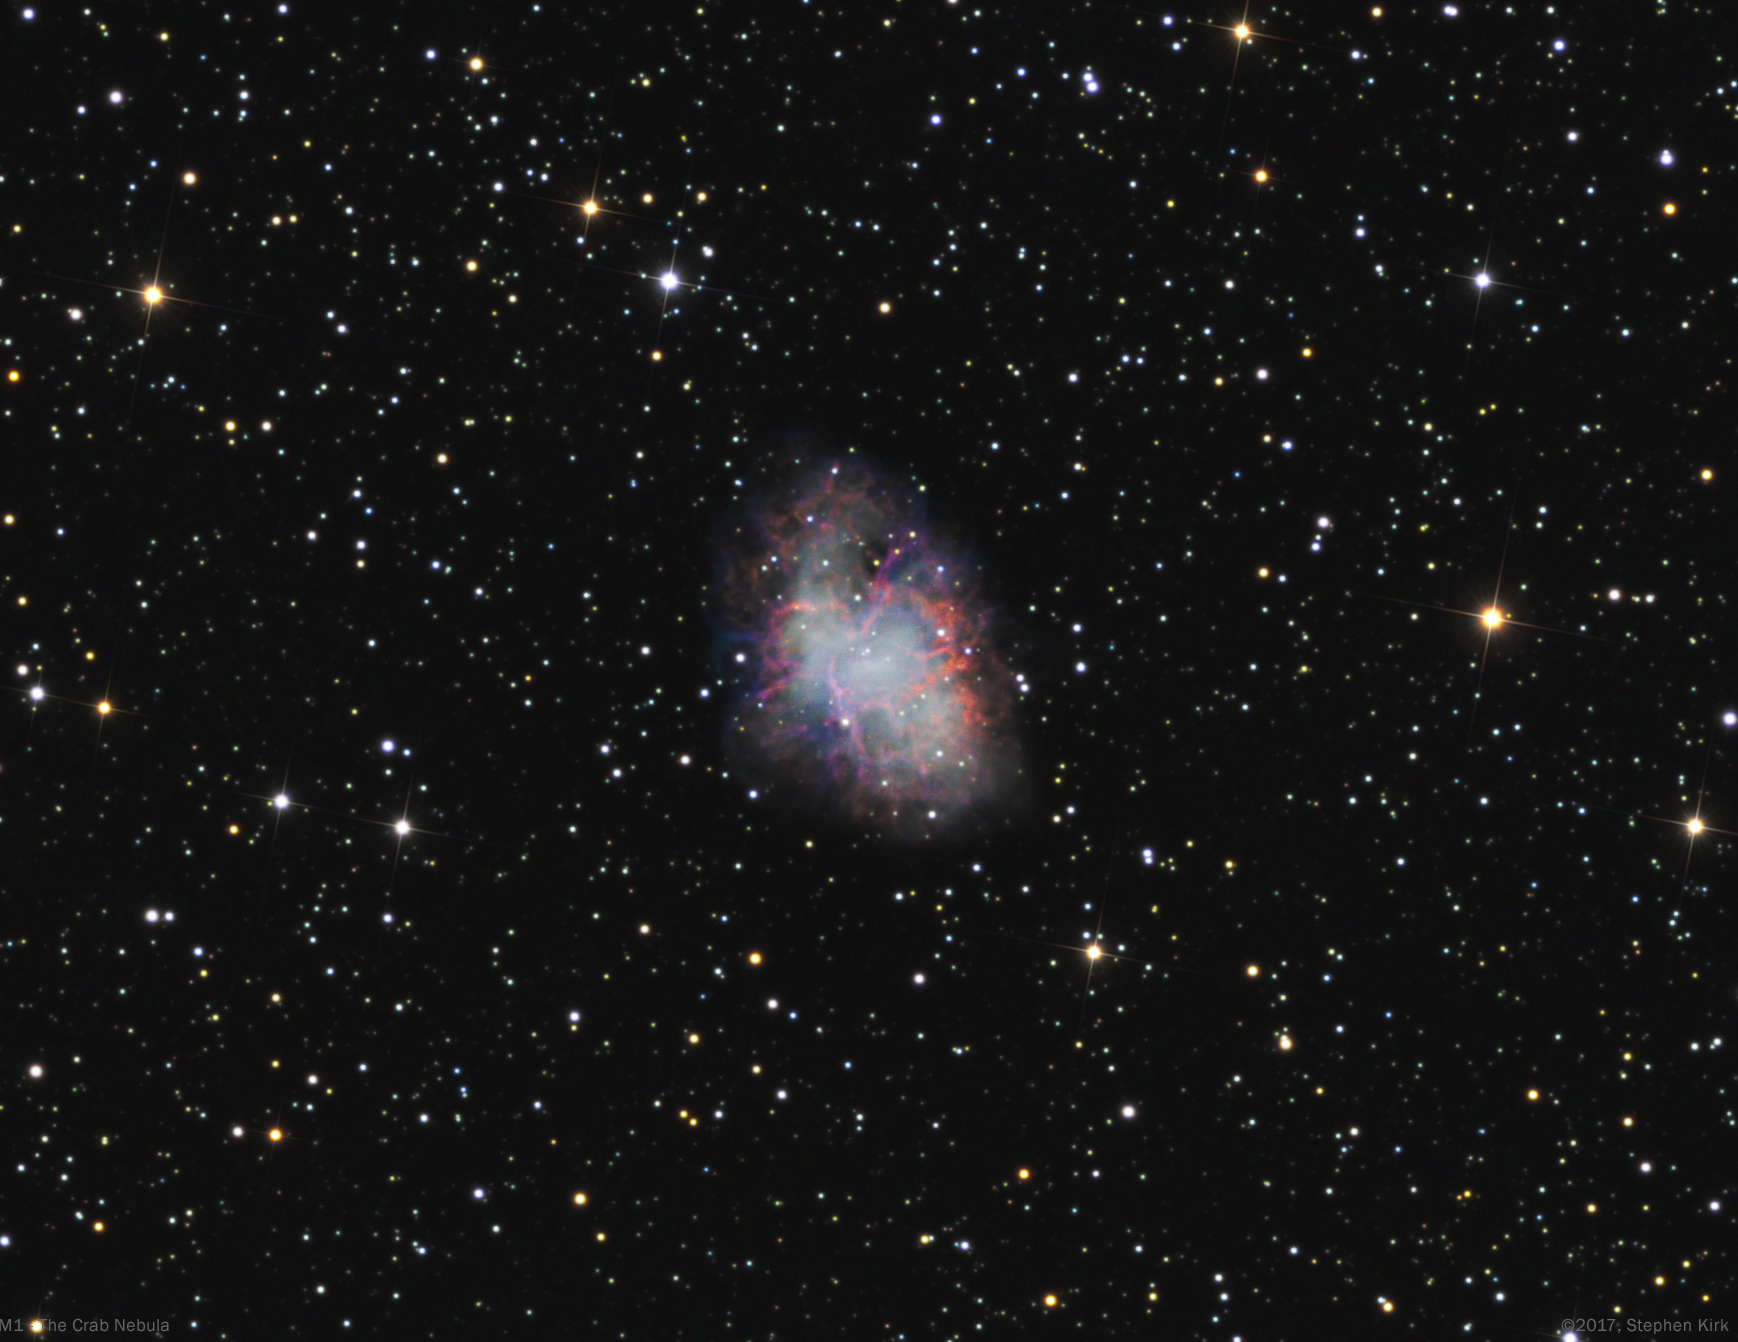
Image Technical Data
Imaged from my backyard in Nottingham, UK in the winter of 2017 with my TEC 140 refractor and Atik 460 cooled CCD camera and Baader LRGB filters. I used a NEQ6 mount guided with OAG.
All images data binned 1x1:
Lum > 10 x 900s ; Red > 15 x 300s ; Green 15 x 300s ; Blue > 19 x 300s
Image capture with APT and processing in PixInsight and Photoshop CC.
NGC 7814 - The Little Sombrero Galaxy - TEC 140
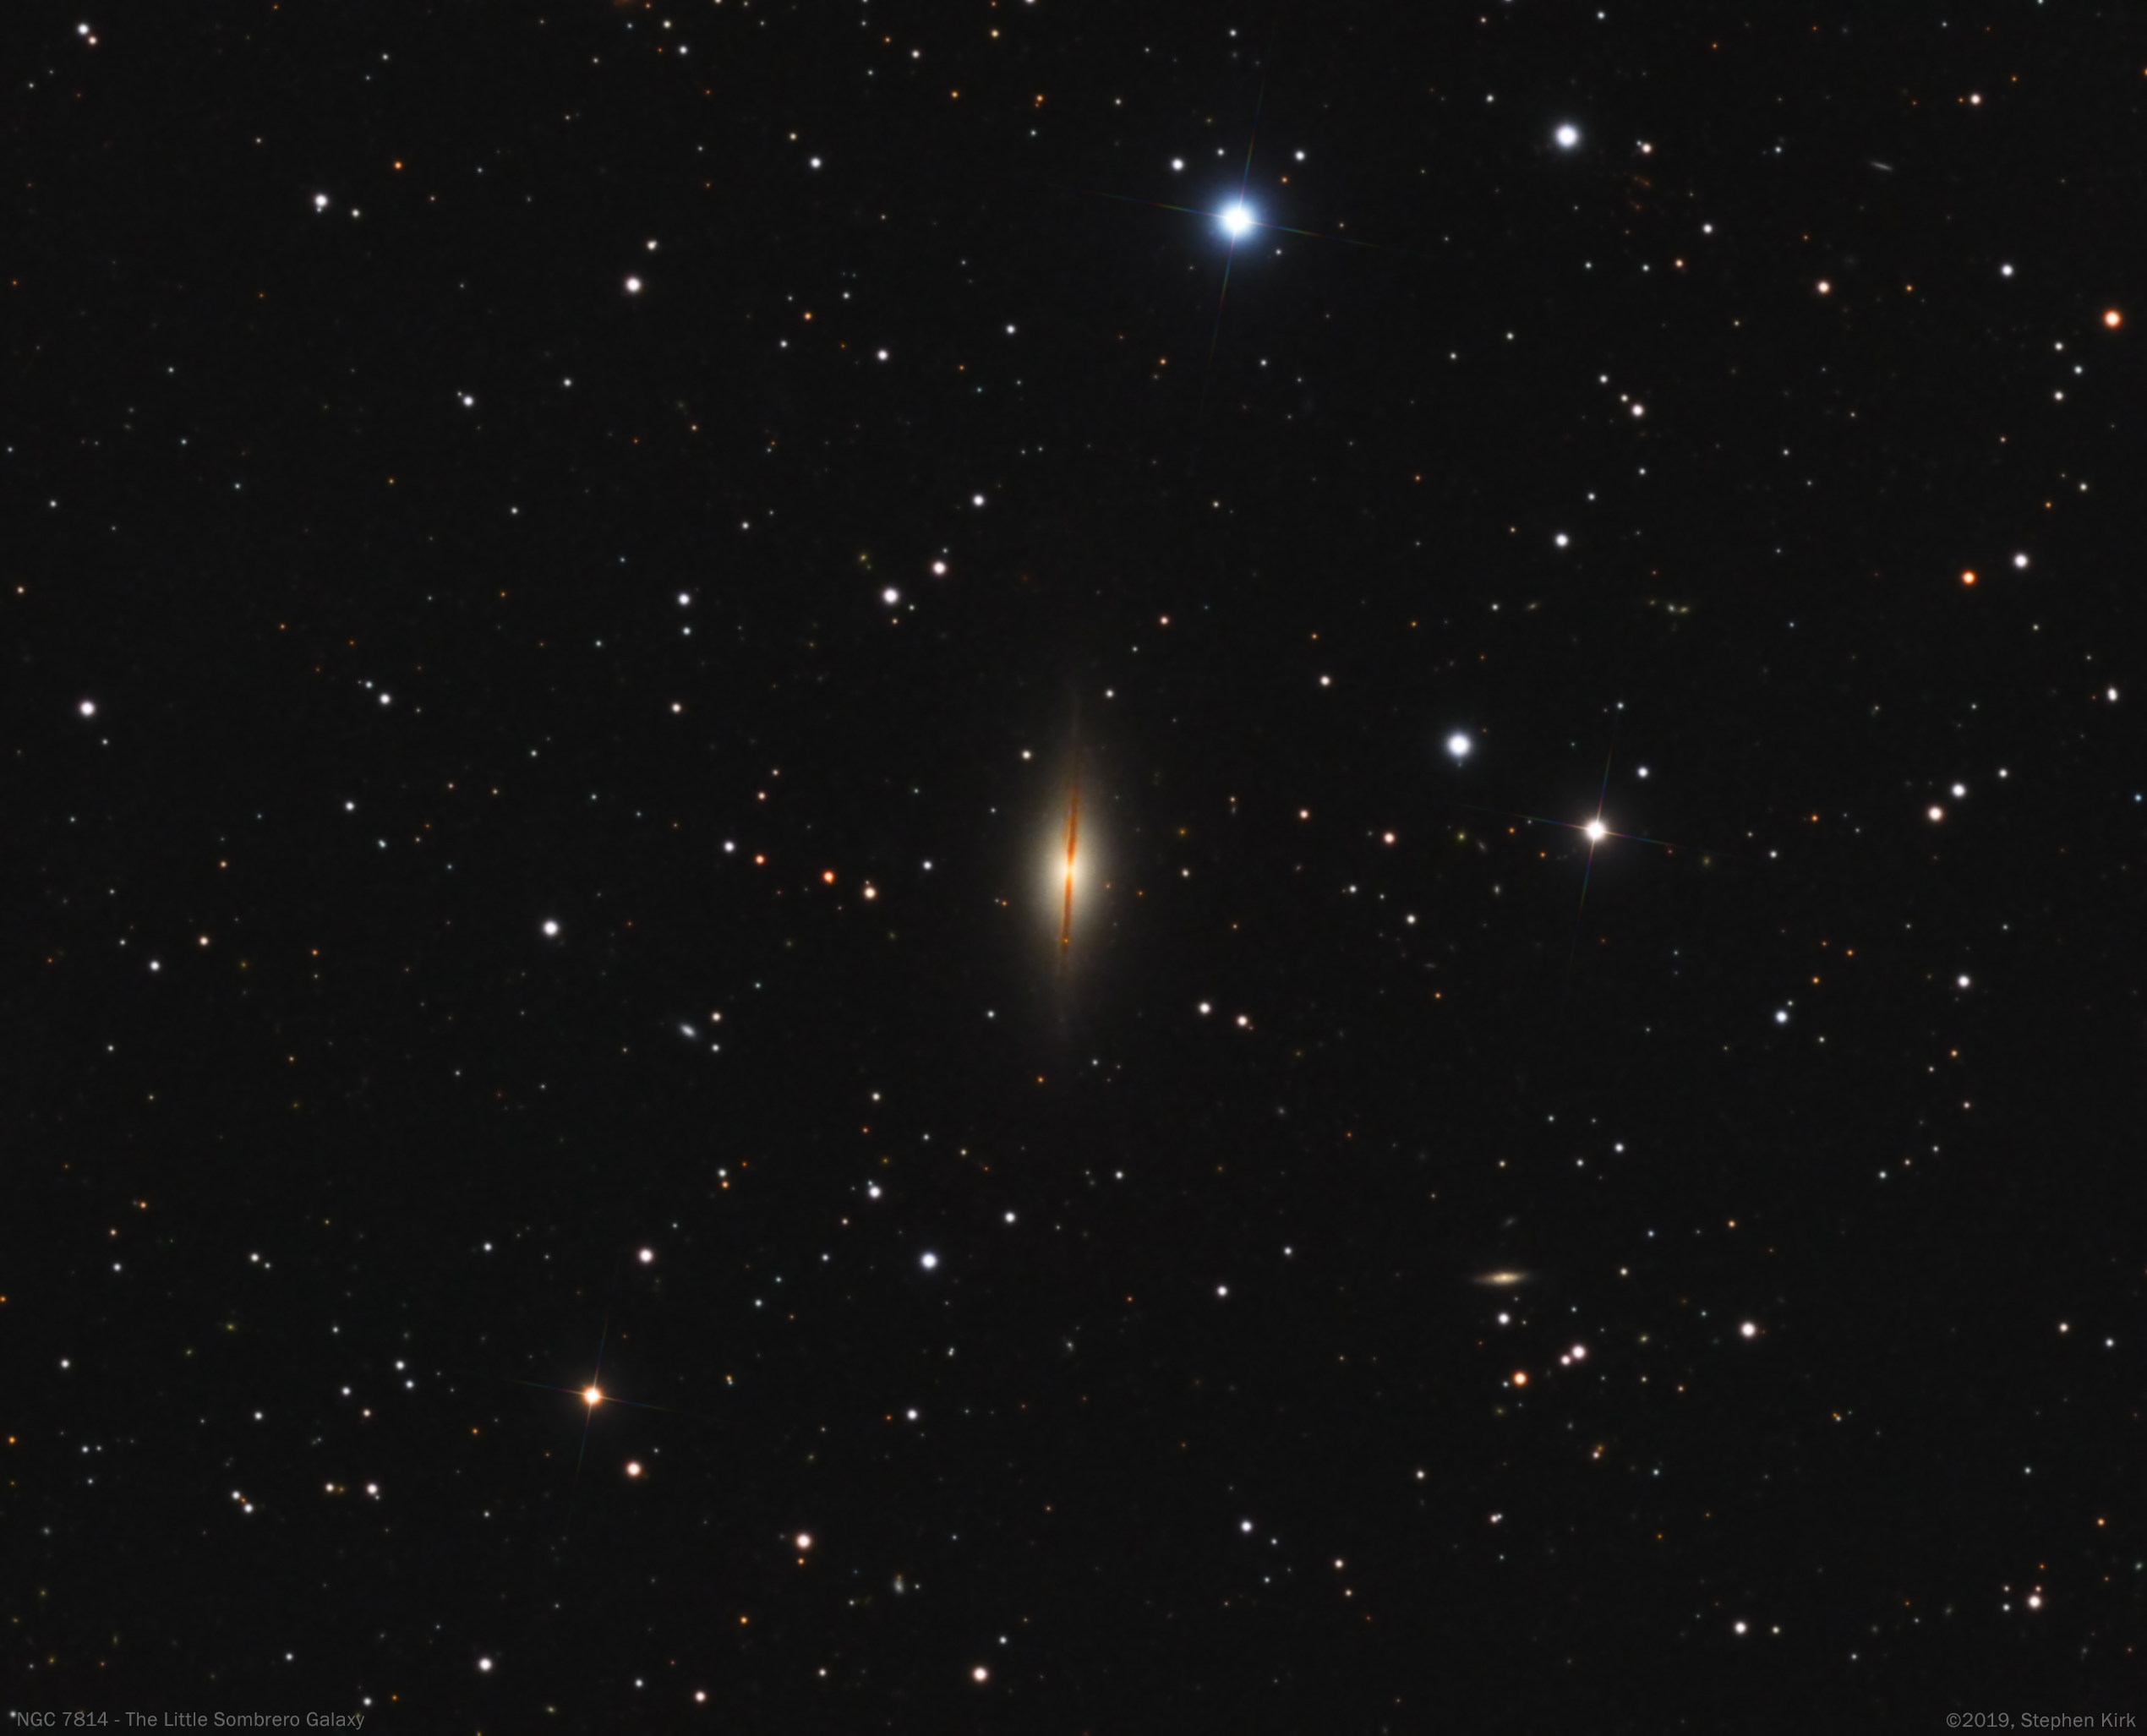
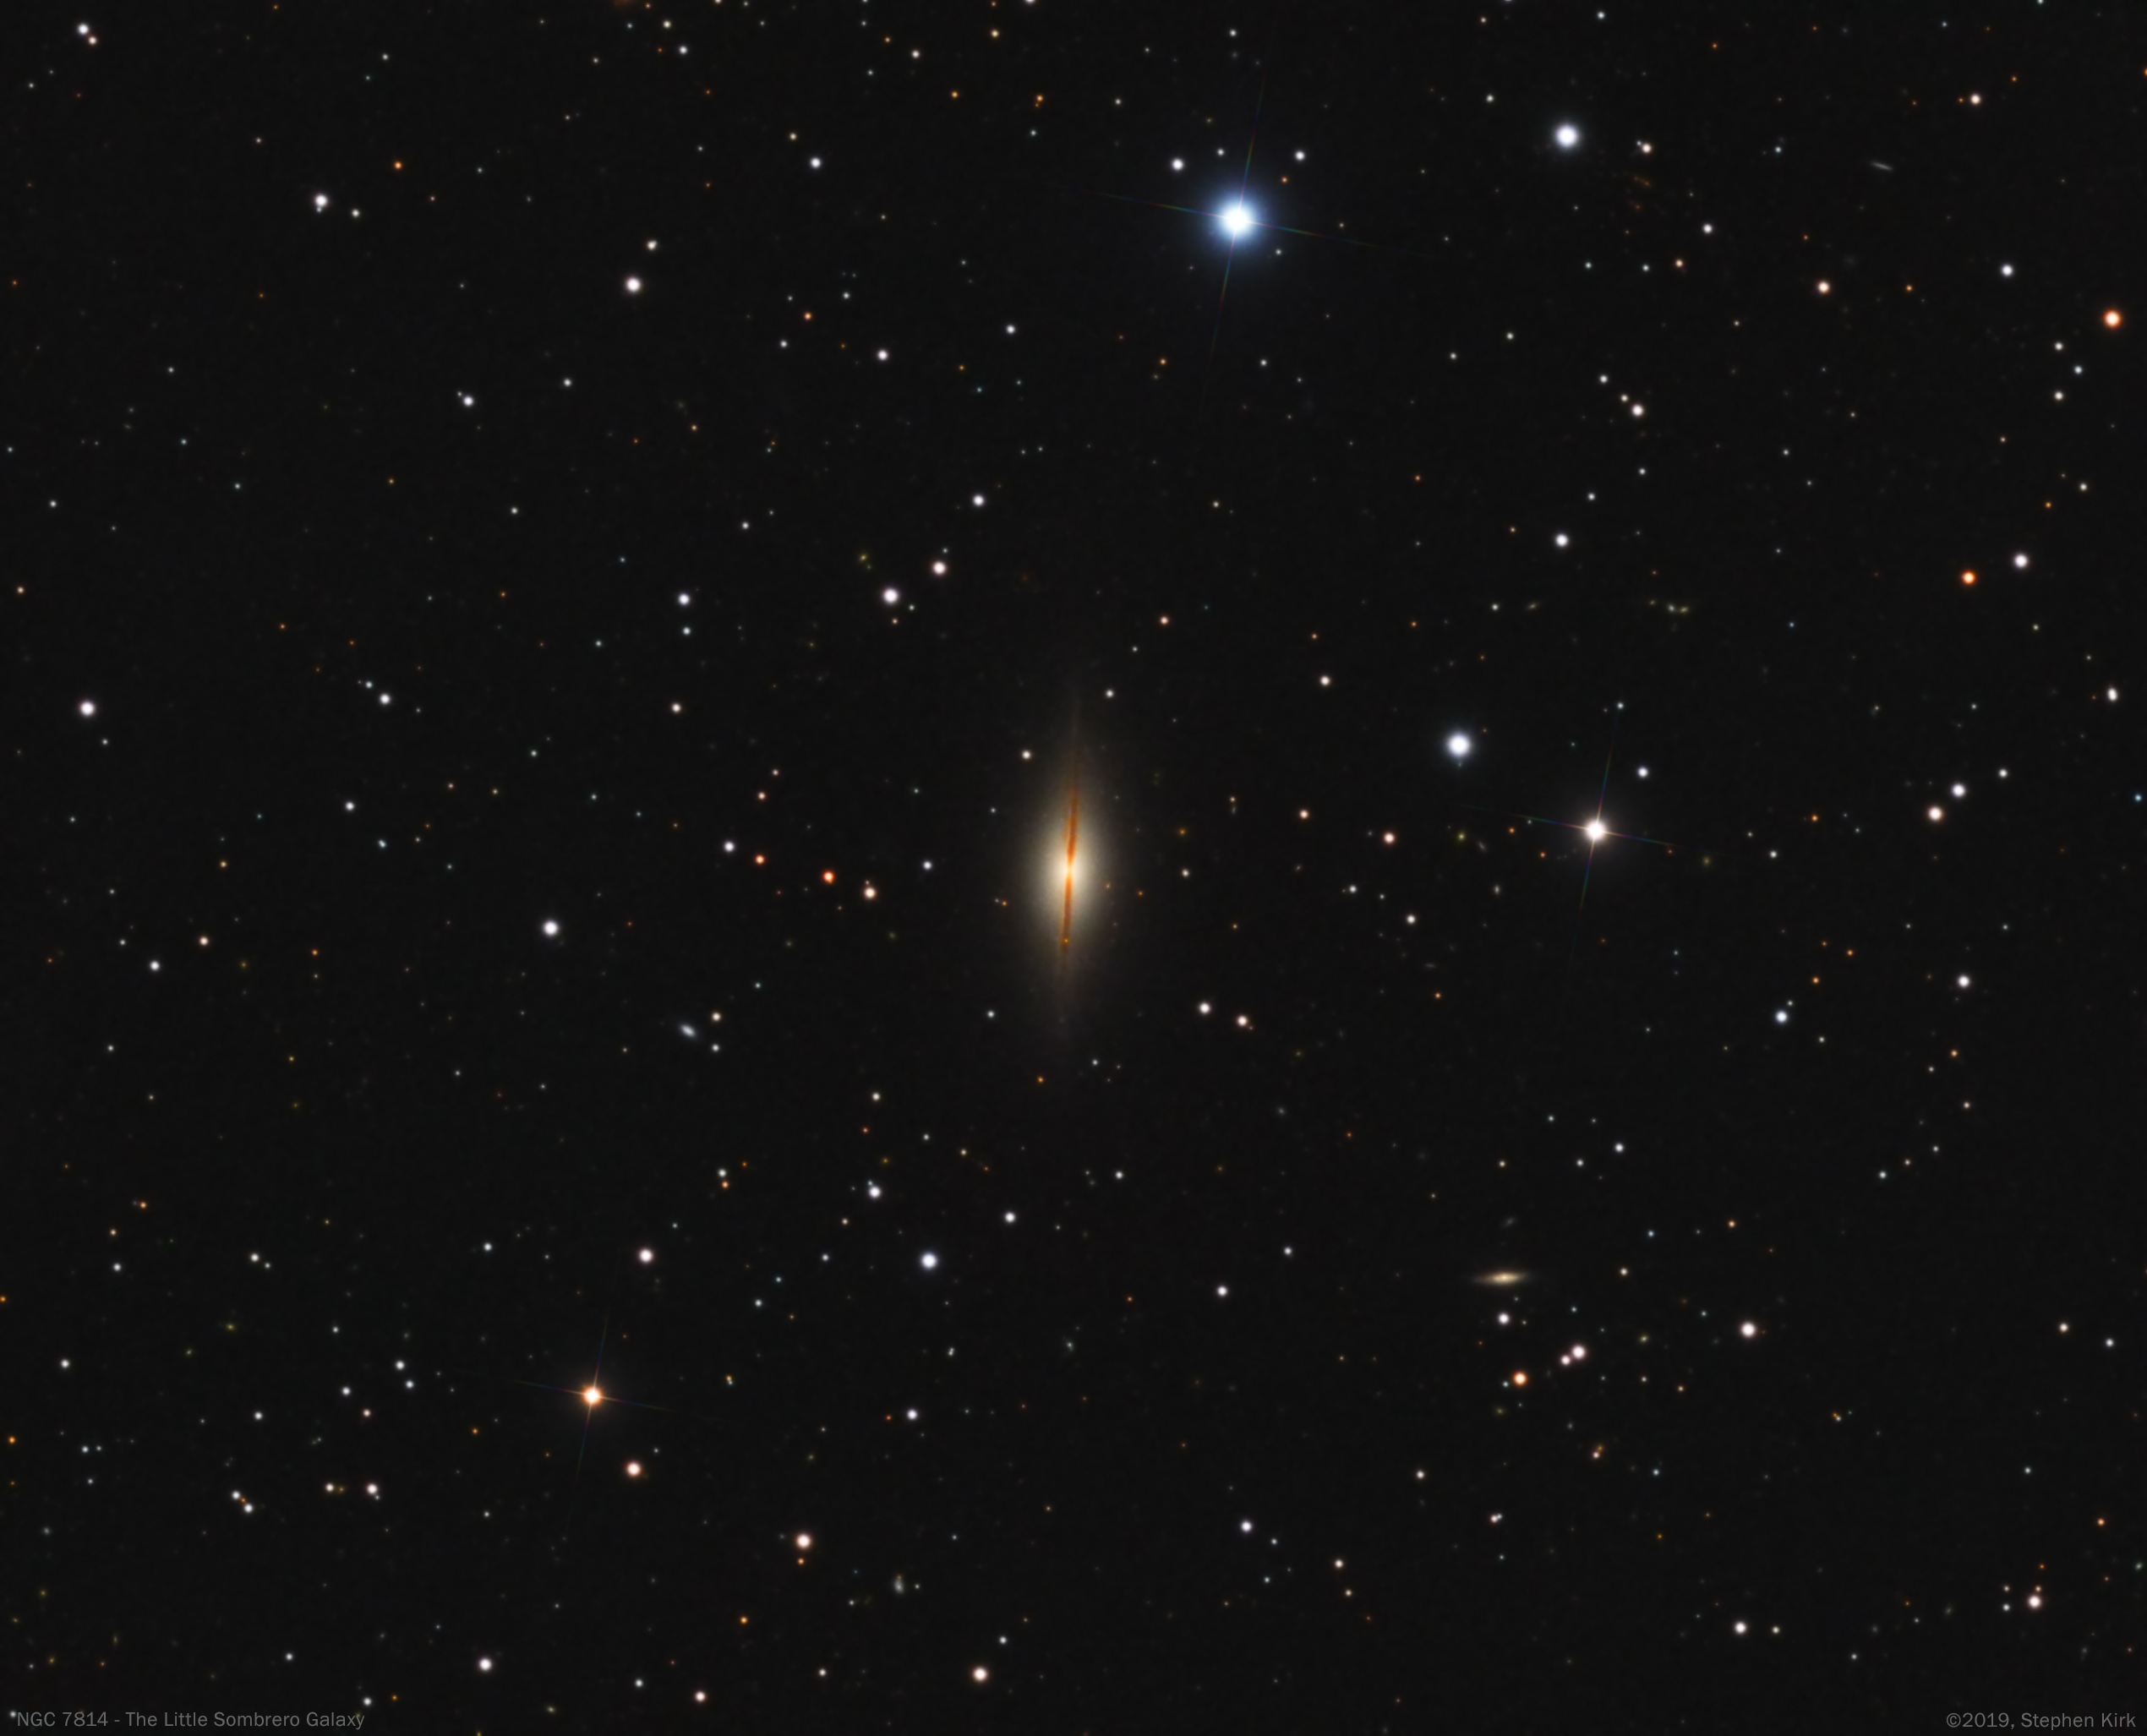
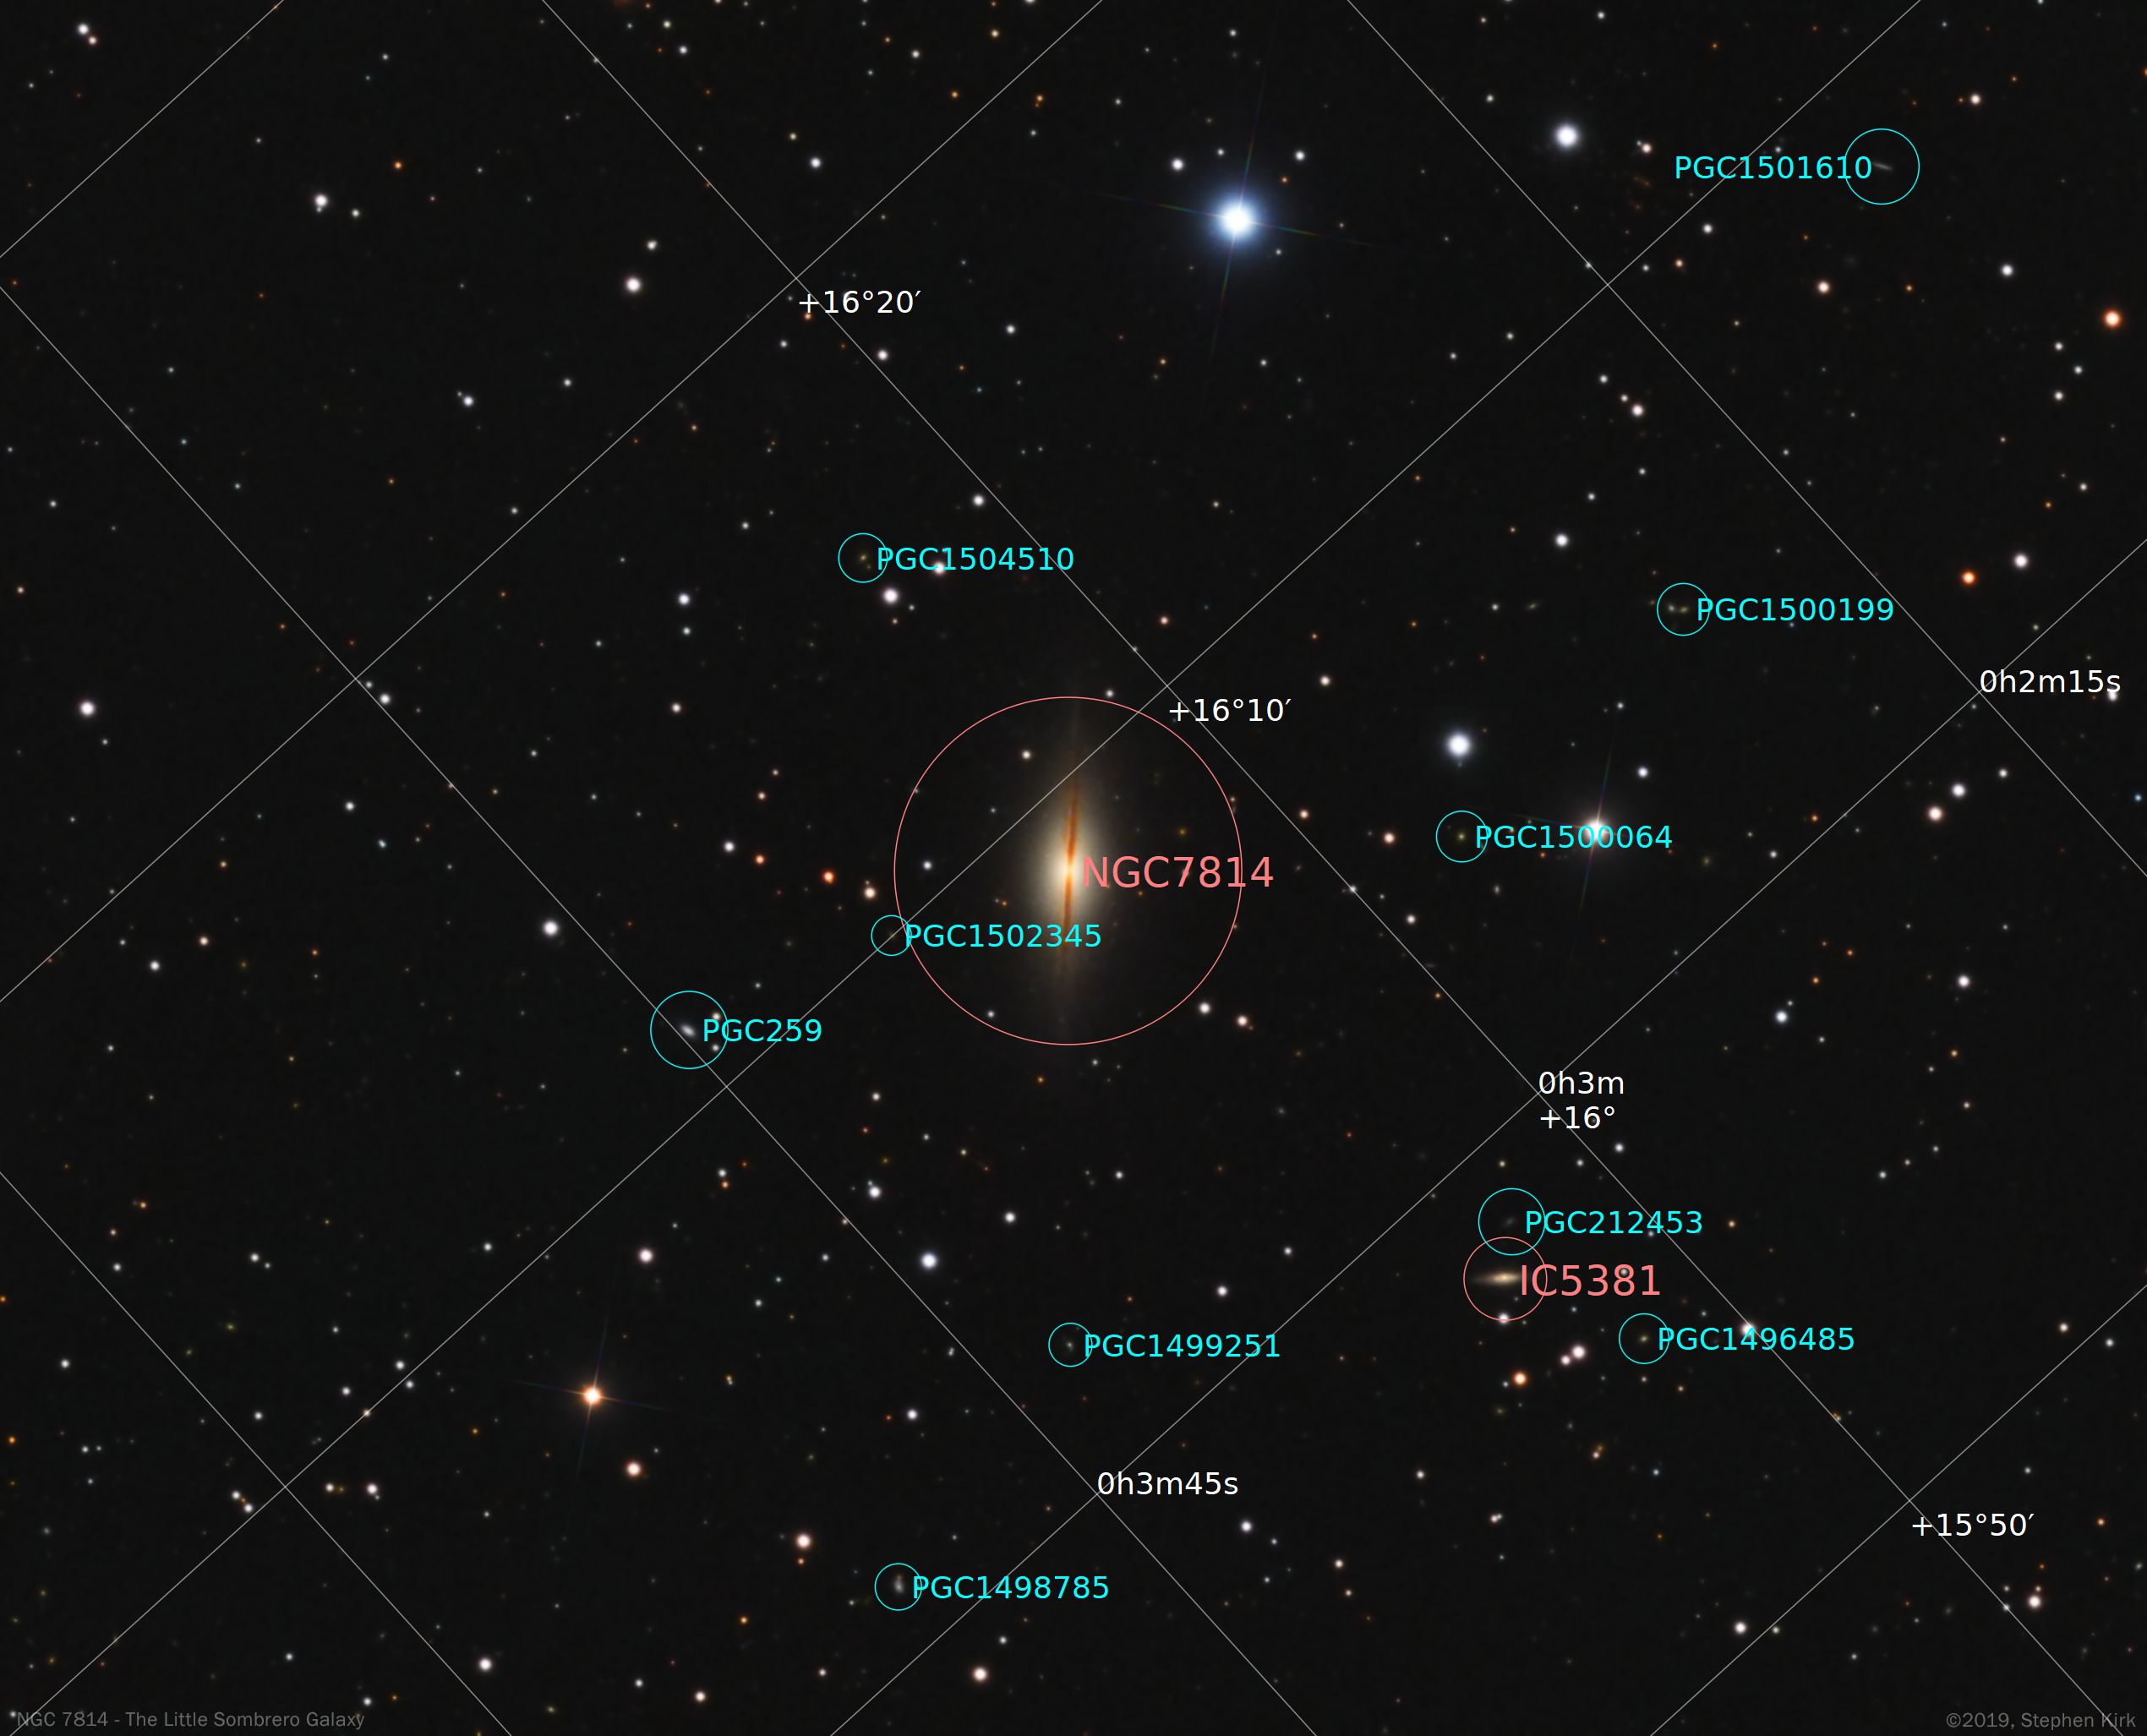
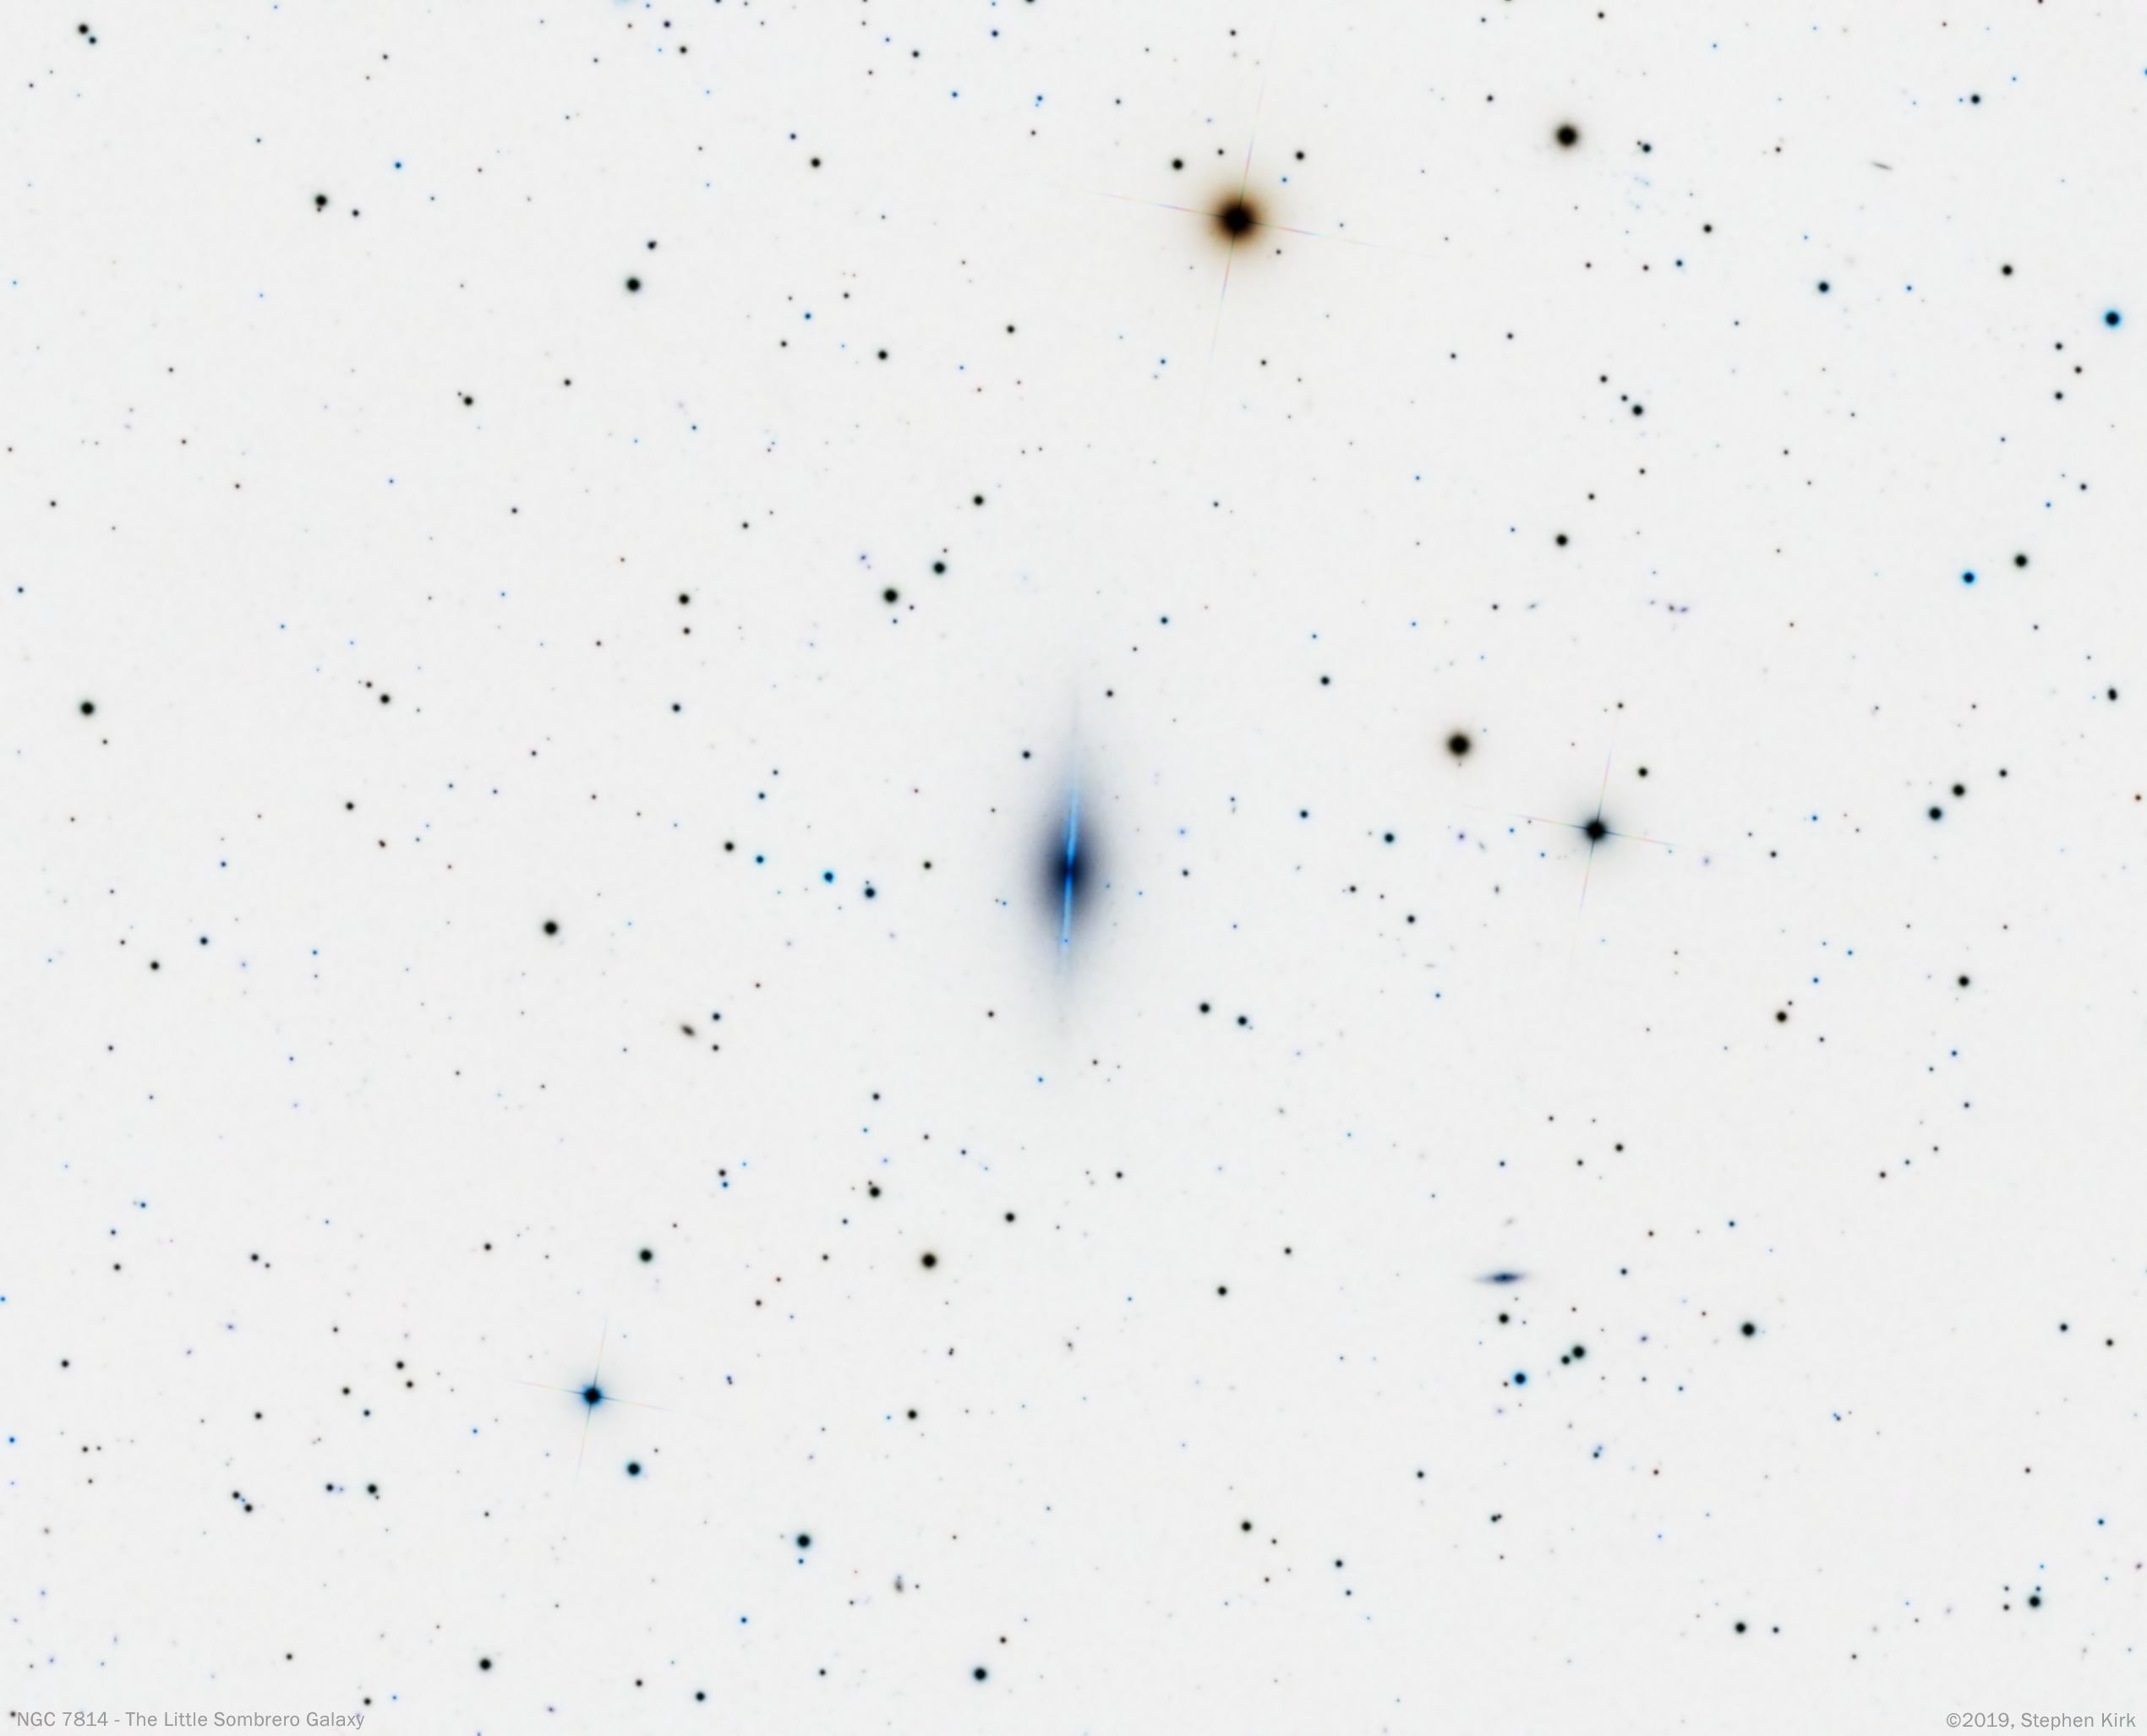
NGC 7814 is an edge-on spiral galaxy 40 million light-years away in the constellation of Pegasus. IT is nicknamed "The Little Sombrero" because of its likeness to The Sombrero Galaxy M104 in Virgo. Close examination of the picture reveals many tiny galaxies, up to a billion light years away in the depths of The Universe.
The dust lanes of the edge-on spiral arms can be easily seen.
Image Technical Data
NGC 7814 is very remote and so needs a long integration (exposure) time. This image was captured from my backyard observatory in Nottingham, UK over the course of three nights in October 2019 (a very wet period in the UK and the capture nights were 2,17 and 24). It took significant dedication to capture the subframes for this image given the dreary weather circumstances and I nearly gave up on several occasions! I used my TEC 140 refractor with Atik 460 cooled CCD camera with Astrodon E Series Generation 2 filters on my OAG guided MESU 200 mount.
Integration is a total of nine hours comprised of:
Luminance > 22 x 900s binned 1x1 ; Red > 17 x 300s 2x2 ; Green > 14 x 300s 2x2 ; Blue > 14 x 300s 2x2
Image capture in Sequence Generator Pro and processing in PixInsight and Photoshop CC. The bright star to the top centre is very difficult to control. This star is of course a foreground star in our own galaxy and is millions of times nearer to the Earth than the galaxy.
M38 - Open Cluster in Auriga TEC 140
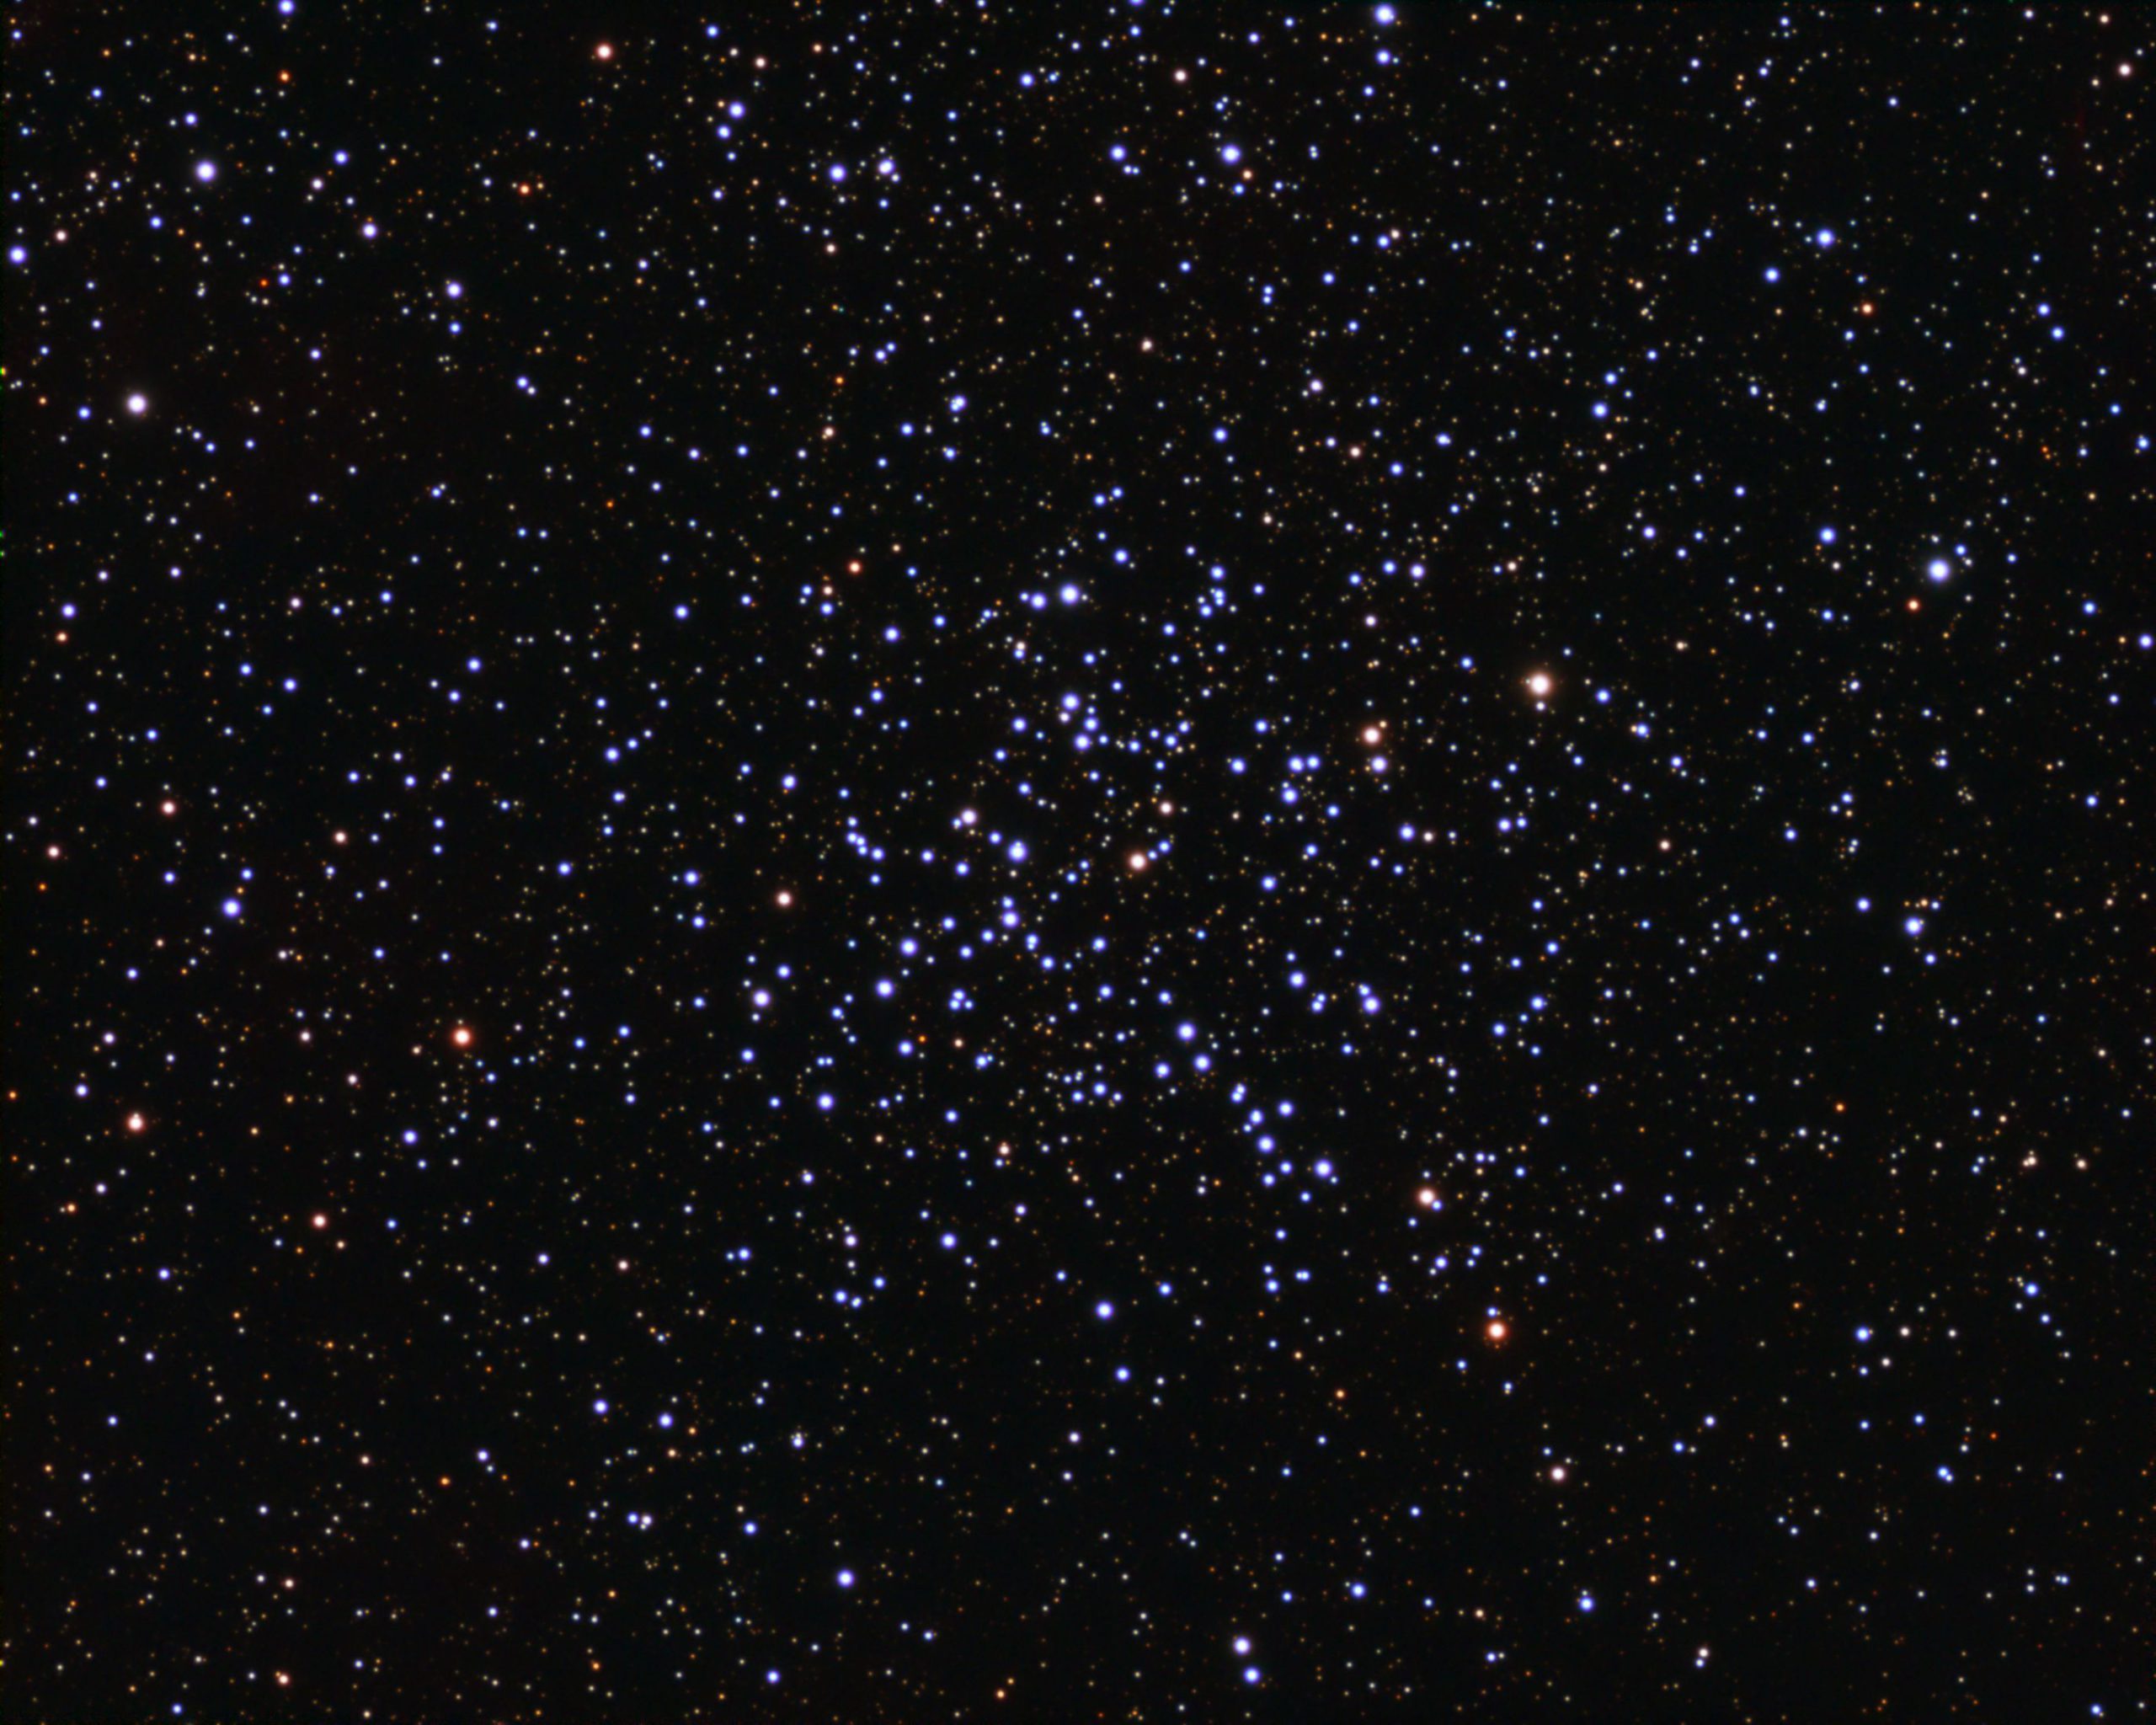
M38 is the third of three Messier Open Clusters in the constellation of Auriga, in the Northern hemisphere of the sky. The other two Messier clusters are M36 and M37. All of them are easily visible with binoculars and are seen as faint smudges against the darker background. If you read my post on the Constellation of Auriga you will see all three of the Open Clusters in the same image

Image Technical Data
Imaged from my back yard in Nottingham, UK on the 18th January 2020 whilst high overhead from my location. I used my TEC 140 refractor with Atik 460 cooled CCD camera and Astrodon RGB E Series Generation 2 filters. I used my MESU 200 mount guided with OAG.
All exposures binned 1x1: Red > 12 x 180s ; Green > 14 x 180s ; Blue > 13 x 180s. This gives a total integration time of just under two hours.


M39 Open Cluster in Cygnus - TEC140 refractor
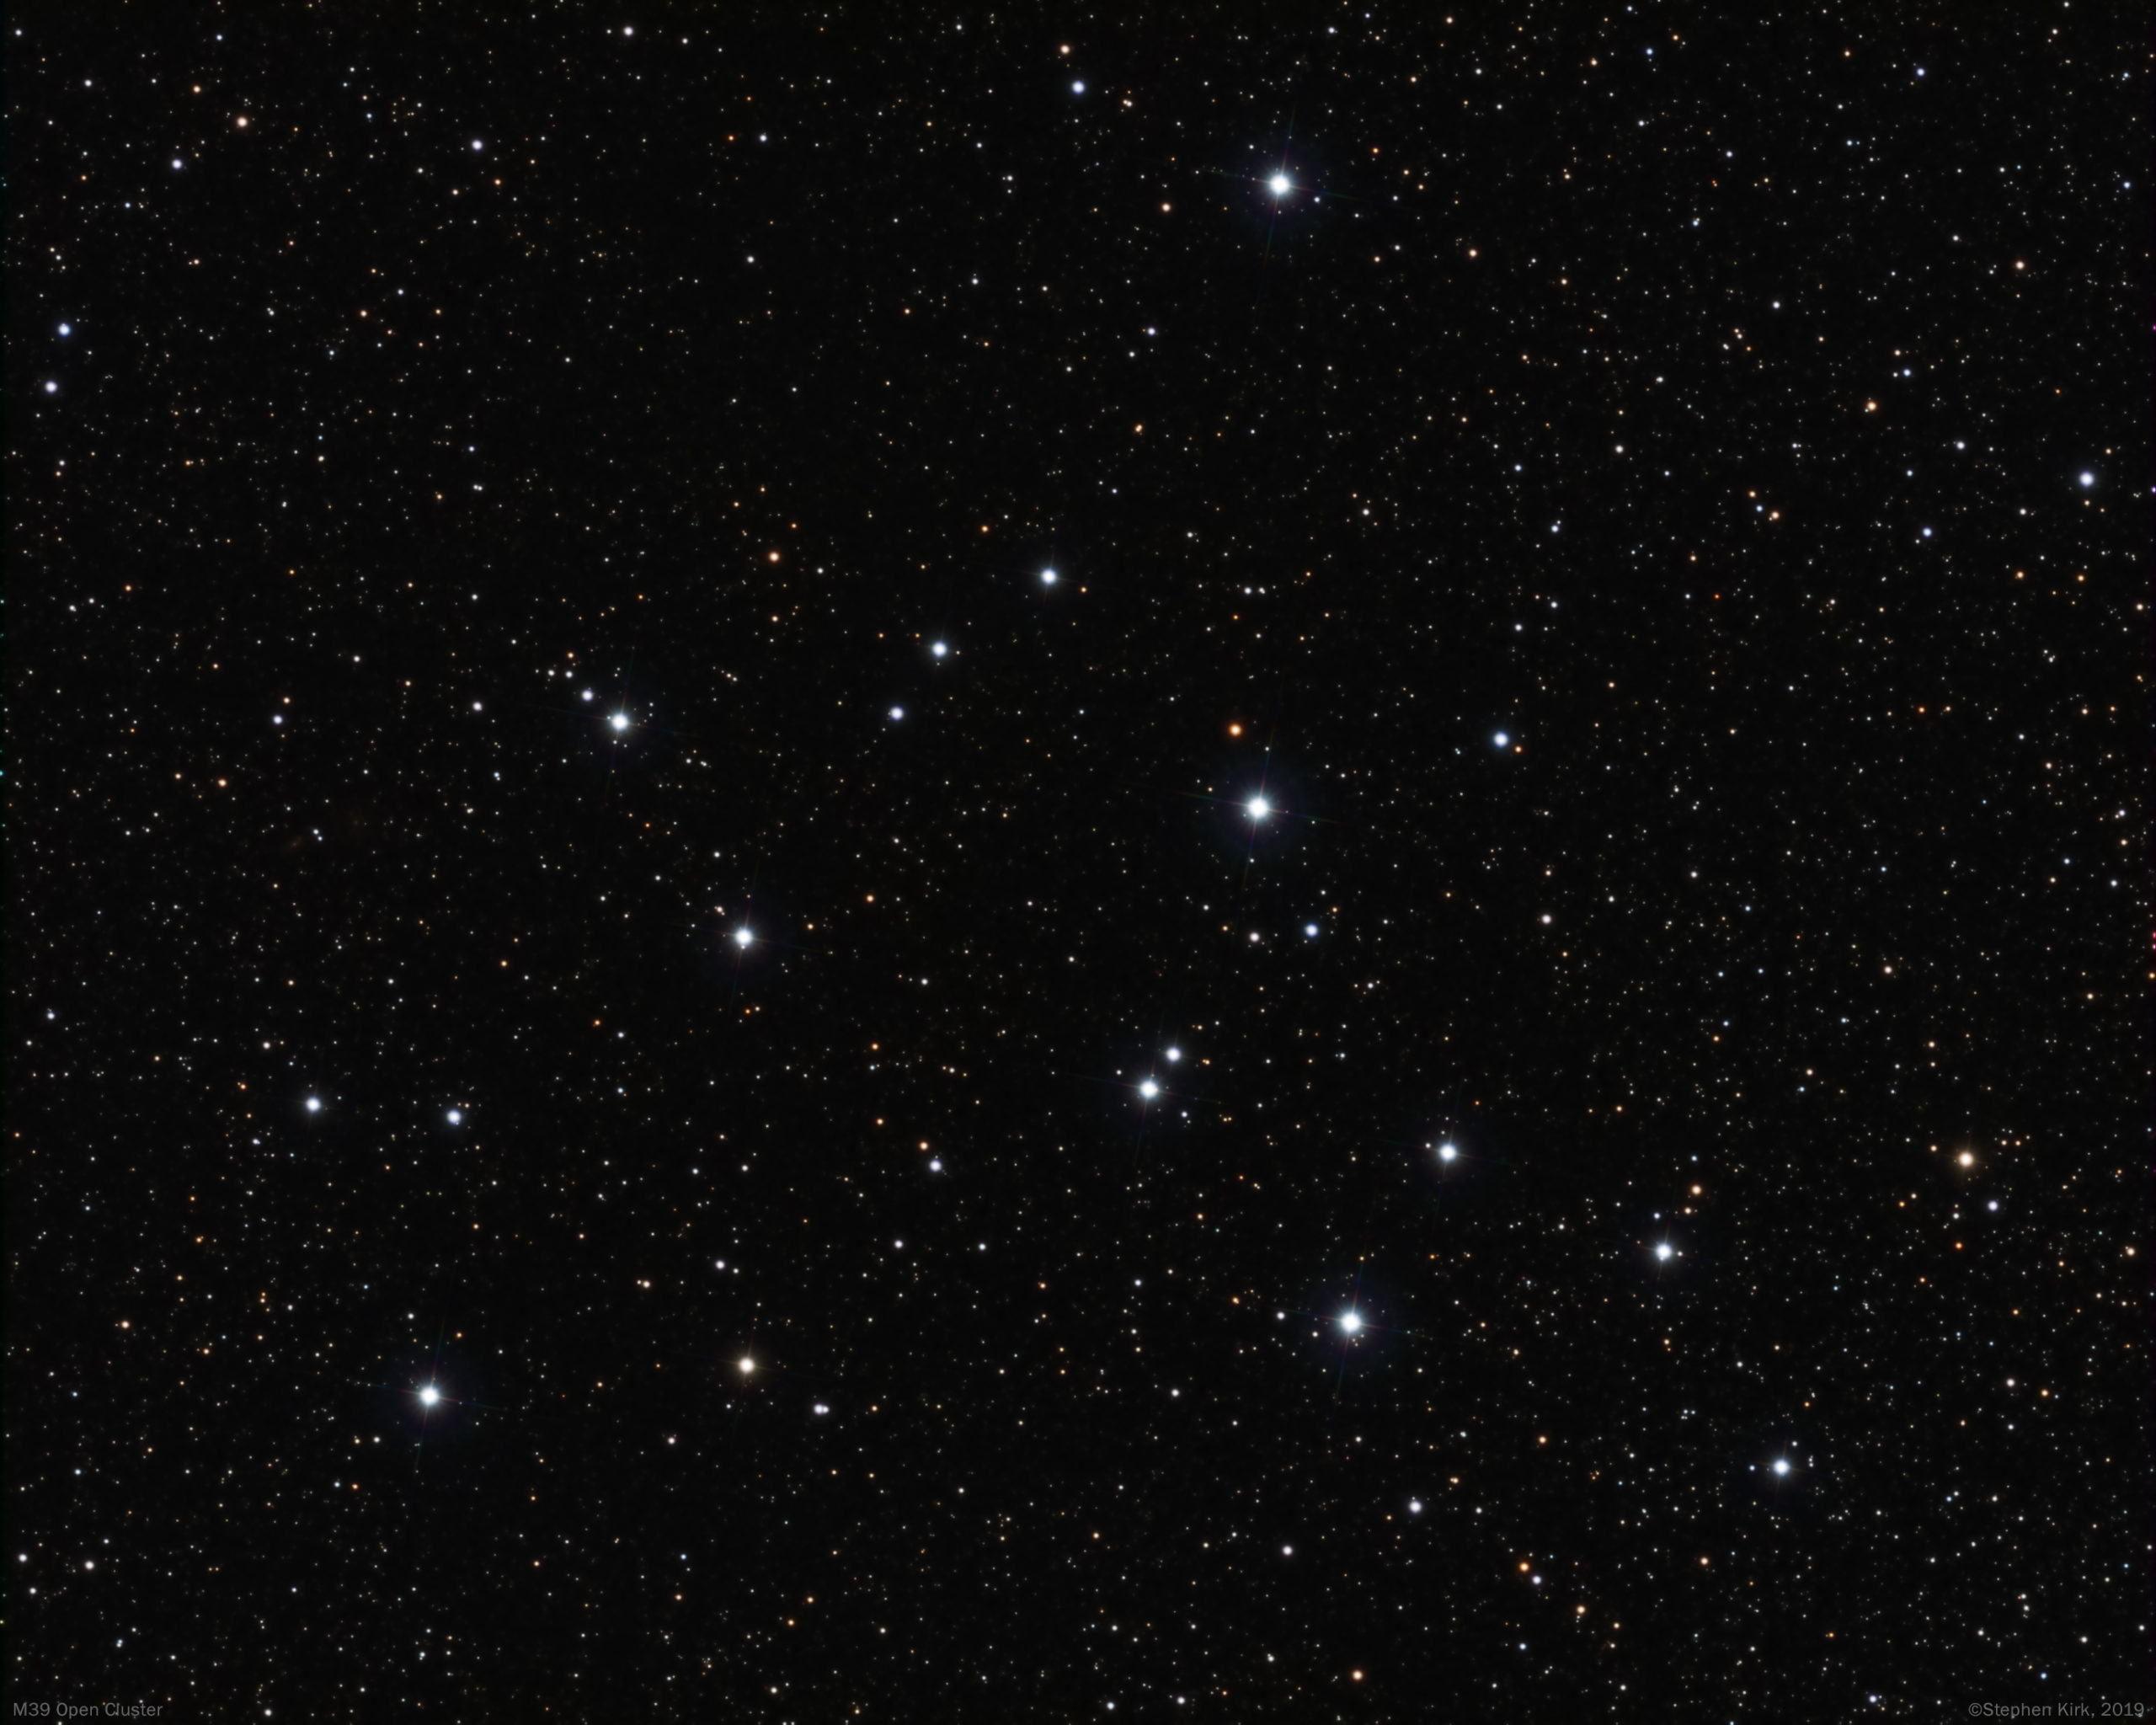
M39 is an open cluster, about 1100 light years distant, in the constellation of Cygnus, The Swan. M39 is about 30 arc minutes in diameter, about the width of the full moon. The Cygnus constellation abounds in interesting objects and The Milky Way galaxy flows straight through it.

ImageTechnical Data
Imaged from my backyard in Nottingham, UK on the 16th October 2019 when it was high overhead from my location. I used my TEC 140 refractor and Atik 460 cooled CCD camera with Astrodon RGB E Series Generation 2 filters. I used my MESU 200 mount guided with an off-Axis guider.
All exposures binned 1x1:
Red > 15 x 120s ; Green > 12 x 120s ; Blue > 15 x 120s


I hope you like it! :)
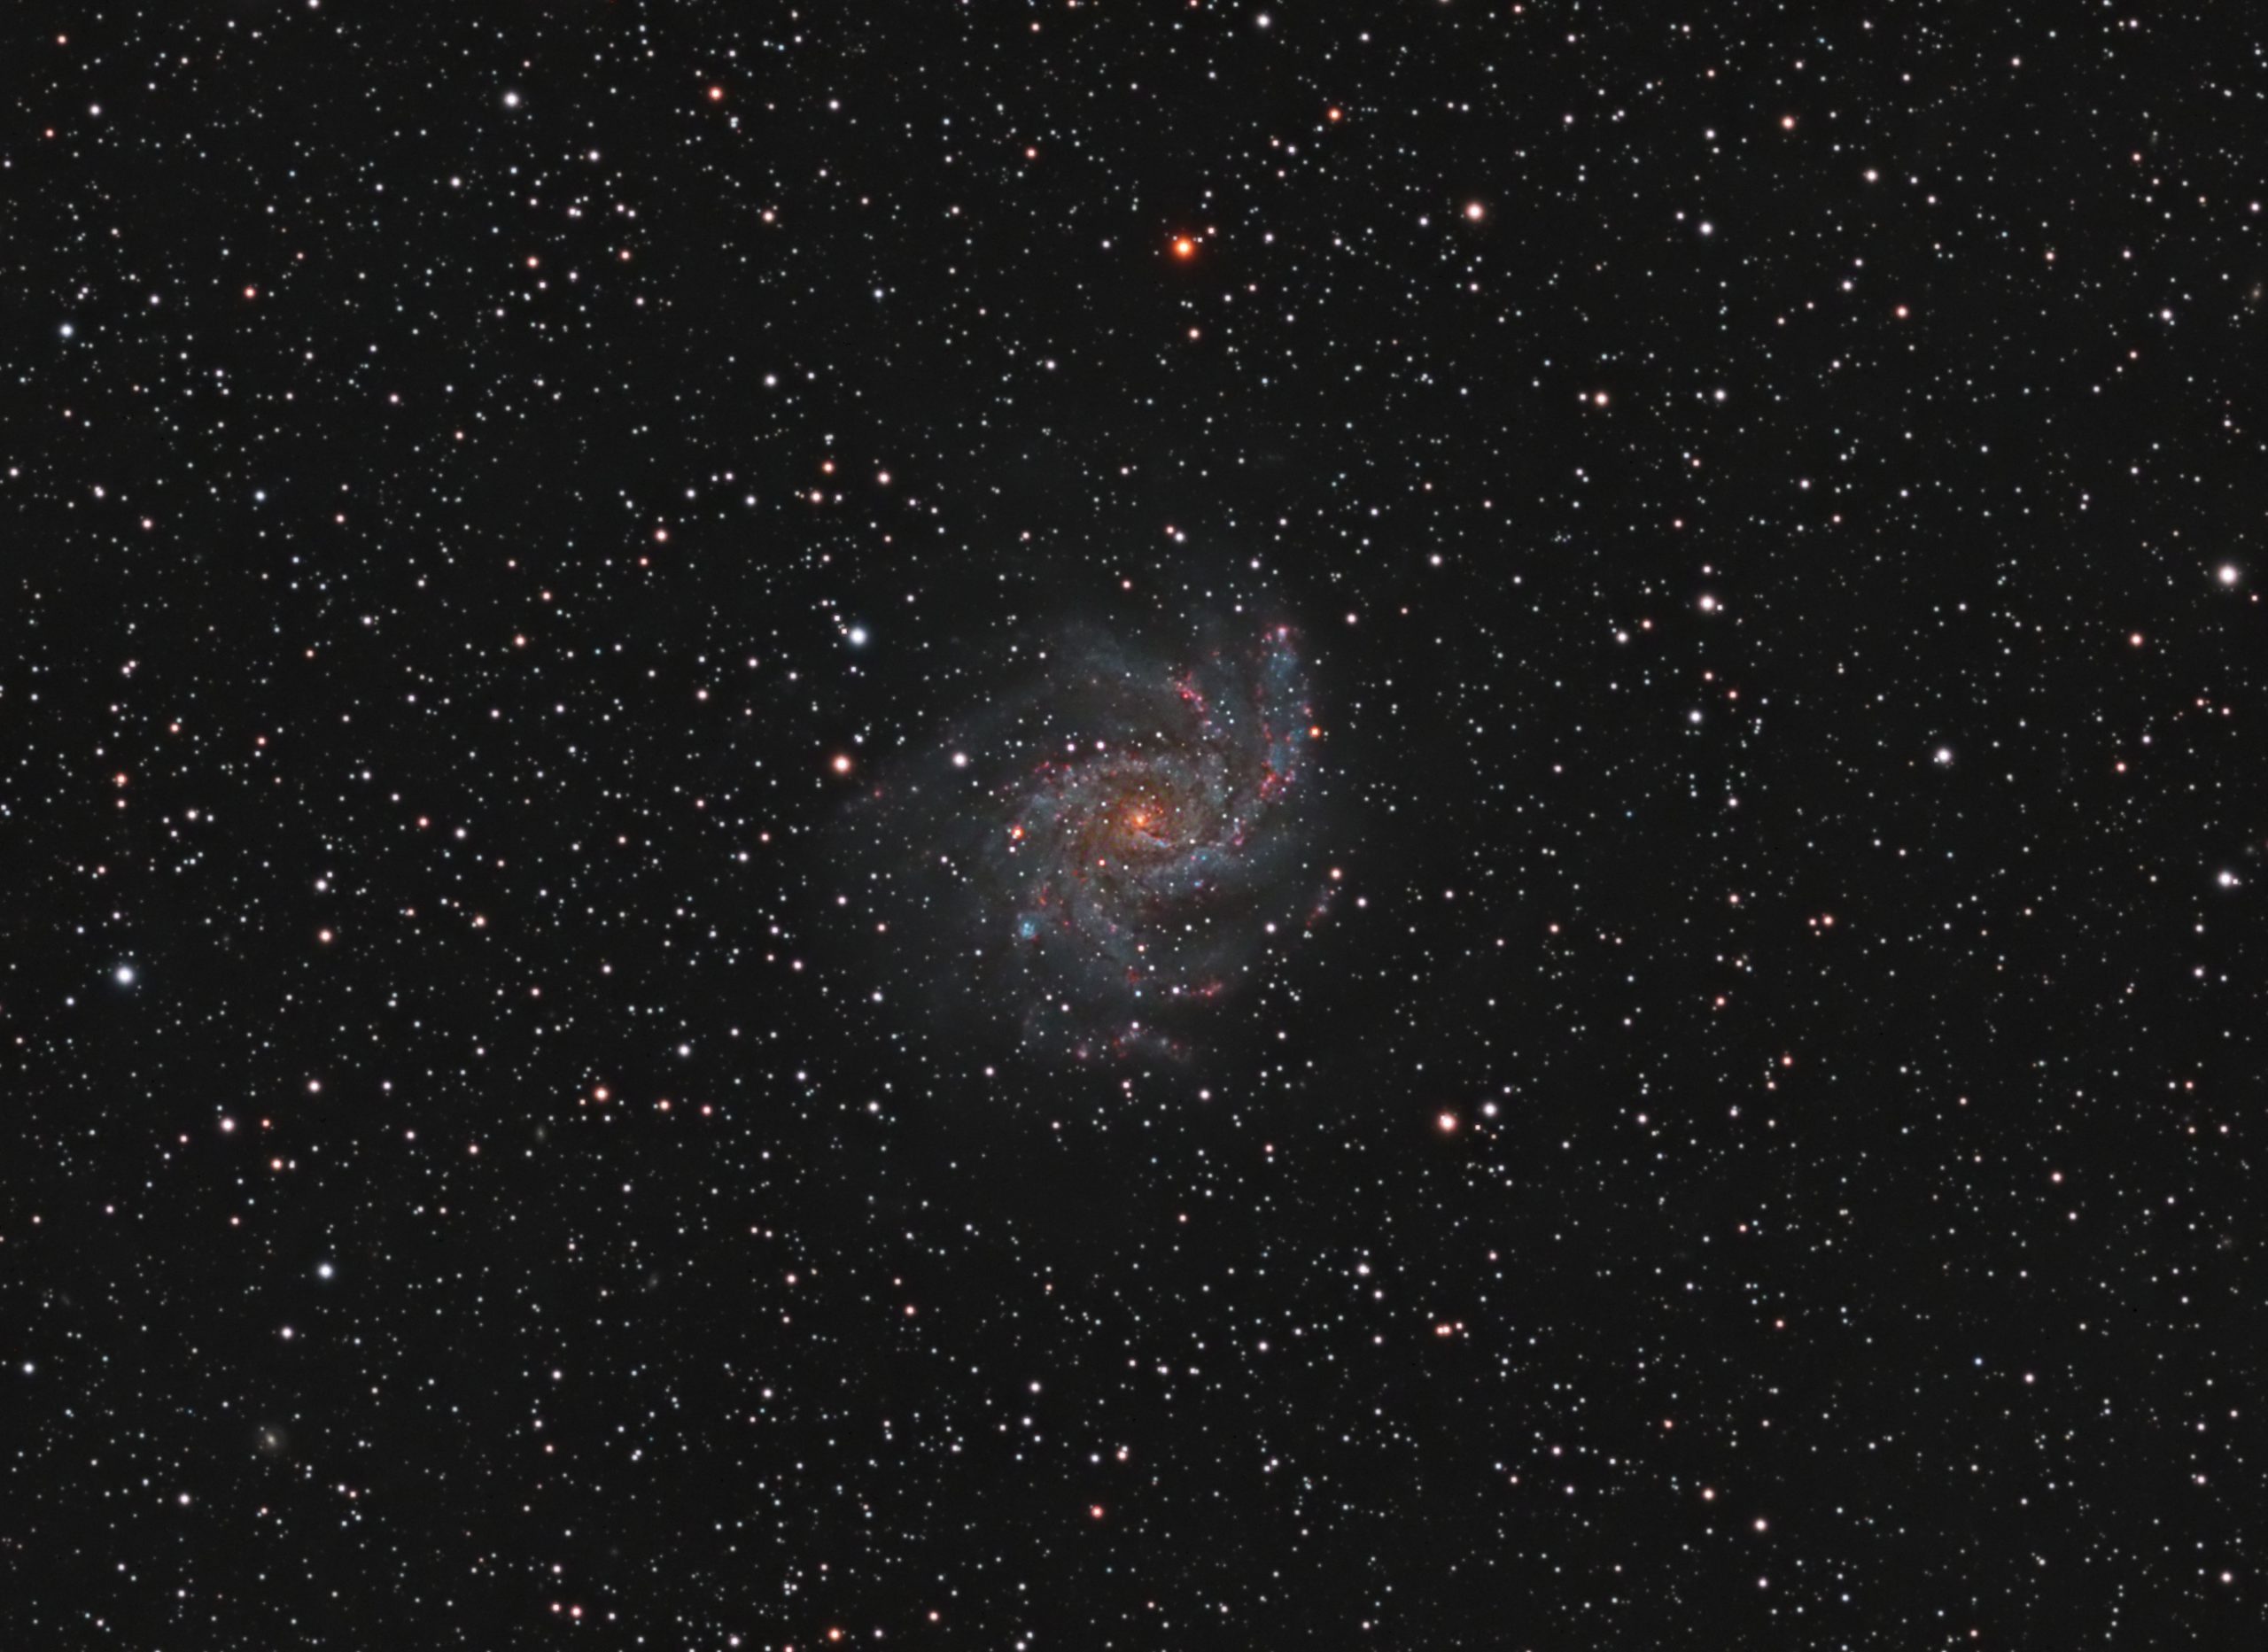
NGC 6946 - The Fireworks Galaxy - TEC 140

NGC6946 is located on the border between Cygnus and Cepheus and is a fairly bright galaxy about 25 million light years away. It is dubbed the "The Fireworks Galaxy" due to the unusually high number of supernovae that have occured here - ten - that have been observed during the last century. Typically a galaxy would normally have one per century and it is not known why this galaxy has had ten times the average.
The galaxy is quite heavily obscured by dust within our own galaxy and this is probably the reason why it was not accorded the honour of a Messier catalogue number.
Image Technical Details
Imaged from my back yard in Nottingham, UK, during September 2020 whilst high overhead. I used my TEC140 refractor with Atik 460 CCD camera and Astrodon LRGB Generation 2 E series filters and a Ha (3nm) filter. Out in front of the filter wheel was an IDAS light pollution filter. MESU 200 Mount was guided with an off-axis guider. Transparency for the luminance was good but was poor for the RGB and Ha data.
Lum > 36 x 300s 1x1s ; RGB > 14 in each x 300s 2x2 ; Ha > 14 x 300s 2x2
Image capture in SGP and processing in PixInsight and Photoshop CC.


Unboxing, Impressions And Initial Setup Of QHY268C and OAG-M
Introduction And Rationale For Purchase
I am already a very happy owner and user of two CCD mono cameras and associated filter wheels; an Atik 460 CCD with EFW2 and a Moravian Instruments G2-8300 CCD camera. I have been very pleased with the performance of both, I enjoy using them and will continue to do so. I have connected my Moravian CCD for use exclusively on my Samyang 135mm lens and it is semi-permanently attached to it. I have my Atik460 semi-permanently attached to my TEC140 scope. I do not want to disturb these two hardware arrangements. However, this leaves me without a camera for my excellent Takahashi FSQ85. So with this in mind I needed to acquire a third, cooled, astro-imaging camera.
I considered buying a QSI683 CCD or maybe an Atik 8300 chip CCD camera. However, I think the era of CCD in amateur astrophotography is coming to an end and CMOS appears to be the strategic direction with the development of bigger and more sensitive imaging chips. I do not want to make an unwise investment in another CCD camera so I started my investigations into the popular CMOS based cameras from the Chinese QHY and ZWO brands. After reading some superb reviews about how incredibly good the current generation One Shot Colour (OSC) CMOS cameras are nowadays, with their 16 bit depth, high resolution and high QE efficiency allied with very low read noise and zero amp glow I decided to take the plunge and order the QHY268C camera. This camera offers incredible bang for the buck being based on a large APS-C sized, 26 million pixel sensor, the Sony IMX571. This is the same sensor as that used in the superb Fujifilm XT-3 mirrorless camera.
We are plagued with cloudy skies in the UK at the best of times and I do not want to invest in another mono camera with filters at this point. I have so many half finished images with data sets missing a colour or two that it is sometimes taking me several years to finish an image, which is most frustrating as I am sure many of you know only too well. You get partly through the run, with say the LRB filters done then the cloud rolls in for three weeks and at the end of that time the object has set behind the houses or trees for that particular year! I want to be able to take images with just a light pollution filter and get something in the can in an evening or two when there is a clear period. This is my rationale for buying a OSC camera.
At the time of this writing - September 2020 - I am aware that QHY and ZWO are working on APC-C sized mono cameras too and I may consider one of those in the future. However, for now I wanted a OSC for this purchase. The resolution of the current generation OSC sensors is so high that even with their Bayer matrix, they are capable of very good narrowband imaging with the multiple wavelength narrowband filters from Otolong and others, for instance the L-Extreme filter.
I understand and accept that ultimately, nothing will beat a mono sensor and the associated filters. By going mono you are dedicating the entire sensor's resolution and pixels to that one wavelength. So with mono you will always, ultimately, gain a better resolution and S/N ratio. Accepted. However, that is in an ideal world. I am very much removed from that ideal world nirvana. Firstly, in the UK, I live in a cloud infested country underneath the junction of major Atlantic, European and Polar weather systems converging above with the jet stream running straight above me. Consequently I sometimes struggle to get two clear nights of imaging in a month. It can often be much worse than that even and I have known winter seasons that were complete write-offs with only two or three nights across the entire season. As I alluded to before, collecting multiple filters worth of data to complete a broadband or composite image is simply not possible in reasonable timescales if a deep integration is needed. In the past we would have to suffer this because the alternative, OSC, simply was nowhere near as good as mono. That is no longer the case with the latest generation of OSC sensors from QHY and ZWO. Secondly, with my skies and circumstances, I am never going to be able to "compete" with some of you guys who live in climates where more clear skies are available to spend the time on mono filter images. I simply do not have that clear sky time and will never have the data quality to be an APOD contender. I accept my limitations but still love the hobby of astrophotography for its own sake, not to be a champion. This makes the latest generation of OSC cameras very attractive to me.
I bought this camera from Bern at Modern Astronomy together with the QHYOAG-M. I want to off-axis guide the FSQ85 which this camera will be mostly connected to. However, I also sometimes want to mount it on my Williams Optics Redcat 51 with the OAG, depending on the object target. Both setups offer a superb, wide field with this camera.
The camera costs a princely £2049 with the OAG another £199. Not insignificant sums by any standards.
Receiving The Camera
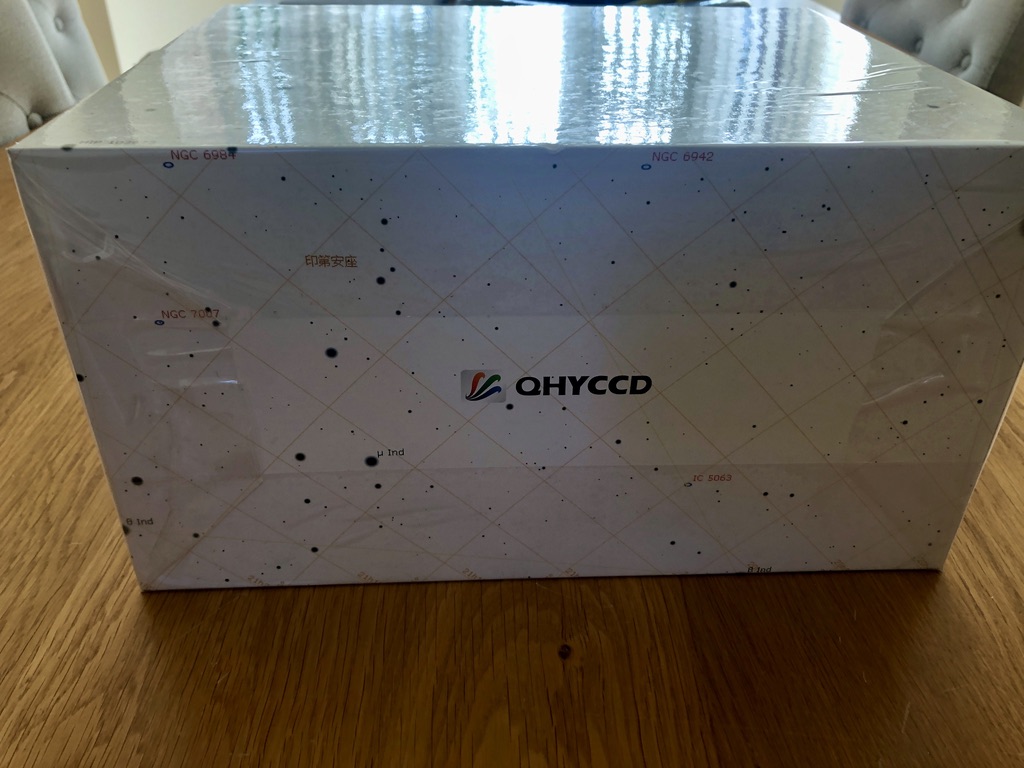
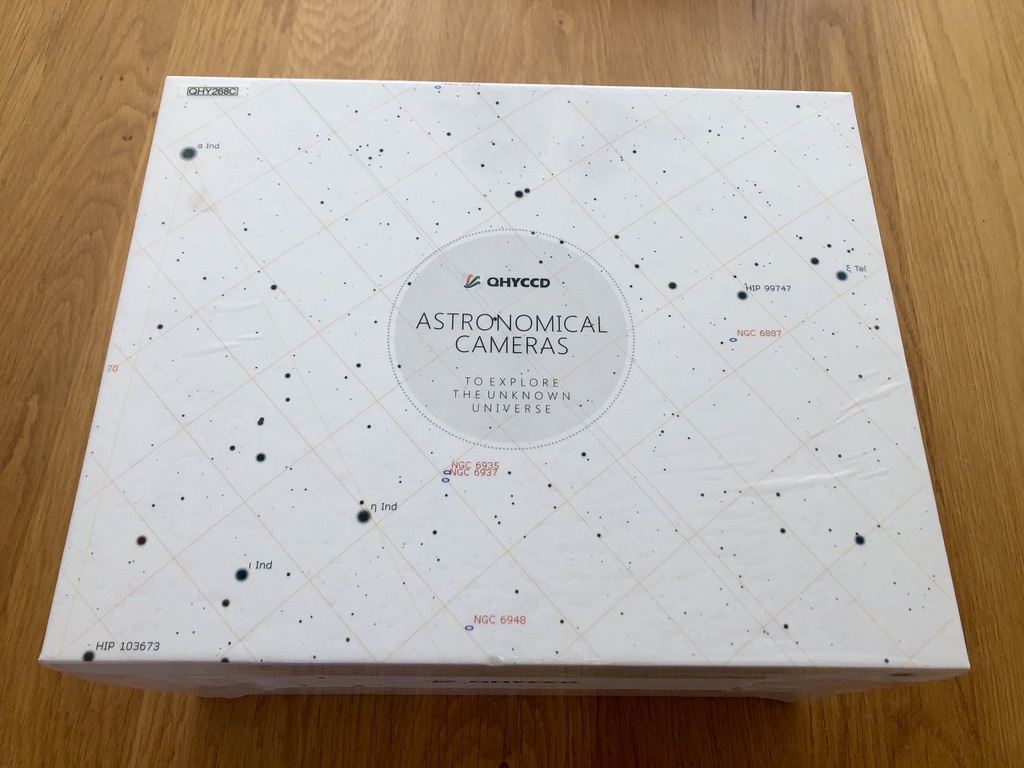
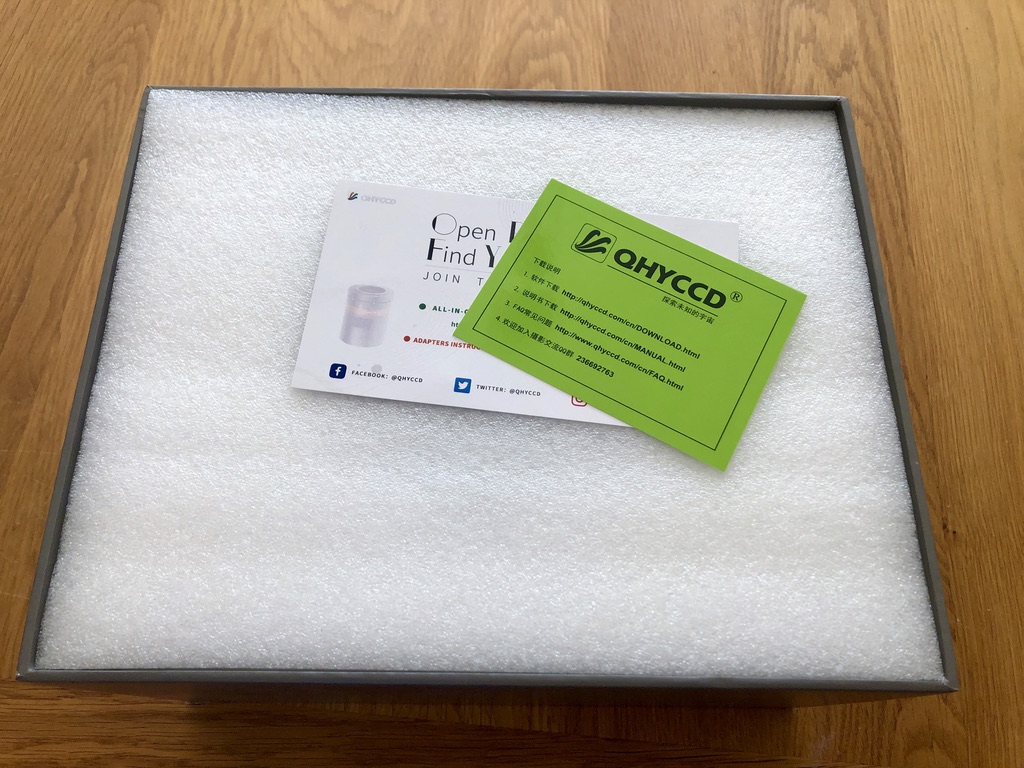
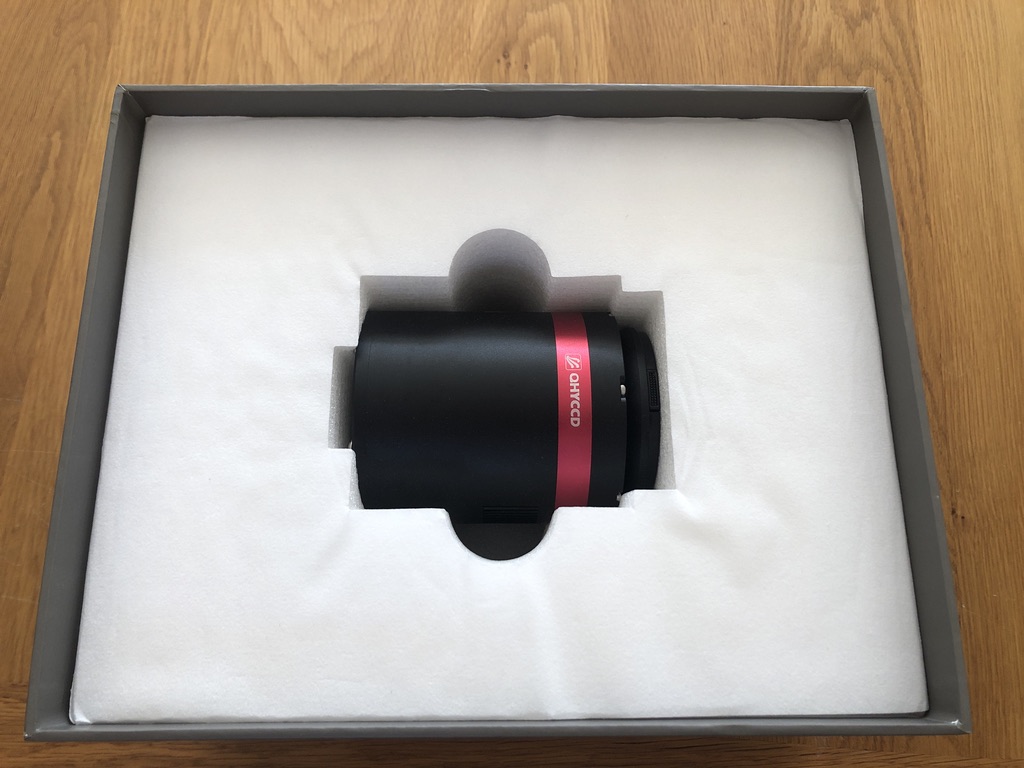
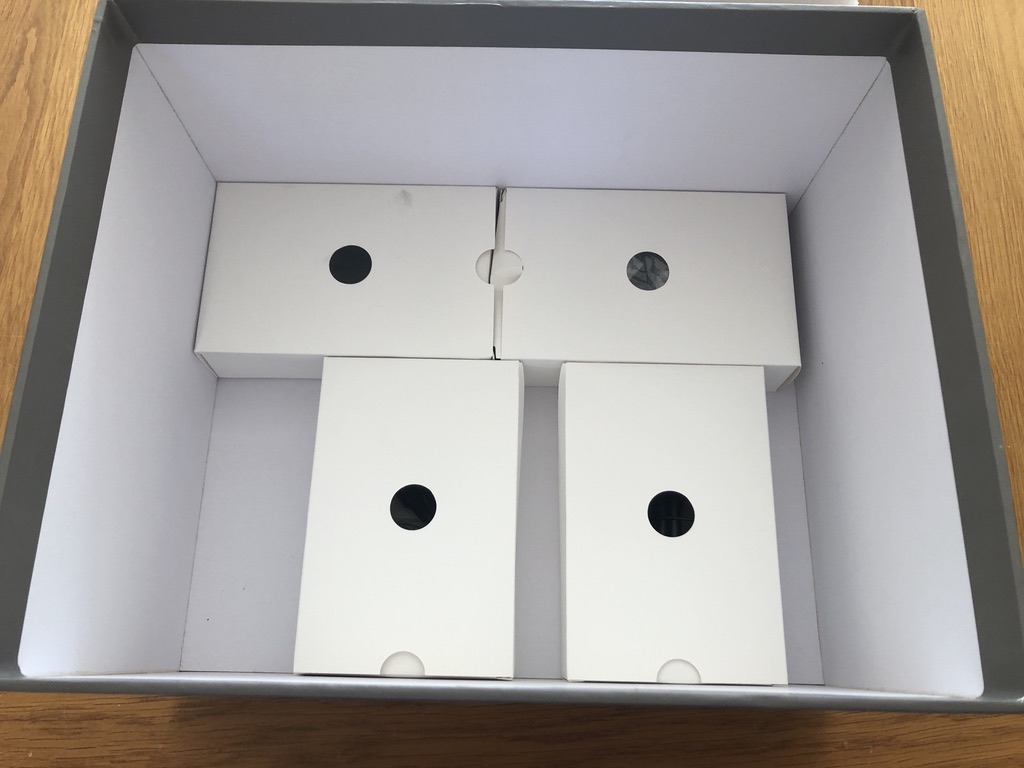
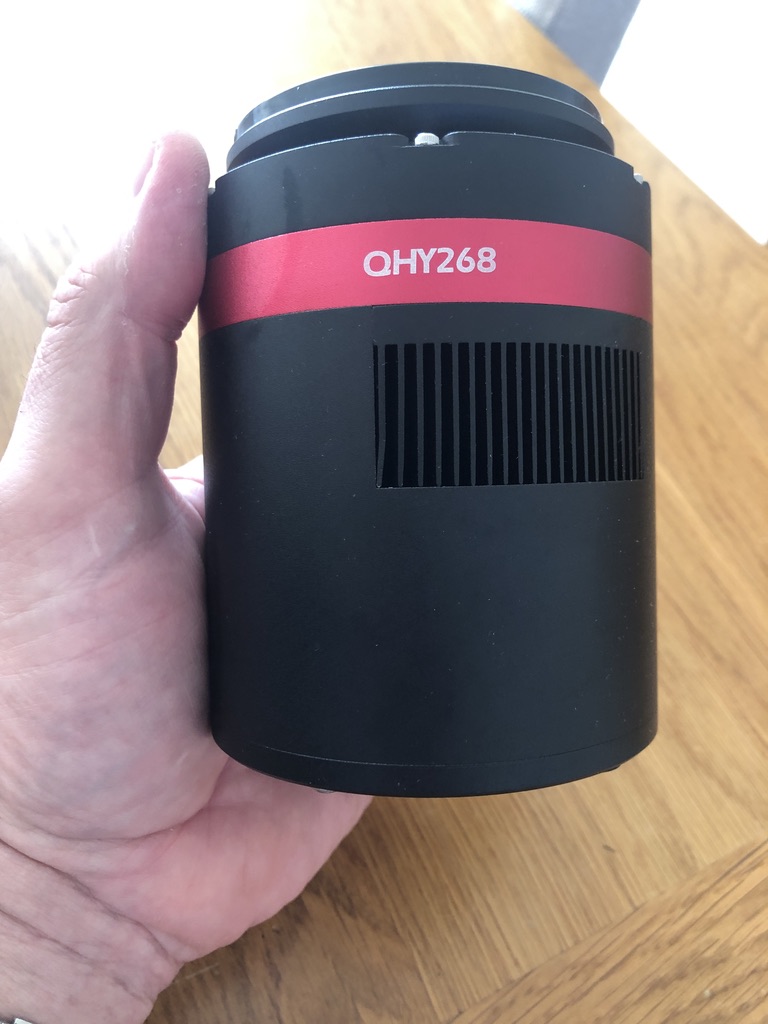
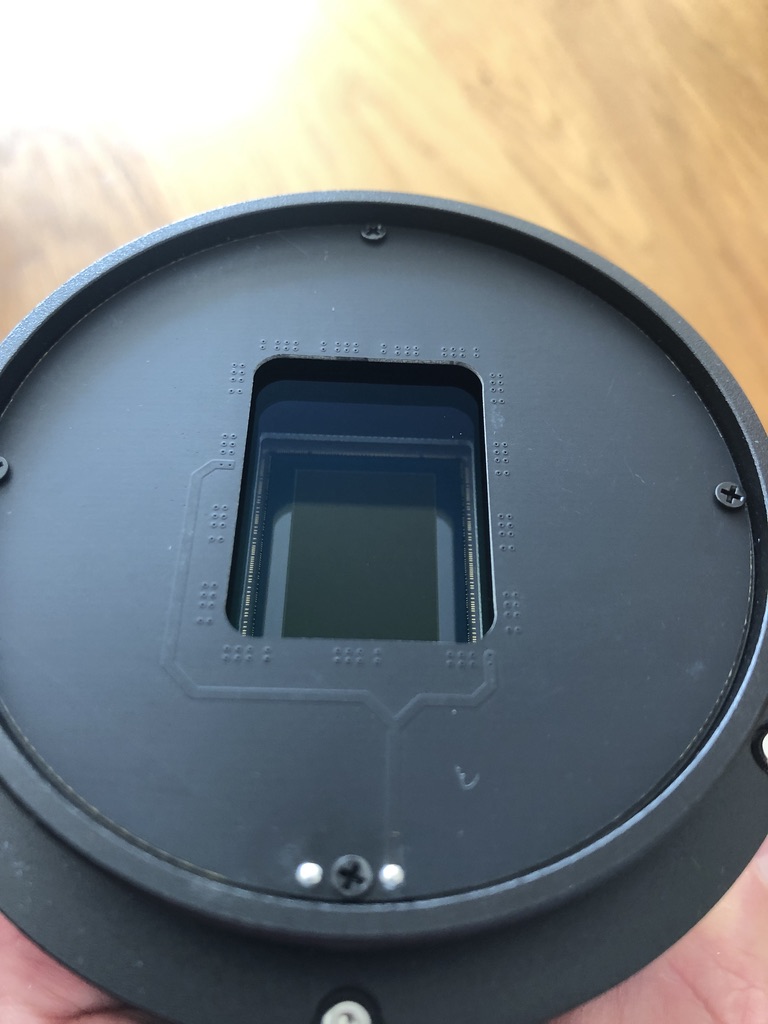
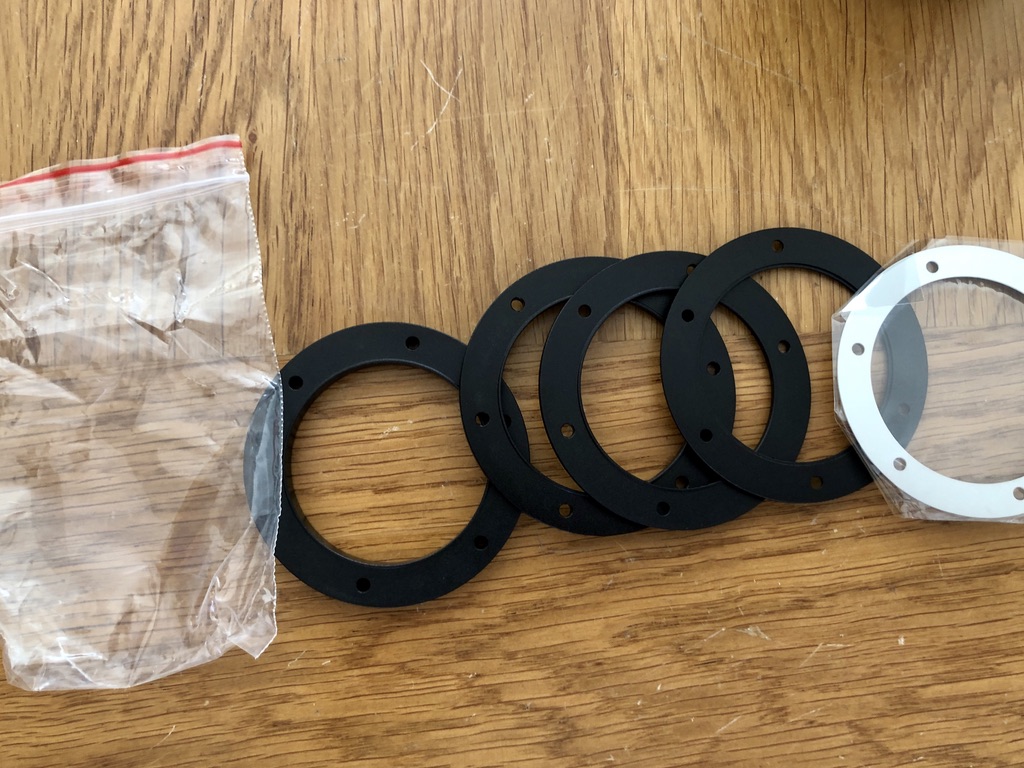
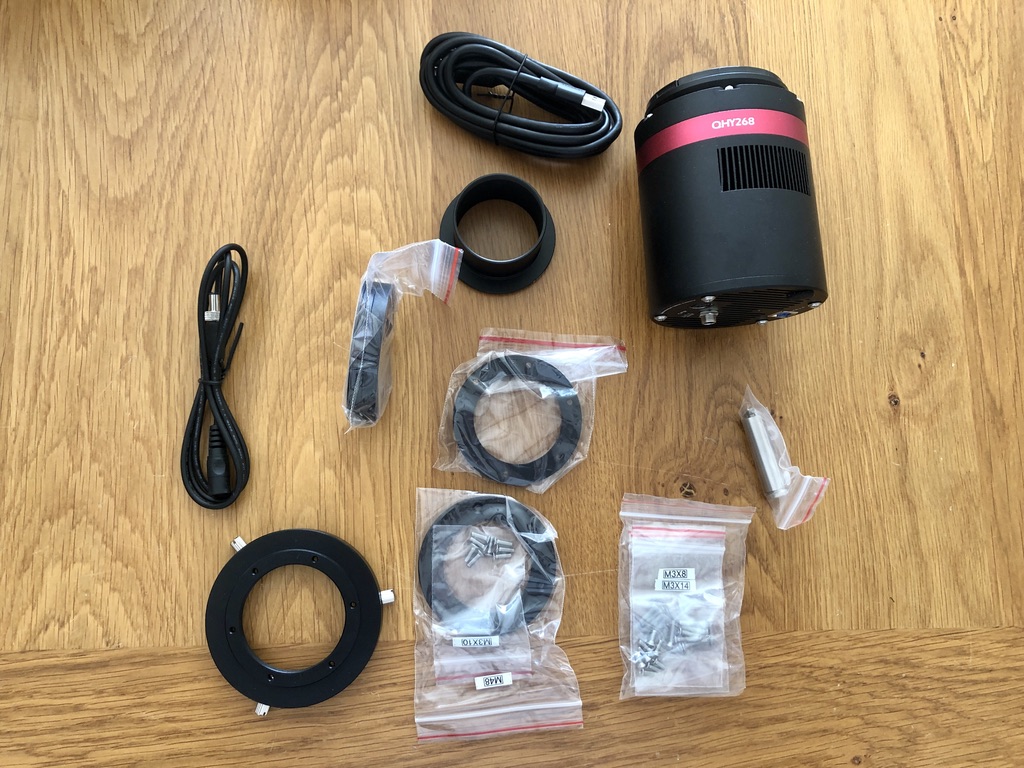
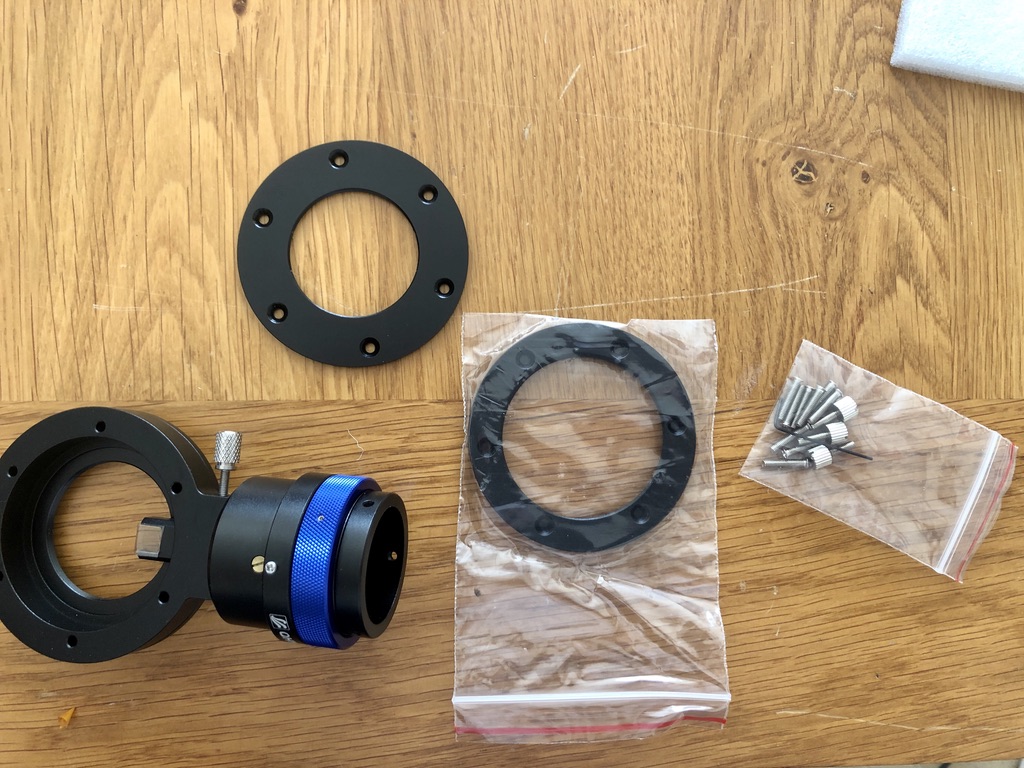
The camera is shipped in a rather nice outer QHY cardboard box which is very sturdy. The lid is shrink wrapped to protect it. The box was immaculate, undamaged and had been protected in transit from Bern by being packed in an outer box with lots of packing. I always keep the boxes of my stuff in case I ever decide to sell the stuff in the future as it makes it more desirably to a lot of folks.
The camera itself is protected in thick, Styrofoam moulded to its shape. Underneath this tray holding the Styrofoam with the camera is a lower area with four boxes that include the spacers, power supply, power cable, cigarette light style power cable desiccant/holder. It is all very neatly packaged. I have no need of the power cable or supply and made my own power cable with a 2.5mm plug to connect into the 12v power distribution bar on my mount.
The camera is a solid, robustly built, quality item with a nice hefty feel to it without being overtly heavy. The sensor seems huge compared to my other astronomy cameras! Gone are the days with the tiny sensors!
So far, so good. I'm impressed (and remain so, but more about that later ;) ).
Connecting The OAG to the Camera - Attempt 1
I want to set up my QHY268C camera - a OSC as discussed - with the OAG, a QHYAG-M which presents an M54 thread. No need for a filter wheel in a colour camera (more on that later).
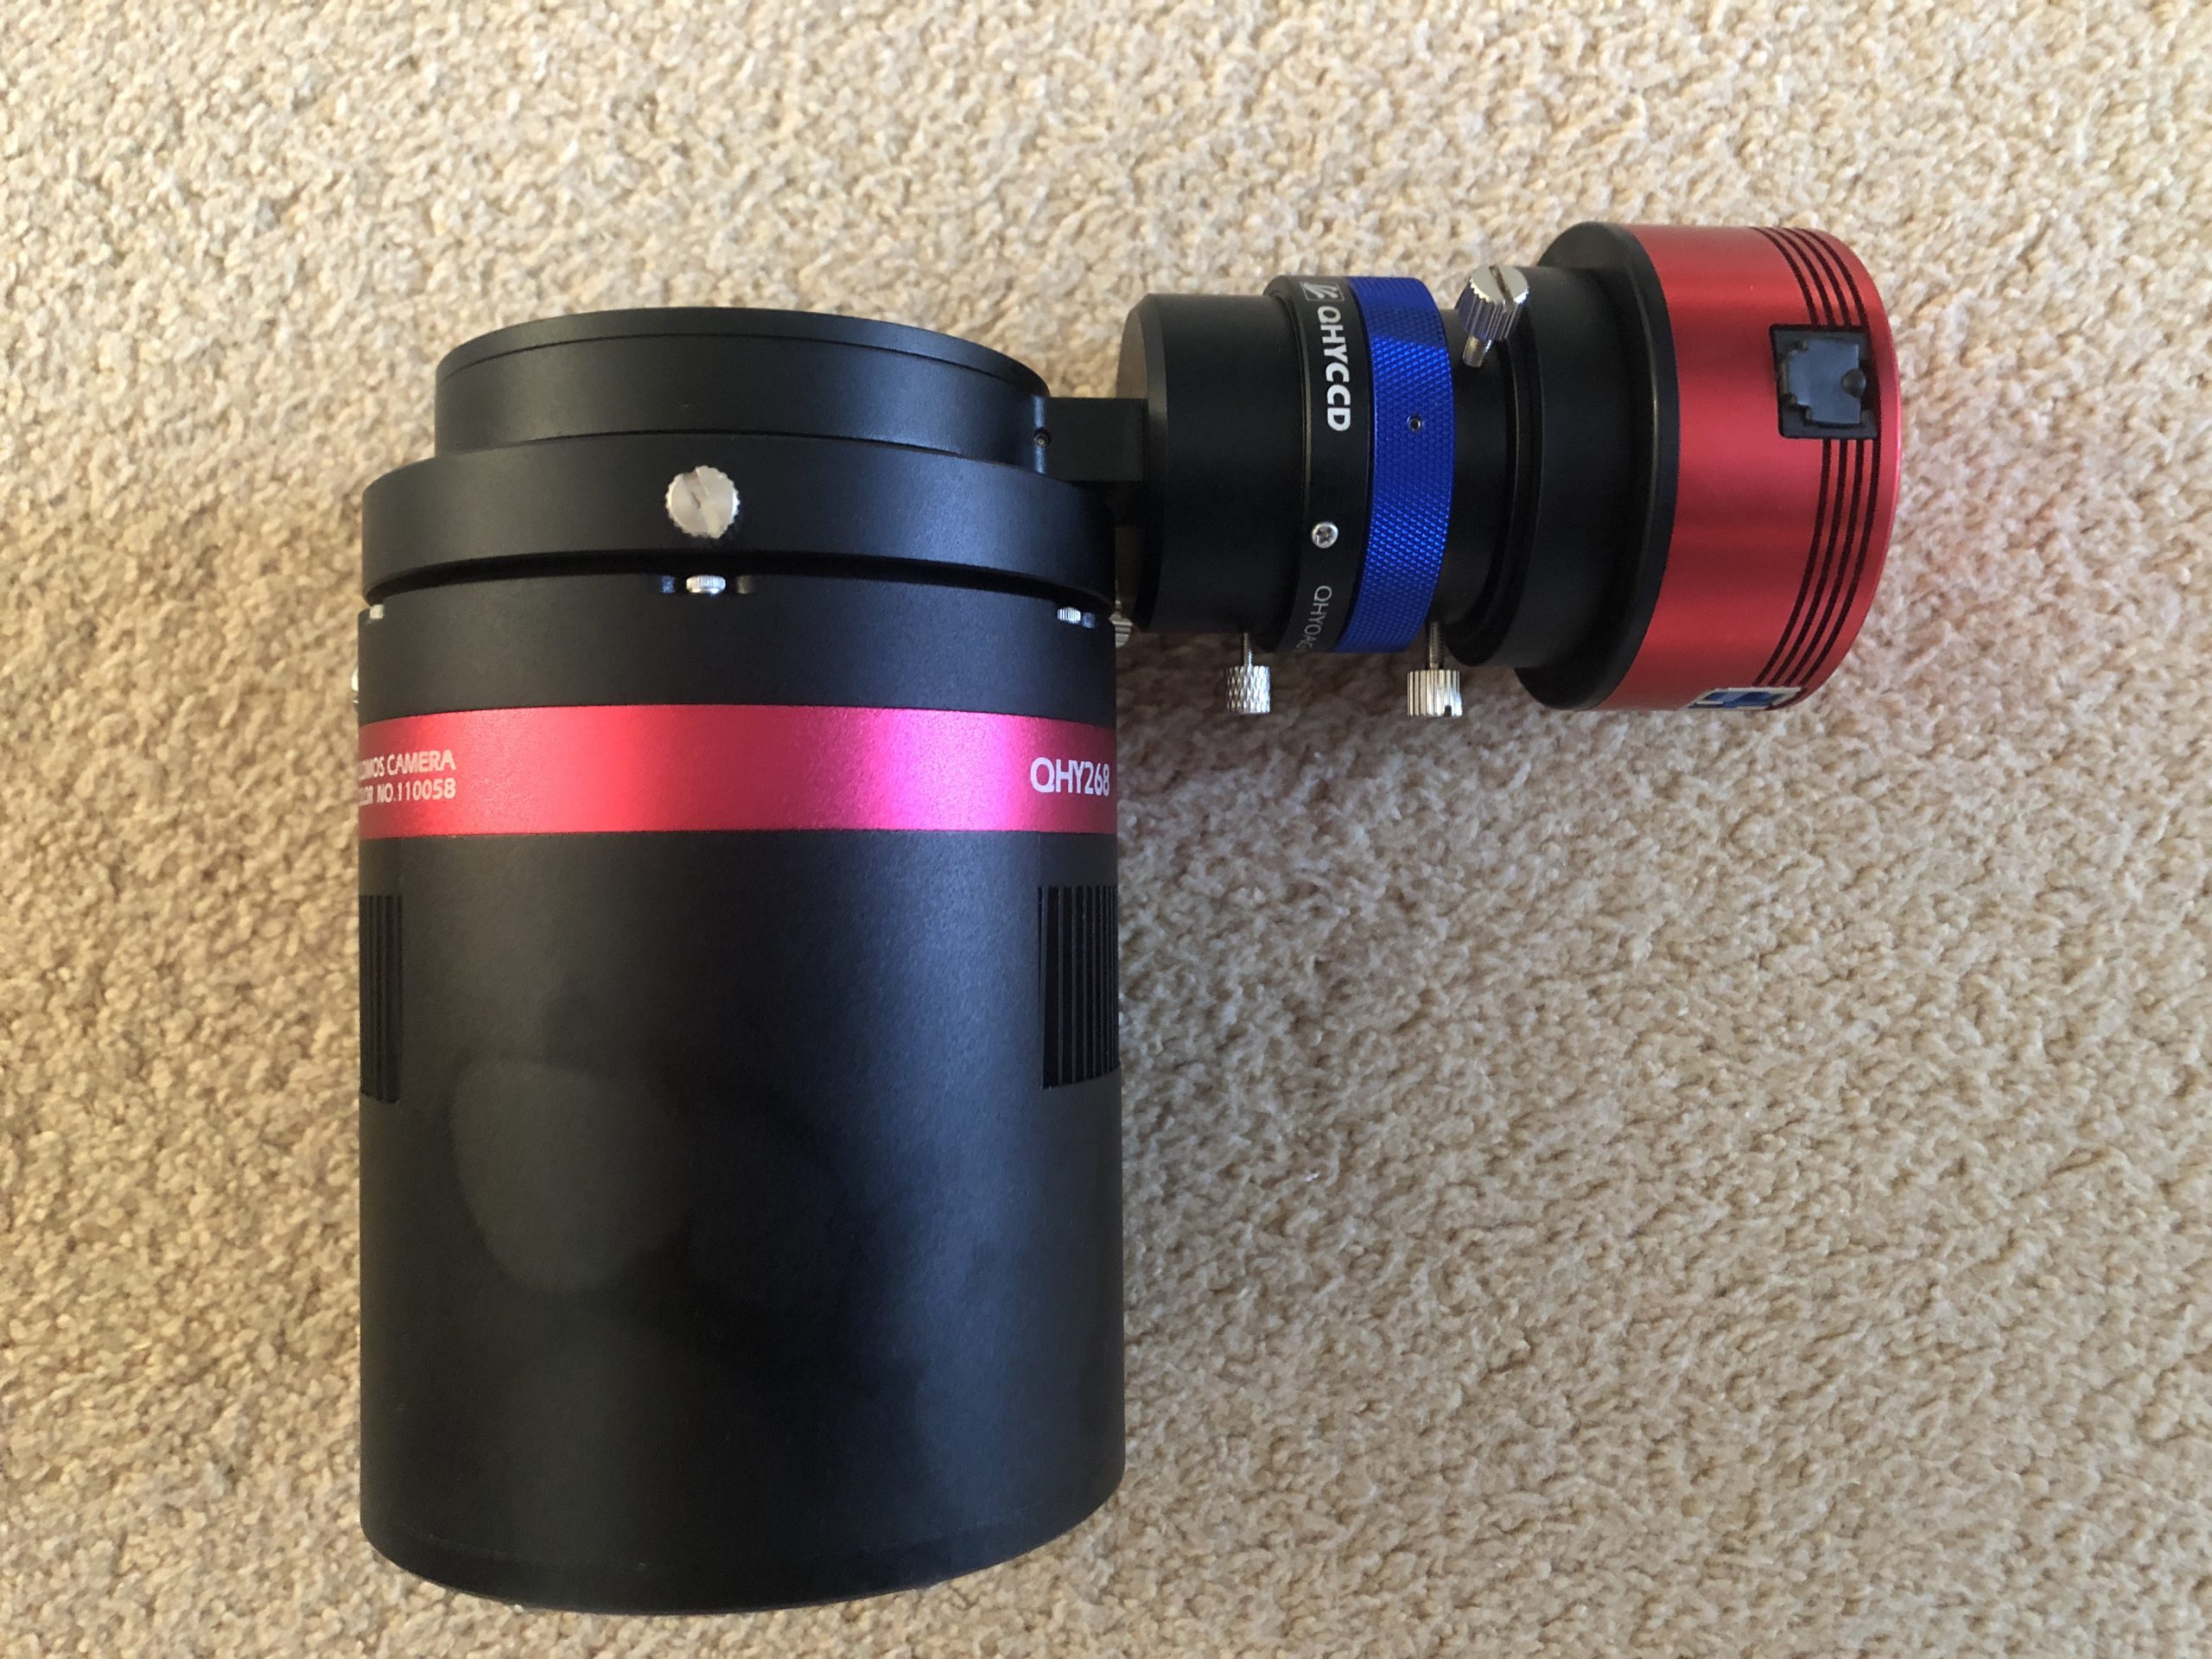
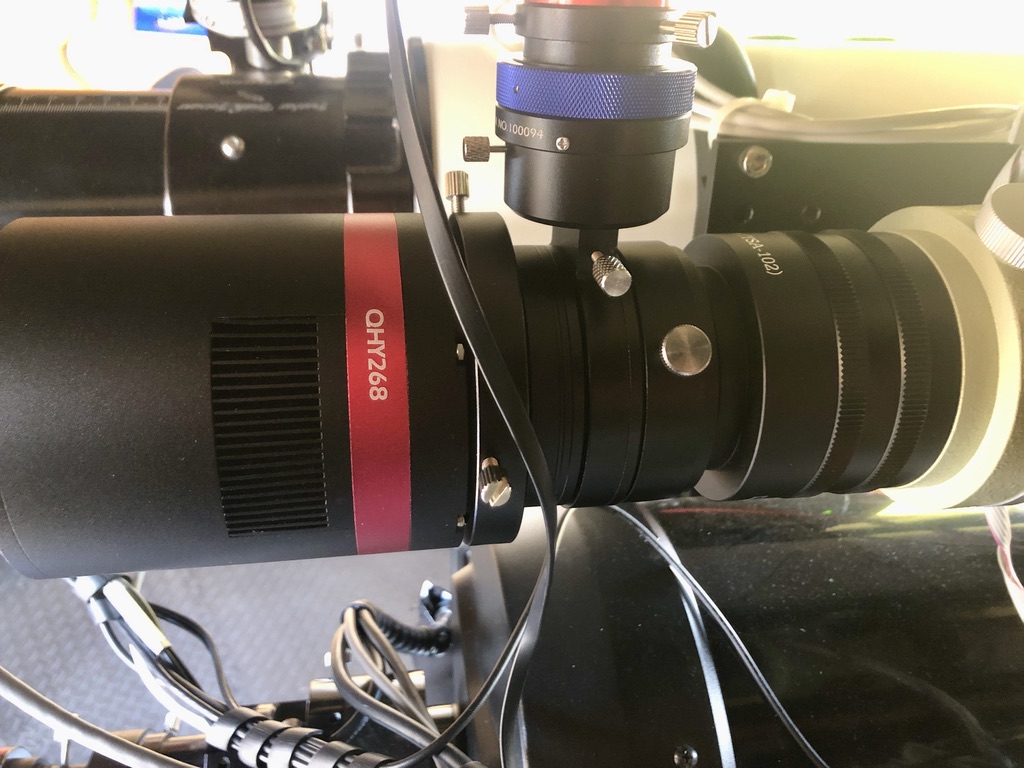
It took me a while to work out how to connect the OAG camera side to the tilt plate adapter that the camera body is held onto with three knurled thumb screws. On the telescope side I am (for now) using a M54 to 2" nosepiece adapter. I then installed my puck style ASI174mm camera into the OAG, as indicated in the QHY OAG diagram, since the diagram implies that this arrangement will work.

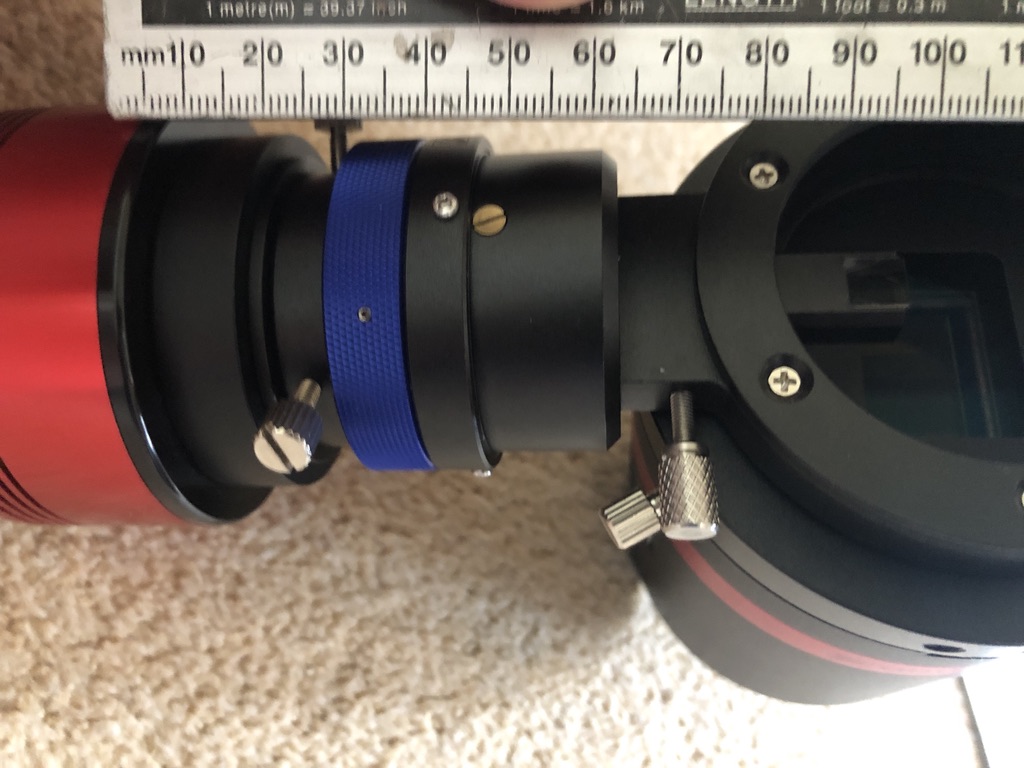
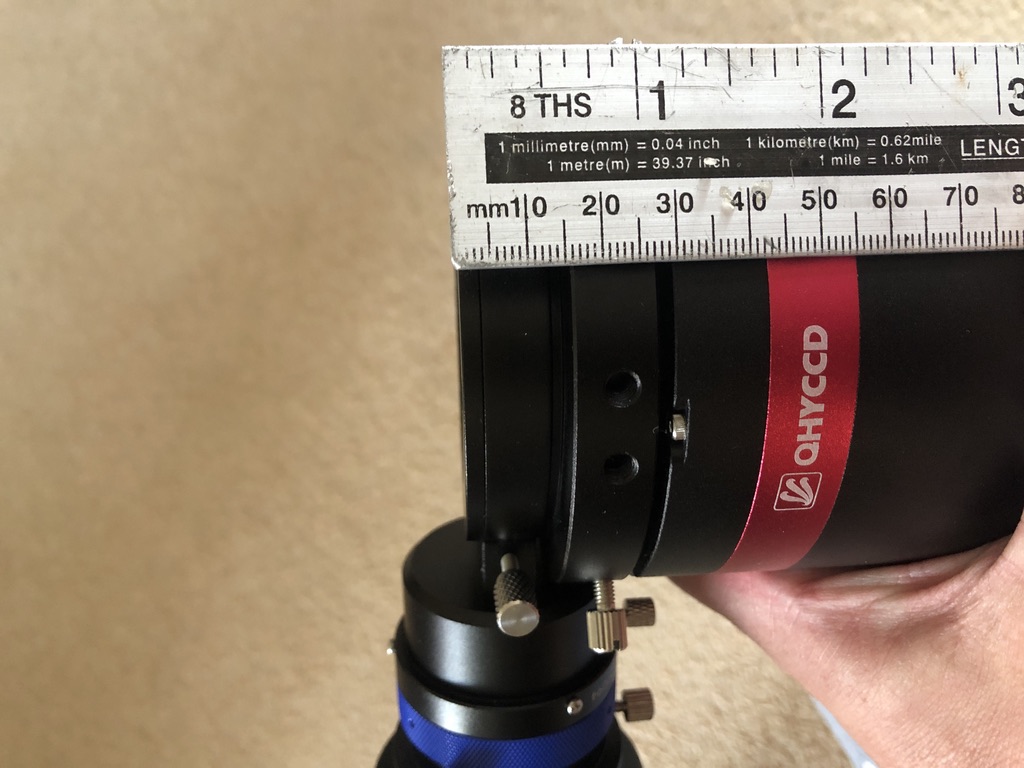
I then tried to get the focus set up on my Takahashi FSQ85 to the main imaging camera and the guide camera. This telescope has quite a long backfocus distance from the rear of the focuser housing to the point of focus, about 195mm, that I will discuss in another post. However, with the the necessary [expensive] Takahashi adapters I got the main camera into focus using Sharpcap and my Lakeside autofocus. Cool. Then, firing up PhD2 I tried to focus the guidecam in the OAG. Miles out of focus and after much cursing and fiddling with gain, offset and exposure of the ASI174M I measured the distance from the sensor of the guidecam compared to the distance of the main QHY268c imaging camera and as can be seen in the photos above, they are radically different. The main imaging camera is about 42mm from the front of the nosepiece whereas the guidecam is the best part of 100mm - 58mm in difference!!!!!! No wonder I cannot focus the guidecam, it is much too far from the focus point of the FSQ85!
Connecting The OAG to the Camera - Attempt 2
It had been a long day with this, work, the kids and other things. After sleeping on it, after some head scratching and upon further thought, the distances are different of course because the ASI174M is a "puck" style camera, its imaging chip is being held above the top of the OAG. Clearly I need to use a 1.25' "bullet" style guider where the chip is right at the front and can be inserted deep into the focuser of the OAG-M, thereby significantly shortening the distance from the guidecam chip to the FSQ85s focal plane.
As it happens, I have a ASI120MM mini guidecam on another rig so that I could test this theory. So I installed this and I could start to see the blurred outline of the trees and houses that I was using to perform this daytime test of focus of the QHY268C and the guidecam. So with this bullet cam I was nearly in focus but not quite - it needed to be a bit nearer to focus still. So using some of the spacers provided with the QHY268C and a bit of experimentation, I found I needed 13mm of extensions to "pad" out the OAG camera side to the camera. Upon thinking about it, this makes sense because this padding would be where a filter wheel would be if one was installed! I also needed to buy some 35mm M3 screws off of Ebay since the ones provided with the camera are not long enough. You need six of them. They cost pennies.
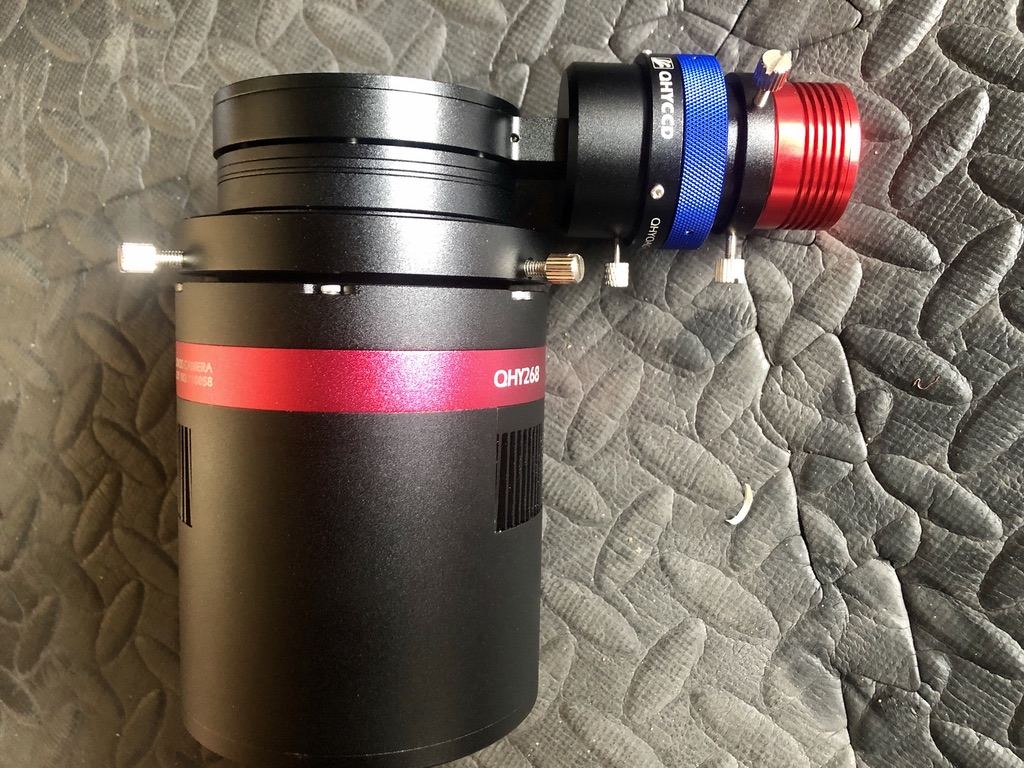
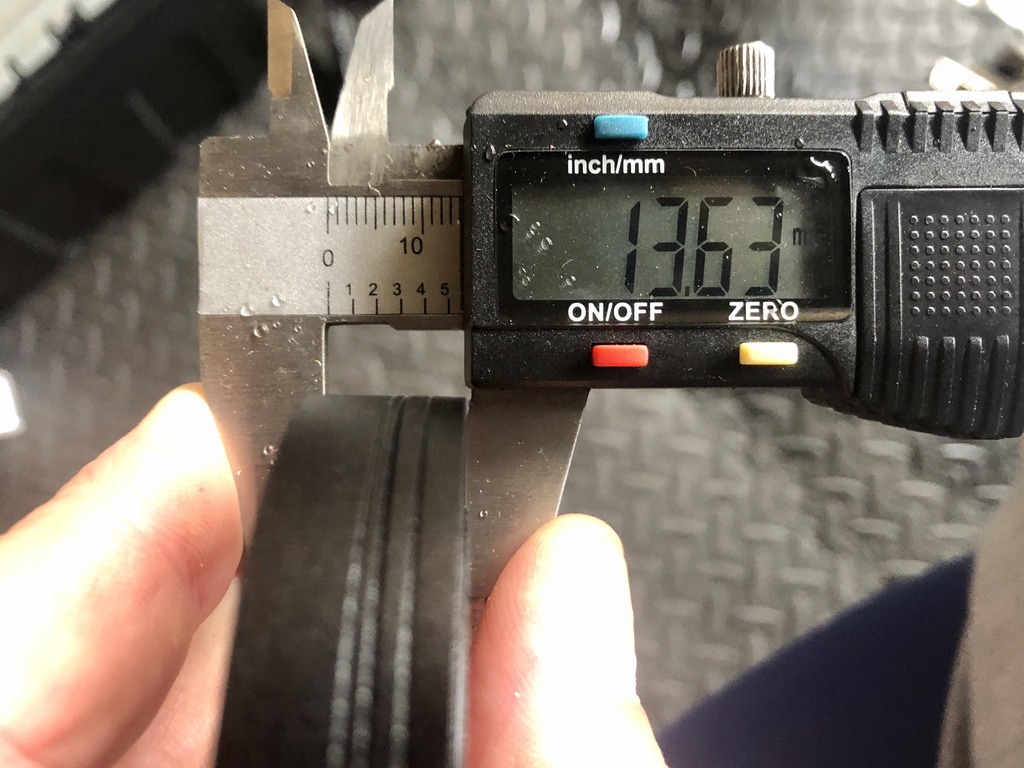
As soon as I did this I could get the two cameras simultaneously focused. Note however, that if you move the adjustable pickoff prism in the OAG, you will make the guidecam either nearer or further away (from the FSQ focal point) and may need to refocus the guidecam. So it is important to get the pick-off prism adjusted so that it just clears the line of sight of the main camera's imaging chip. Otherwise you will get artefacts on your light frames. Flats will take care of this of course but it is better not to have the prism in the light path to the main imaging chip in the first place.
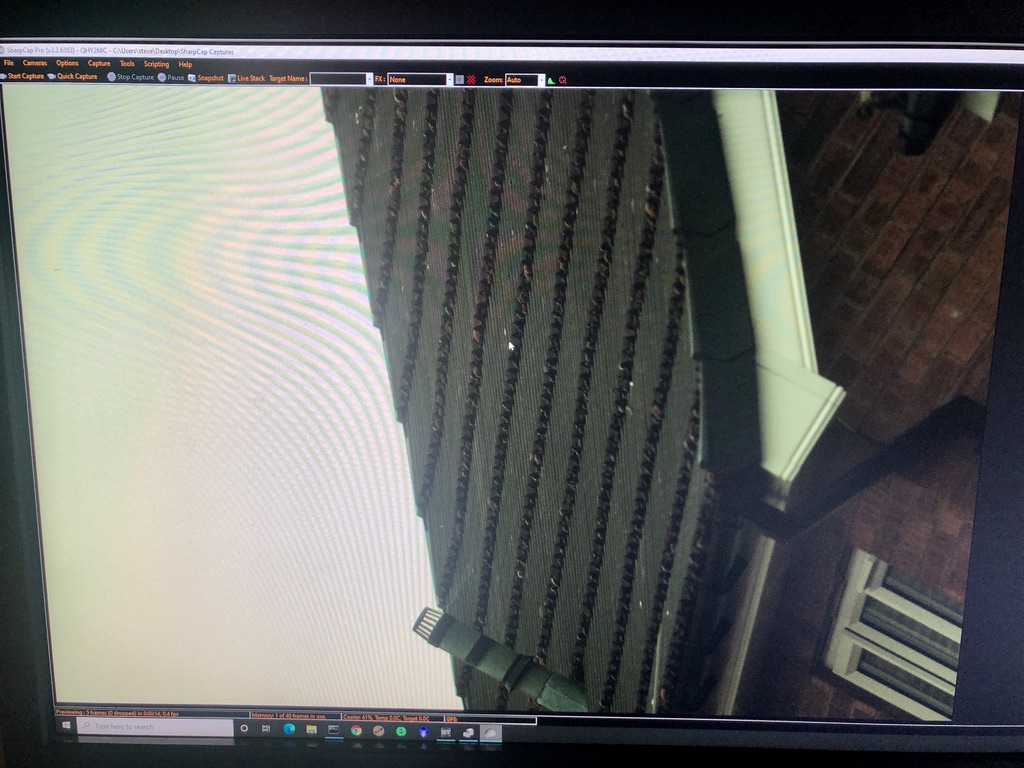
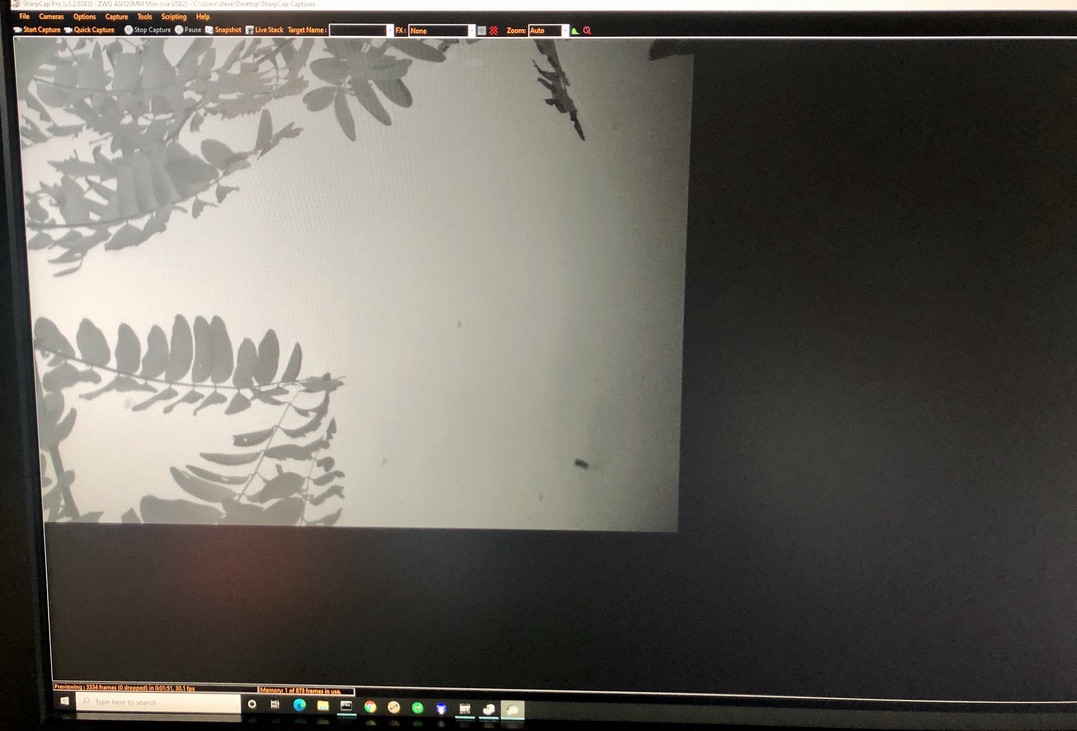
As is normally the case when wanting to test new gear, the weather is not cooperating at all. I managed to get one 300s light frame in before it clouded over on the evening of Friday 25th September 2020 :) We've had no clear skies since then🙄.
It is an impressive start, all I did was unbayer the image in Pixinsight and then stretch it and boost the colours a bit. Nothing else.

After quite a bit of fiddling about that took several hours I now have the main camera and the guide cameras in simultaneous focus on my FSQ85.
I look forward to good things from this combination and will update my site with my latest thoughts. So far, very early in my career with this camera, I am very impressed!